Grab Up To 60% Off In Our February Sale!
Plus an extra 10% off our Arezzo range with code AREZZO10. Code ends in:
Get Your Bathroom Christmas-Ready In 12 Days
Get Your Bathroom Christmas-Ready In 12 Days
Get a daily tip over 12 days in December to help you prepare your bathroom and get it Christmas-ready in time for the big day!
Day 1. Cleaning Your Bathroom Tiles
Day 2. Brighten Up Your Bathroom With Lights
Day 3. Create A Warm And Comfortable Bathroom
Day 4. Sorting Out The Toilet Seat
Day 5. Getting The Best Out Of Bathroom Mirrors
Day 6. Cleaning Up Your Taps
Day 7. Removing Mould And Mildew
Day 8. Refreshing Your Towels And Bath Mats
Day 9. Cleaning Your Shower And Enclosure
Day 10. Getting It Right With Bathroom Sets
Day 11. Cleaning Those Hard To Reach Areas
Day 12. Final Preparations
Jump to a section of this post by clicking a link above.
Get Your Bathroom Ready For Christmas
Christmas and bathrooms haven’t exactly been two words that have been naturally associated with each other throughout history but if you really think about it, the bathroom is a fundamental room within the home at Christmas. Ever been caught short in the shopping traffic? There’s nothing like getting home just in time to save your festive pride. Ever used the bathroom storage cupboard, where nobody looks, to hide away presents from prying eyes? Oh, and then there’s those Christmas hangovers where you drag your quivering self to the bathroom for what feels like an hour and then look at yourself in the mirror saying ‘never again’!
With just a handful of examples why the bathroom is an incredibly important place at Christmas and with just weeks away from the big day here at Victorian Plumbing, we want to give you some helpful tips on getting your bathroom Christmas-ready in just 12 days!
So in the style of 12 days of Christmas - Each day we’ll be releasing a new way to prepare your bathroom for Christmas to ensure it’s ready for you and your guests.
Day 1 - Cleaning tiles for Christmas
Have yourself a merry little Christmas knowing your bathroom walls look as good as new!
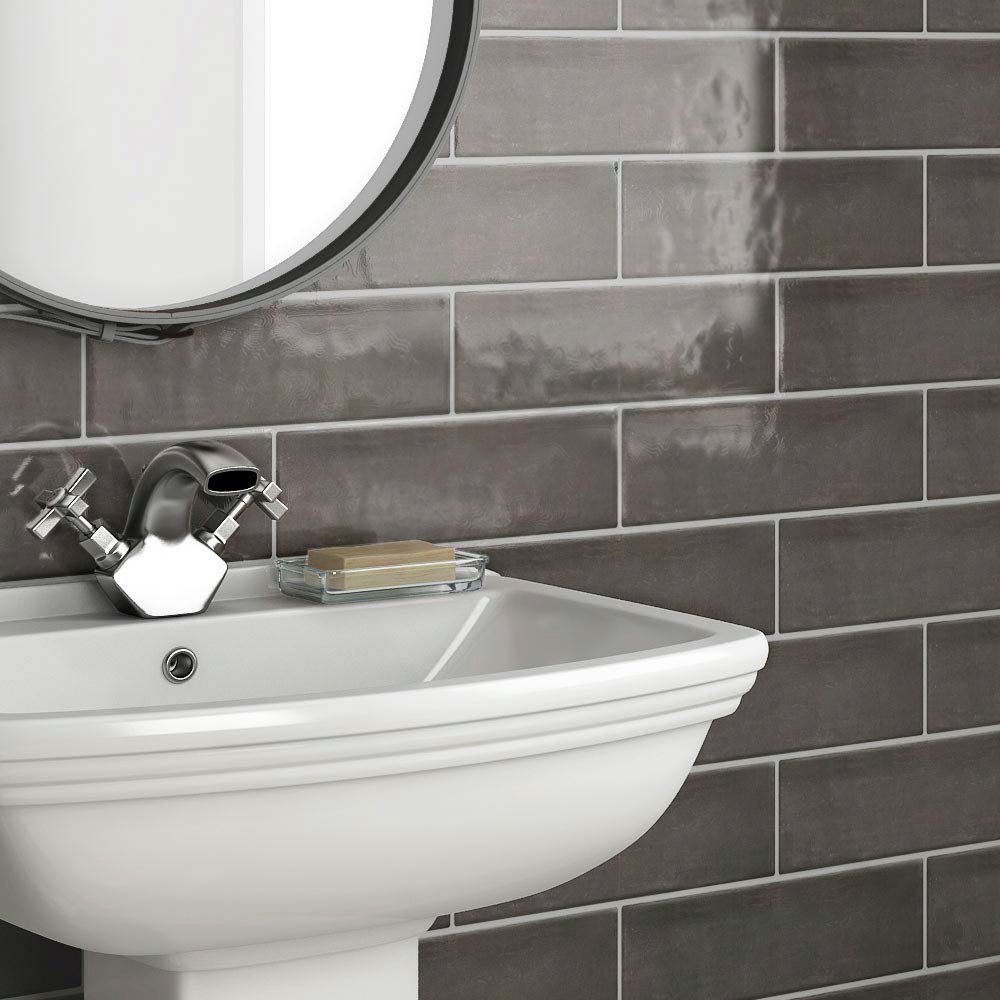
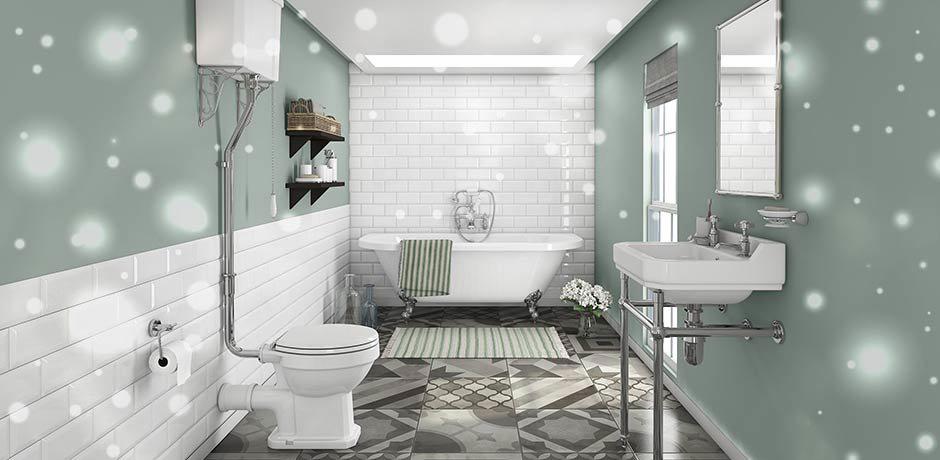
Bathroom walls are one of the most common areas of neglect within a bathroom. Tiles can become streaked over time and grout can become grubby but because this happens over time, it can go unnoticed. Taking a closer look at your tiles will open your eyes to the accumulation of dirt and mould and although you’ll only notice it after taking a closer look, your guests will spot these dirty marks a mile off.
If mucky tiles are driving you up the wall then click this link for a simple tip to get the tile and grout cleaned-up effortlessly in time for Christmas.
Don’t have tiles on your bathroom wall? Paint chips and peeling wallpaper are also common within bathrooms so take a closer look and touch up paint or re-stick wallpaper where appropriate. Re-sticking wallpaper is simply done using wallpaper glue and painters tape. Apply the glue underneath the wallpaper and push the paper back against the wall to make it stick. Once you’ve done this apply the tape, which won’t lift off the pattern or top layer of paper, and leave it overnight until the glue has dried. Peel off the tape gently and your wall will look as good as new! This is not advised for very expensive or delicate wallpapers so please do this at your own risk.
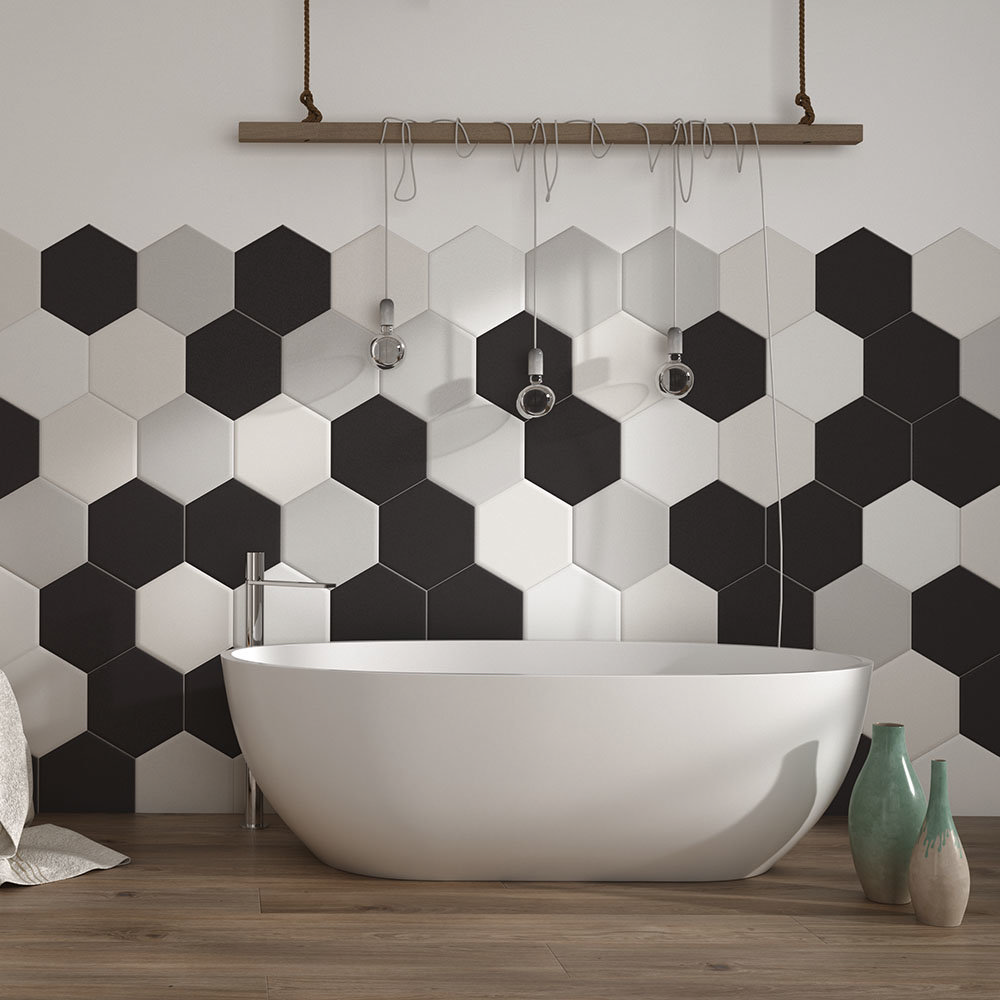
If you’re not feeling in the mood for cleaning or it might just be time for a change why not take a look at our range of bathroom tiles for some Xmas inspiration?
Day 2 - Brighten up your bathroom
It’s beginning to look a lot light Christmas when you add a little shine to your bathroom!
Bathroom lighting is incredibly important for many reasons. A beautiful bathroom looks no better than an ugly bathroom in the dark. If you do want to show off your bathroom’s style then you really need to light it up. One of the most common issues regarding bathroom lighting is bulbs that need changing. Changing bulbs that have been out for some time is the easiest way to brighten up your bathroom.
Another quick fix for lighting is ensuring they are dust free and clean - One of my ceiling lights was designed like an upside-down bowl shape that caught lots of dust and the occasional moth or flies that had been drawn by its dazzling beauty! Removing these dust catchers frequently and giving them a clean always made a big difference.
Finally, give your light switch a wipe over and ensure there are no marks or smears if you have a chrome finish.
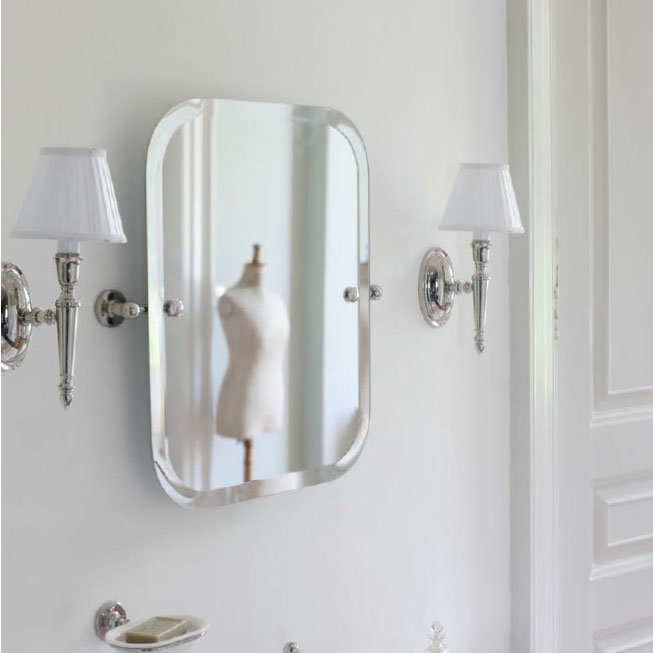
Adding new bathroom lighting or additional lights is quite possibly the best way to create a brighter room whilst giving your bathroom an updated look. Spotlights and downlights are not only stylish but they’re incredibly low maintenance. A well used bathroom over Christmas needs all the money-saving help it can get so think about LED lights which are ideal for keeping energy costs down!
Need some lighting inspiration? Click here for some bathroom lighting ideas.
Day 3 - A winter ‘bathroom’ warmer
No sorry, not the alcoholic variety! We’re talking about bathroom heating!
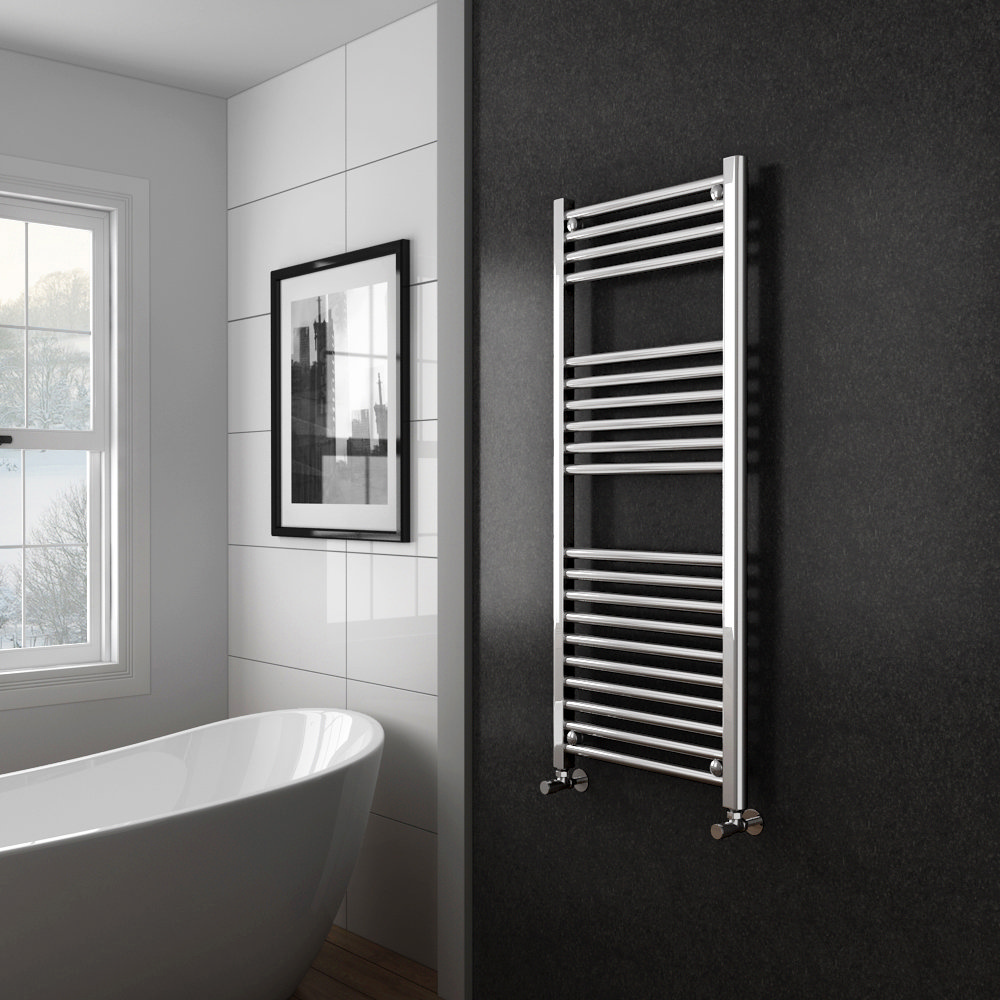
So far, if you have been following our ‘Get your bathroom Christmas-ready in 12 days’ programme you’ll have been working up a sweat and probably not had your mind on the heating. In winter, it’s important to keep a comfortable temperature in the bathroom so check your radiators and towel rails to make sure they’re firing on all cylinders and working well.
Bathroom radiators and towel rails are usually wall-hung which means they have hard-to-reach spots and areas which are hidden from view. A quick bathroom clean can result in missing these areas and the buildup of dust and dirt can happen quite quickly due to the room’s humid conditions. Grab a cloth and give them a good clean checking all the little nooks and crannies. A frequent deep clean like this will prevent moisture from doing damage to the appliance and prevent rusting; which inevitably ends up on your towels if you’re not careful.
Finally, if your heating has a chrome finish, buff it up with a slightly dampened microfibre cloth. It takes 5 minutes and you’ll be so happy with the results your smile will radiate throughout Christmas and into the New Year.
I notice a few of you are still here reading and can only assume your bathroom radiator just isn’t worth the trouble of getting your hands dirty. I get it! Last Christmas, I had a moment in the bathroom where I looked at my bathroom radiator and pondered the question ‘was electricity even invented when this thing was made?’. Sometimes, it’s better for everybody to ‘out with the old and in with the new’.
There are lots of options out there so why not take a look at these toasty bathroom ideas for a bit of inspiration. And, if Christmas has already cost you a small fortune then you’ll be happy to know that bathroom radiators can be had for under £100.
Day 4 - Are you sitting comfortably
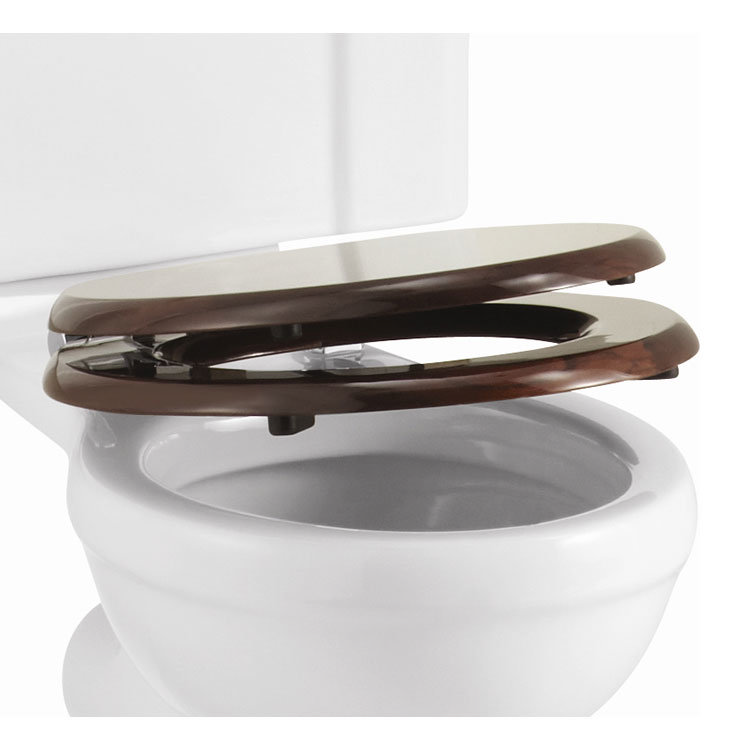
Toilet seats can literally make or break the look of a bathroom. There really is nothing worse than a loose toilet seat to both look at and sit on. Ensure your toilet seat is properly fitted to the toilet pan and ready for your guests throughout Christmas.
But, before you tighten it up it’s also a great idea to give it a really good clean. Not just the bits you can see but all around it. For the sake of this guide we’ll assume that you haven’t cleaned it for a while but, if you do keep on top of things then you can jump to the next step - Wiping down with alcohol wipes.
Start by putting on some protective cleaning gloves. Grab a large bucket and fill it with a bit of bleach and some hot water. Remove and submerge your toilet seat in the bucket of water and leave it to soak for a few minutes. Once it has soaked give it a good scrub with a cloth and then dry it with a clean, dry cloth.
If you clean your toilet seat thoroughly and often then you should be okay to give your toilet seat a wipe with some alcohol wipes. Using alcohol wipes, clean around the whole of the seat. The top cover; topside and underside. The seat; topside and underside. Then clean around the pan itself where the seat makes contact. You may want to clean the whole of the toilet pan at this point too!
Once you’re done you’ll have a toilet seat that looks as good as new.
If you’ve had enough of your old toilet seat or just want something new for the New Year then you may want to buy a new toilet seat. It will save you the time cleaning and could also be the topic of conversation, especially if you aim to please your guests with a novelty seat!
It’s pretty easy to change a toilet seat but you can take a look at our easy guide to removing and replacing a toilet seat here!
Day 5 - Take a good look at yourself
Christmas is the one time of year when everybody wants to look their best and there are very few items more important for this task than a mirror. You may have many mirrors in your home but none are as important as your bathroom mirror.
The problem with bathroom mirrors is that they’re used daily for a whole variety of delights which quickly causes them to become grubby without anybody realising. Whether it’s speckles of toothpaste, flickers of make-up or the kids mucky fingerprints your mirror will take the brunt of everything. That’s why it is so important to make sure it’s clean for when you guests arrive.
The beauty about mirrors is they’re generally easy to clean. Infact, most mirrored surfaces are quite simple to wipe clean so grab your cleaning gloves and get ready for a quick bathroom blitz.
Start with grabbing a dust cloth and quickly take any dust from any surfaces. Take a microfibre cloth which is designed for glass. You want to get this cloth damp but not soaking. Wet the cloth lightly and squeeze out as much excess water as possible. I find wringing out the cloth is the best method. This will ensure that you leave no streaks.
Simply wipe the mirror clean and allow to dry naturally. Do the same with any other chrome surfaces or make-up mirrors, bathroom tv’s and windows. You’ll be able to see yourself smile in them now!
If you’ve cleaned your mirror and you’re still not happy with it then now is the time to change it. Christmas is a time for giving so provide your bathroom with a brand new look by adding a lovely new mirror to it.
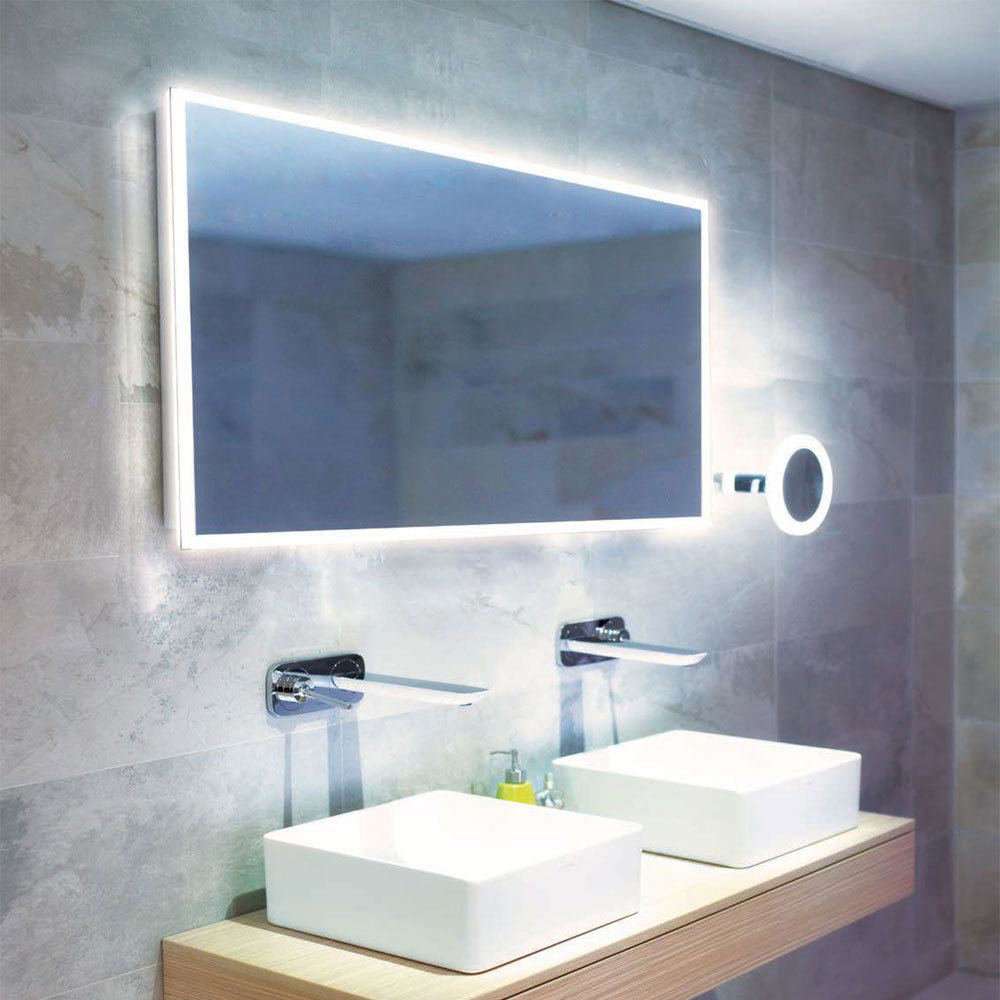
If you want to add more light to the room then consider illuminated bathroom mirrors like the one above. These are right on trend and will certainly create a talking point over your turkey dinner.
Other great options are mirrored cabinets which will create some extra space for storing all those toiletries you’ll be getting from Santa or if you’re sick of the bathroom mirror steaming up then grab yourself a fog free mirror instead!
There is absolutely no excuse for any bathroom, en-suite or cloakroom not to have a mirror. Bathroom mirrors are a highly diverse collection of products and come in a wide variety of styles and prices; meaning there is truly something for everybody. For help finding the perfect mirror for your bathroom take a look at our bathroom mirror styles guide.
Day 6 - Time to shine
Wow, are we on day 6 already? Where do the days go in December? If you’ve been following this daily guide your bathroom should be looking quite clean and tidy already but, the dirtier parts of your bathroom are probably starting to stand out more than ever now.
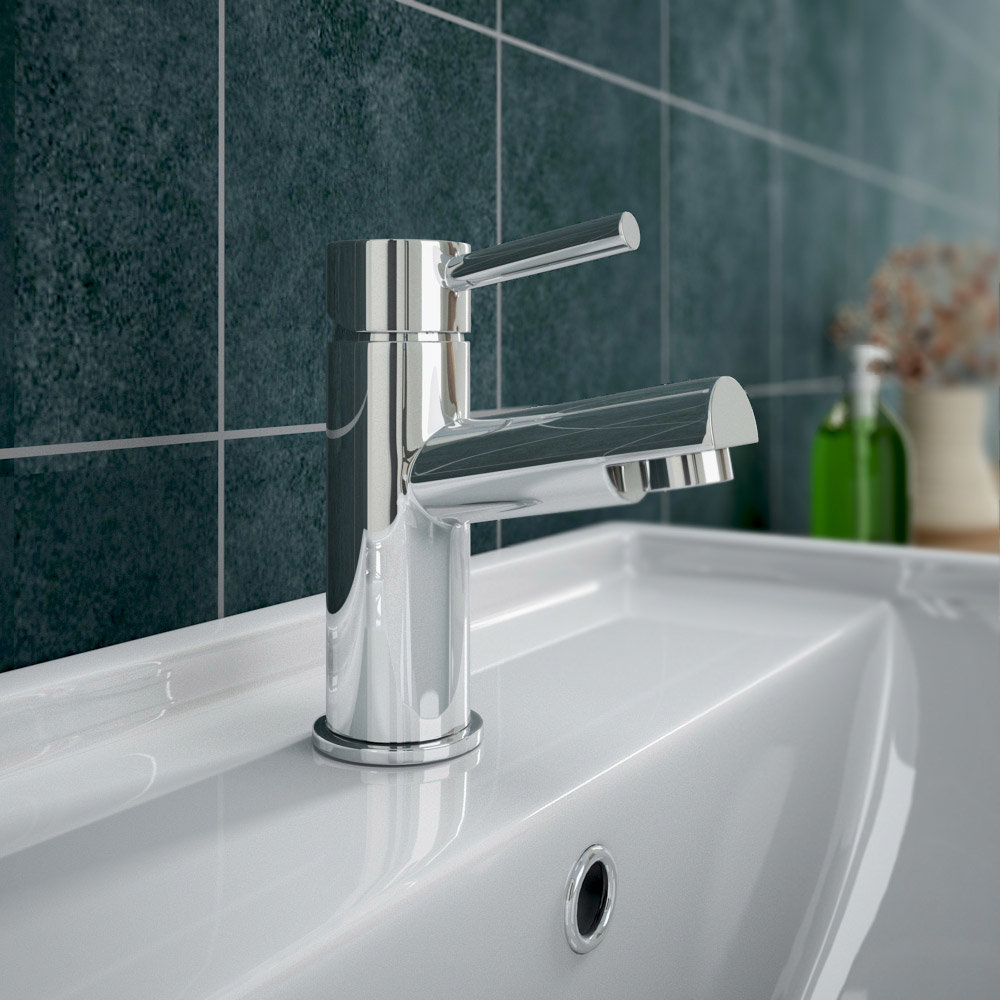
One area that might be letting you down is the taps. Bathroom taps are one of the most important fixtures in the room and without them you’d have nowhere to wash your hands or brush your teeth. They also come in handy for a variety of other tasks however, I’m sure you get the point.
As taps are used so much they tend to end up looking dirty and dull but, don’t worry, we have some great tips for getting them back to their best!
Cleaning bath taps and basin taps is pretty simple. First of all, don’t use any abrasive cleaners or anything that could scratch or mark your taps such as wire wool or scourers. Use protective gloves and grab a soft sponge or cleaning cloth. Using soapy water, clean the taps with your soapy sponge and then rinse and wipe dry. You can buff them up later with a microfibre cloth for a stunning shine!
If your taps suffer from a limescale build-up then here’s a really easy way to remove it. Use white vinegar or lemon juice as very potent cleaning agent!
Lemon juice also works wonders on brass taps too! Simply clean the taps with lemon juice and then use a damp cloth to wipe the taps clean. Finally, buff the brass dry and watch your brass taps shine like new. No lemon juice? Give ketchup a try! Add ketchup to a dry cloth and clean the taps. Grab a damp cloth a wipe the taps down before buffing dry!
Not in the mood for cleaning taps? We don’t blame you one bit! Consider swapping your old, mucky taps for some shiny, new ones instead!
Bathroom taps come in lots of styles from wall mounted to freestanding. They’re relatively simple to remove and replace and cheap to buy as well; basin taps can be bought for under £50!
If you’ve never replaced your bathroom taps before then doing this yourself for the first time may seem like a big job but it really is very easy. Take a look at our guides for replacing basin taps and changing bath taps!
Day 7 - Mould Whine
I recently did a deep clean at home and although I knew mould was starting to colonise my windows in the bathroom I hadn’t taken the time to actually have a proper look. On closer inspection I realised how it had managed to populate almost the entire room and had settled in some very hard to reach places.
Removing mould can feel like a real waste of time as it tends to creep back at some point or another, however getting rid of this pest can certainly benefit the look of your bathroom, not to mention your health! Take a look this article we wrote which explains more about mould and mildew.
The removal of mould and mildew is quite simple but will require a bit of effort and elbow grease on your part. This can be made easier by investing in better products with stronger formulas so shop around for a proven cleaning agent. You’ll also want some protective gloves and maybe a 3M mask which can prevent breathing in spores!
If you haven’t got time to go shopping for cleaners then I’d suggest looking through your cupboards for some white vinegar. In its undiluted form this little miracle worker will tackle mould and mildew leaving your bathroom looking great again. Just allow a few hours for the unfavourable aroma of vinegar to escape the room.
Another way of obliterating mould is to use a homemade solution of hot water, liquid soap (like fairy liquid) and baking soda. The baking soda will attack and break down the mildew and mould leaving the soapy, hot water to just scrub away at any stubborn areas.
Don’t fancy raiding the cupboards? Hit the shop and grab yourself a good bottle of mould and mildew remover and tackle that nuisance with some professional power! You’ll soon have a bathroom that looks brand new and ready for your guests.
Once you’ve sweated over this job you’ll really want to know how you can never do this job again. Well here’s the good news. There are several ways to prevent mould and mildew.
One option is to ventilate your bathroom after using the shower. This can be as simple as opening a window but, near to Christmas you’ll probably find this doesn’t go down to well with whoever uses the bathroom next. To save your family members from freezing you could use an extractor fan.
Another useful tool to combat mould and mildew is anti-mould paint. It contains chemicals that prevent the growth of mould and has a touch coat which is hard to penetrate. A great way of preventing mould on bathroom tiles is sealing the grout once you’ve applied the tiles to the walls and floors. This makes it harder for mould to stick to the porous grout and build up over time.
Finally, a simple wipe down after each use will reduce the chances of getting mould in your bathroom. Wipe down the surfaces after each use to ensure the room is as dry and free from moisture as possible and you’ll hopefully never have to do a deep mould removal again!
Day 8 - Don’t Throw In The Towel
Towels and bath mats are an understated part of the bathroom. If these items are left for too long without being changed you’ll start to notice they start to look worn and ugly. Getting these items washed and ready for when your guests appear not only refreshes them visually but it’ll also smell fresher in your bathroom which is important.
First of all, make sure your bath mat, and pedestal mat if you have one, is machine washable and if it is, put it into your washing machine along with your towels if they’re a similar colour. If you have red bath towels and your bath mat is cream for example then you might want to keep these separate, as you would with a normal wash, to avoid any colours running.
Once your towels and bathroom mats are dry you can put them out or keep them to one side for the big day. This all depends on how much you trust your family and their respect for your nice new towels. Try to use your backup towels on the run up to Christmas and then display your fresh. clean towels and bath mats the night before. It will be a small task for you but it will make a big impact to your guests!
Another thing you can try which should really get your guests talking is folding your towels in a neat and tidy manner:
1 - Pinch each side of the shorter edge of your towel and fold two thirds over.
2 - With the end which faces you fold this over to meet the edge of the first fold.
3 - Fold the first layer over the other layers.
4 - Now fold this long rectangular shape into thirds.
Now you have a professionally folded bath towel to put on your shelves or unit!
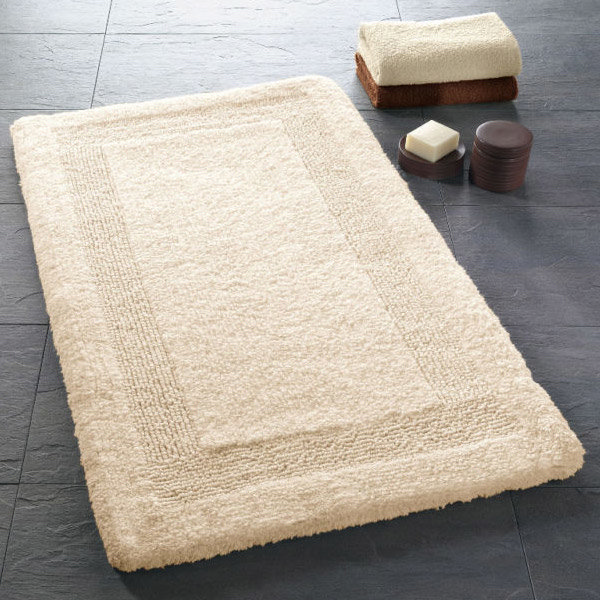
If you’re looking at your towels thinking they’ve seen better days then now might be the time to refresh your towels with a brand new set. This will certainly make two instant improvements to your life. One is that your guests will notice that you have fresh new towels (even though you just bought new) and the second is getting out of the bath or shower around Christmas and drying off in brand new fluffy towels.
Other things you might want to consider are new towel rails or towel hooks. These small touches make a huge difference in a bathroom and some of them are novelty items like this boy hanger by Wenko which can be real conversation starters!
Day 9 - Add some sparkle to your shower
By this point your bathroom should be looking pretty much tip top – but there’s a crucial area that still requires your attention – the shower.
If you use your shower on a daily basis (hey we know some people like to skip days; we’re not gonna judge!) then chances are that a fair amount of dirt and grime will have built up on surfaces such as the shower head and tray. Obviously this isn’t great as it’ll spoil the overall look of your fittings, but the good news is it’s really easy to put right as we’re about to explain.
First things first, it’s a good idea to take all your shampoos, shower gels, scrunchies and anything else of that nature out of the shower and place them well away from any cleaning agents you’re intending to use. Now might also be a good time to throw out all those empty bottles that’ve been building up as well (we’re all guilty of this one I’m sure).
With the clutter out of the way you’ll be able to see exactly what needs to be cleaned. We’d start with the tiles inside your enclosure as these will more than likely have a few bits of grime embedded into the grout and there might even be some mould growth beginning to appear. To tackle this first use some warm water and a microfiber cloth, and wipe down the tiled area inside your shower enclosure, giving it a really good scrub as you go.
Next, use a good quality mould and mildew remover to get rid of those really stubborn bits of dirt that always manage to embed themselves into the grouting between tiles. Once you’re satisfied with the results, simply wipe the whole area down with warm water again to remove any residue from the cleaning products. It’s also worth noting here that if you decide to use a chemical based cleaner that you should ensure a window is opened beforehand to allow fresh air into the room.
With your tiles looking sharp, it’s time to turn your attention to the showerhead. There’s a great little tip you can use here to combat limescale. Take a plastic bag and fill it about halfway with white vinegar before placing it over the showerhead. Submerge the showerhead in the vinegar then tie the bag securely to the back of it. Leave this for around half an hour or so to let it do its magic.
After 30 minutes, remove the bag and you should notice an improvement in the appearance of the showerhead – the vinegar will break down the dirt, leaving things looking much better. Turn the shower on and run it for a minute or two to get rid of any remaining debris. Simple!
The glass will also need some attention as streaks and hard water marks can appear over time. This is where vinegar will come in handy again. Spray some white vinegar all over the glass on both sides (you might want to put some towels down!) and allow it to settle for a couple of minutes before buffing it off with a clean microfiber cloth. The difference should be clear to see!
Finally, it’s time to clean the dreaded shower tray. This is normally the filthiest part of the shower, as dirt likes to gather here if it hasn’t been cleaned often. If you can stomach it a good place to start here is to clean any hairs out of the waste.
To sort out the tray itself simply apply some more vinegar or even mould remover if it’s looking really bad, allow it to sit for a few minutes then scrub away with a sponge and an old toothbrush until you seen an improvement. Finally, rinse the tray off with some fresh water for a sparkling clean shower you (and your guests) will really appreciate.
It’s worth noting that if your shower is looking past its best then it may be better to just replace certain aspects of it. While it may be a struggle to fit a full shower enclosure before St. Nick gets stuck down your chimney, there’s nothing stopping you upgrading a tatty showerhead for something a bit smarter so do keep this in mind if cleaning alone isn’t achieving the results you want.
Day 10 - Set The Standard
No matter how well you coordinate the fixtures within your bathroom to match, it can all fall apart due to bad choices for those finishing touches like bathroom sets.
Bathroom sets range from cheap and cheerful to high-end designer sets, but no matter what your budget is you can always find bathroom accessories that will work with your bathroom design. The idea is to get these matching and having mixed bunch of bathroom accessories can sometimes look uncoordinated and tacky.
Because of their unfortunate position within the bathroom, bathroom set items such as soap dishes, soap dispensers and toothbrush holders tend to be in the firing line for splashes and they can build up soap scum, speckles and finger marks over a few days. Rewarding these with a quick clean can bring them back to life and have them looking like new in seconds. If you have a bathroom set with a chrome finish then buff these up with a slightly damp microfibre cloth afterwards for a bright shine.
If a quick wipe around them with a damp cloth hasn’t worked then I’m afraid your bathroom set has been neglected. Grab a cloth and some warm, soapy water and give them a scrub using some good old elbow grease. They’ll be looking as good as the day you bought them in no time.
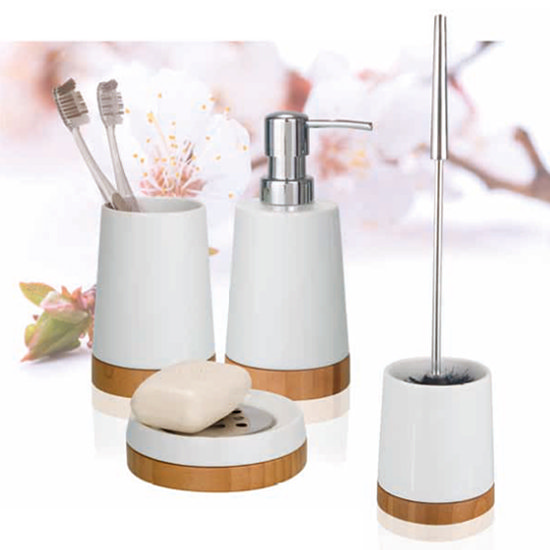
If your bathroom accessories don’t match, and let’s face it you’re not alone here, then you might be considering buying a complete bathroom set. They usually come with toothbrush holder (tumbler), soap dish and a soap dispenser. Additional items include toilet brush and holders, toilet roll holder and bathroom bin.
You can choose from a wide range of colours and finishes to work with your own individual style including natural-coloured sets, chrome sets or even a granite finish.
You can buy separates and combine these to make a bespoke set although it’s easier to buy a large complete set which has everything you’d expect plus a chrome towel rail and bathrobe hook.
Day 11 - Blink And You’ll Miss It
Cleaning a bathroom is easy, especially if you keep on top it, but there are areas you can quite easily forget about. Today we’ll be looking at the bits you’ve probably missed.
Don’t worry it’s not your fault. Your bathroom probably isn’t new to you anymore and there will be areas where you naturally bypass with your vision. Unfortunately, your guests won’t be so forgiving and if you’ve missed any spots whilst cleaning then they’ll probably be the first to notice.
Start at the top and work your way down to avoid knocking dirt and dust onto areas you’ve already cleaned. A feather duster is useful for getting rid of cobwebs up high and in corners of the ceiling. If you have ceiling panels, it’s probably a good time to give these a good wipe over in order to remove any streaky bits or dirt/mould. Using a microfibre cloth will remove the dirt and buff up the ceiling panels in one!
Clean and polish the top of bathroom cabinets and vanity units and inside them too. These areas of the bathroom collect dust and store it on top or inside of the unit. The last thing you’ll want is a huge dust ball flinging itself out of your cabinet whilst your getting a painkiller for a guest’s headache the next morning. Organise the items within the storage units for extra kudos and think about buying a fancy hand soap or air freshener to make all this hard work worth it.
Now dust down your skirting boards. It’s important to spend the extra 20-30 seconds to get behind the units for 100% cleanliness. There’s nothing worse than doing a full clean knowing you’ve cut a couple of corners which could have been done with just a little extra effort. Just get it all done and the feeling of doing it properly will leave you smiling throughout Christmas and into the New Year!
Once you've cleaned away all the dust and dirt empty your bathroom bin and laundry basket. Clean the bin and buff it up with a microfibre cloth if it has a chrome finish.
Finally, hoover the floor; getting into all the little nooks and crannies. If you have hard floors give them a mop and your bathroom will look, smell and feel brand new!
Day 12 - Ready To Roll
If you’ve followed our Christmas bathroom cleaning guide then your bathroom will be sparkling clean right now. Okay, well maybe not sparkling as you’ll have had to use it throughout the last 12 days, however a quick wipe over most areas will be all your bathroom needs right now.
Other than a wipe down, there’s a few toiletries that you need to make sure you’ve not forgotten. Toiletries are a personal choice; the amount and variety you choose for your bathroom is totally down to your individual taste, but here we’ve listed 8 essential and 2 not so essential items that are a must over Christmas.
1. Toilet Roll
This is quite possibly the most important item. Running out of this stuff can have dire consequences so make sure you’re fully stocked and why not put out a fresh roll just before the guests arrive. Look out for Christmas themed loo roll for an extra talking point over a few drinks.
2. Soap
Whether it’s hand wash or hand soap it’s no fun if there’s none available for a visitor to your bathroom. Lots of companies do festive editions around this time of year so keep an eye out. You could treat yourself to a fancy new soap dispenser or soap dish to welcome in the new year!
3. Air Freshener
Give yourself and your visitors a bit of piece of mind to feel as comfortable as possible in your bathroom. It’s something your guests won’t personally thank you for but they’ll be forever grateful should they need it.
4. Toothpaste and brushes
Whether you’re having guests sleep over or not, a fresh tube of toothpaste is essential. There’s nothing worse than an ‘almost empty; tube that looks like it was run over by a bus and requires three hands to squeeze the last bit out. Buy some new toothbrushes if yours are looking worn and some extra brushes for your guests - just in case they end up sleeping over.
5. Deodorant
Make you stock up on some neutral smelling his and hers smellies. This will give your guests the luxury of freshening up should they have gone ‘all out’ on some festive dance moves.
6. Shower Gel And Shampoo
Once again, for guests sleeping over or simply visiting your bathroom it’s nice to see new shower gel and shampoo bottles; rather than those which appear to have been hugged by a boa constrictor. Keeping essentials stored neatly with a shower tidy will impress guests even further!
7. Cleaning Wipes
These are perfect for so many tasks in the bathroom. Cleaning wipes cover you and your guests for almost any accidents in the bathroom. Aim for antibacterial for total peace of mind.
8. Bin Liners
These little life-savers will prevent the bathroom bin being out of order over Christmas. It can quickly fill up around this time of year and keeping it clean will keep everybody happy.
9. Bathroom Scales
Not quite a necessity but something every bathroom needs. I’m not sure about you but it can sometimes be a novelty just jumping on the scales; giving yourself a quick weigh in before and after the Christmas dinner! Oh, just me then...
10. Magazines
Ahh yes, now we’re talking. Bathroom reading doesn’t have to be special. Throw some old home magazines or gardening magazines together and it’ll feel like a little library. Magazine racks make for a tidy and stylish bathroom feature too!
Follow these tips and your chances of making it through Christmas will certainly be high! Having extra essentials can look untidy so consider bathroom accessory storage ideas to eradicate any unsightly things. Remember, put all your new things out just before the guests arrive as most of us have family members who love to try out the ‘new stuff’ instantly; which will deem all your hard work and planning a little worthless.
Well congratulations for getting your bathroom ready for Christmas! It may have felt like a huge task but we’re hoping our guide has helped make it all easier and more importantly worth it! All that’s left to do now is have a nice hot bath or relaxing shower and you’re ready for the big day!
From myself and everybody here at Victorian Plumbing we wish you and your family a very merry Christmas and happy New Year!

Alan
Alan is one of our bathroom bloggers here at Victorian Plumbing. He likes writing helpful articles on bathroom trends and ideas. As well as writing his specialist buying guides, Alan can be found here sharing his expert 'how to' step-by-step DIY guides. When he isn't posting on the blog, he likes surfing the web for top bathroom tips and useful customer advice.
