Grab Up To 60% Off In Our February Sale!
Plus an extra 10% off our Arezzo range with code AREZZO10. Code ends in:
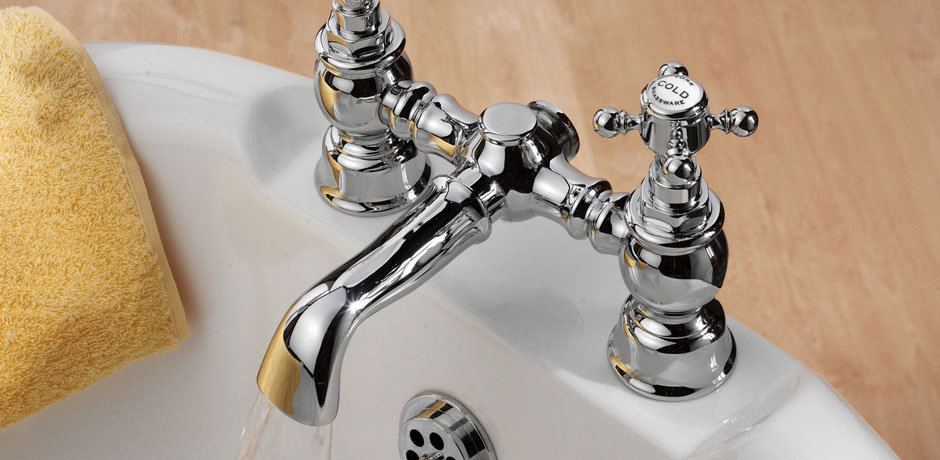
How to Replace a Bath Tap
How to Replace a Bath Tap
Replacing your old bath taps can completely revolutionise the look and the quality of your bathtub. Learn how to achieve this with the simple steps below.
Step 1. Isolate Water Supply
Step 2. Remove Your Old Tap
Step 3. Fit Your New Tap & Connections
Step 4. Test for Leaks
Jump to a section of this post by clicking a link above.
How to Replace a Bath Tap
A brand new bath tap can go a long way in making your bathroom look fresh and clean and can even help establish a motif, for example a contemporary waterfall bath tap can give your bathroom a cool, city-living look.
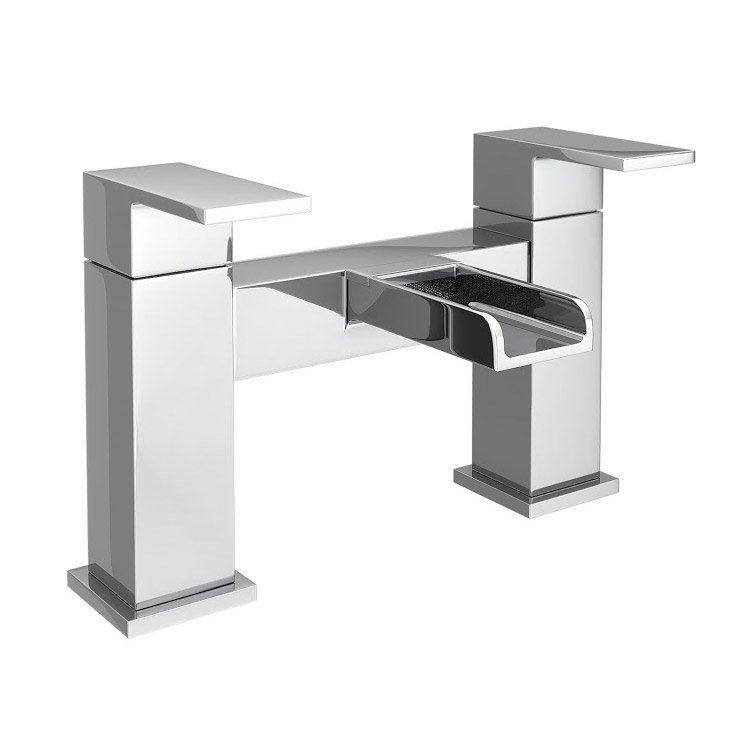
If you are fortunate, this job can be straight-forward and simply requires the right tools and a little know-how of the way bath taps fit onto your bath and connect to the plumbing of your house.
However, if your job is shaping up to be more difficult due to an older property or difficult to reach plumbing, then we recommend calling a trained professional plumber who can ensure the job goes smoothly.
Another good thing about changing your own bath tap is that what you learn can be applied to other taps around the home - most taps have similar features and when it comes to changing one it is simply a case of applying your knowledge to the different shapes.
Tip: Keep an eye out for lead pipes. These can be harmful, so if you have any in your property call a plumber immediately.
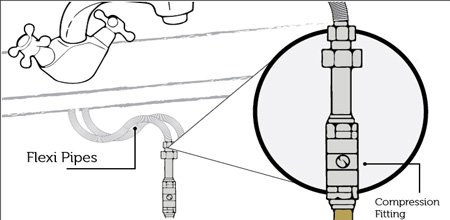
There are a number of main items to be aware of when replacing a bath tap:
- The tap nuts and washers - that fix the tap onto the bath.
- The flexible tap connectors - bendy pipes that connect the tap to your internal plumbing.
- Compression fittings - small pieces of plumbing with metal ‘olives’ that help connect two pieces of plumbing together.
Compression fittings are also used to isolate your water supply.
And finally, your internal plumbing, meaning the solid pipes of your home, that usually connect to your tap via. a compression fitting and flexible tap connectors.
If your home does not have compression fittings, we recommend installing them - they can make things much easier for any future jobs. Also, many taps come with new flexible tap connectors, and a new connection always fits nicer than an old re-sealed connection.
Tools You Will Need
- Tube Spanner
- Basin Wrench
- Adjustable Spanner
- An Old Towel
Step 1. Isolate Water Supply
The first thing you must do is isolate your water supply. You can use a flathead screwdriver to turn off your hot and cold tap at the compression fitting - if you do not have compression fittings then switch your water off from your mains water supply.
Step 2. Remove Your Old Tap
Next you must remove your old tap. If you can look under the bathtub, you will see two flexible tap connectors that go from your internal plumbing in your wall, up into your tap. To remove your tap you must disconnect these flexible connectors using an adjustable wrench.
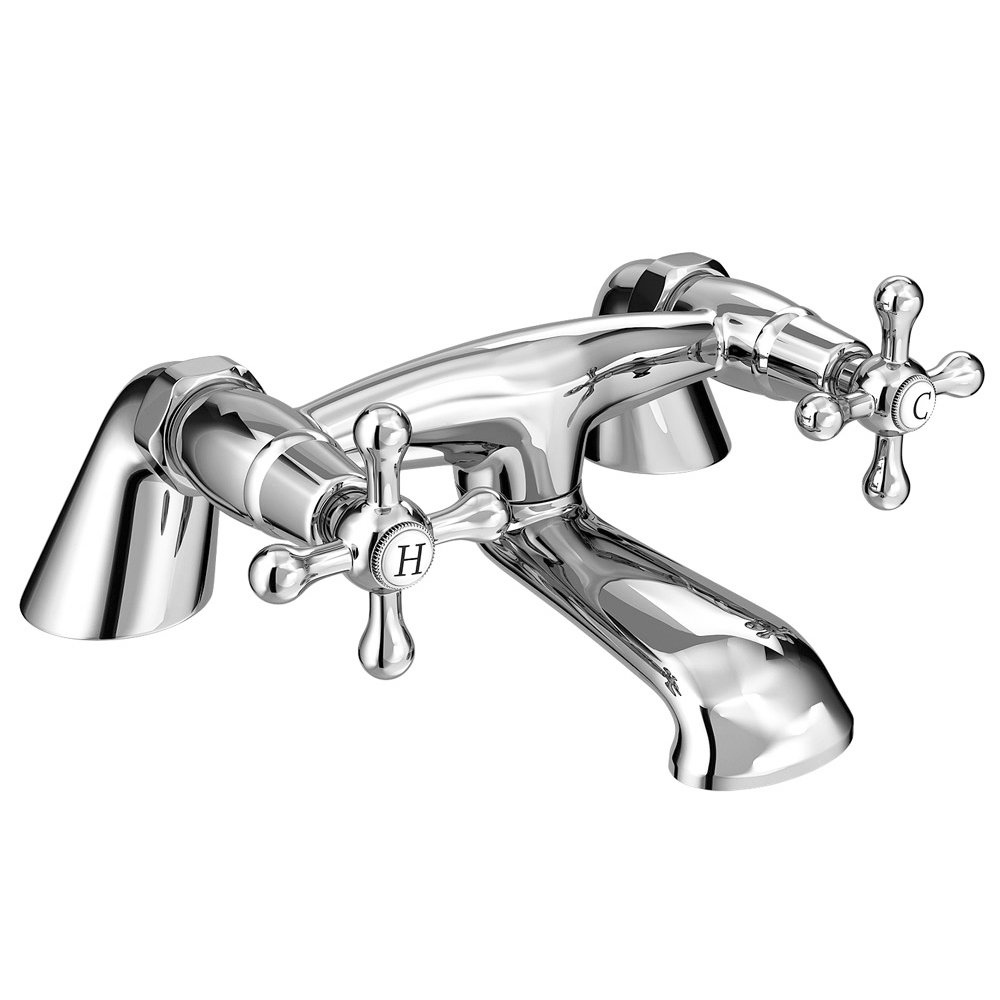
If you are replacing your flexible connectors then you can remove these from both the wall/compression fitting and from your tap body. When you disconnect the connector from the bottom of the tap, there may be some water trapped, so we recommend keeping an old towel handy during this job.
To remove the tap itself you must undo the nut from below. You can get special extended tools if you cannot reach with a normal adjustable wrench. Once the nut and washers have come off, the old tap will lift easily out of the tap holes. There will usually be some dirt and grime around the hole where your old tap has been sitting. This is normal, and a wet cloth should clean the bath surface off nicely.
Step 3. Fit Your New Tap & Connections
Your new tap then fits into your clean tap holes, and you can secure it in place with the washer and nut - these keep the tap body firmly in place and help create a watertight seal to protect the floors beneath your bath.
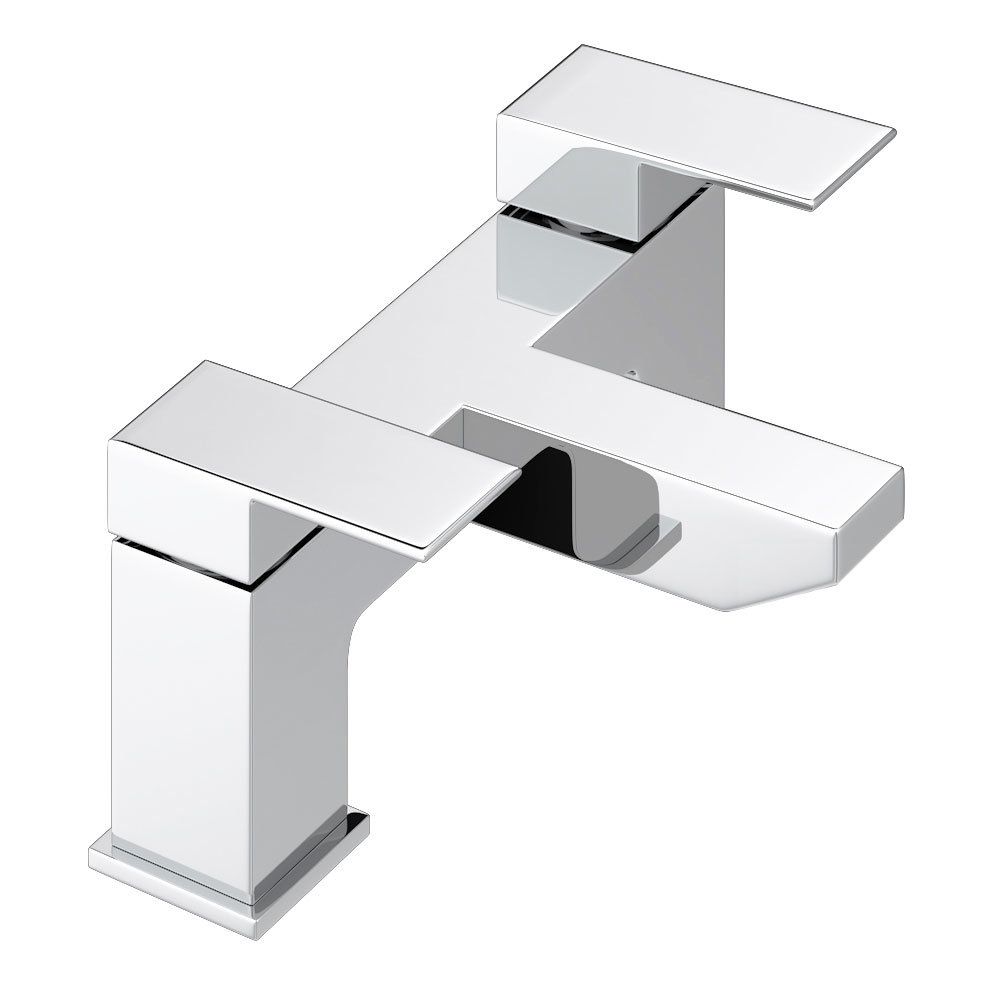
If you are installing new flexible connectors, then you should connect one end to a compression fitting, which then attaches to your internal plumbing. Once you have done this, or if you are not changing your flexible tap connectors then you can simply attach them into the tap body from behind the bath.
Step 4. Test for Leaks
Once everything is in place, check for any leaks or loose parts by turning on your water and running the bath tap.
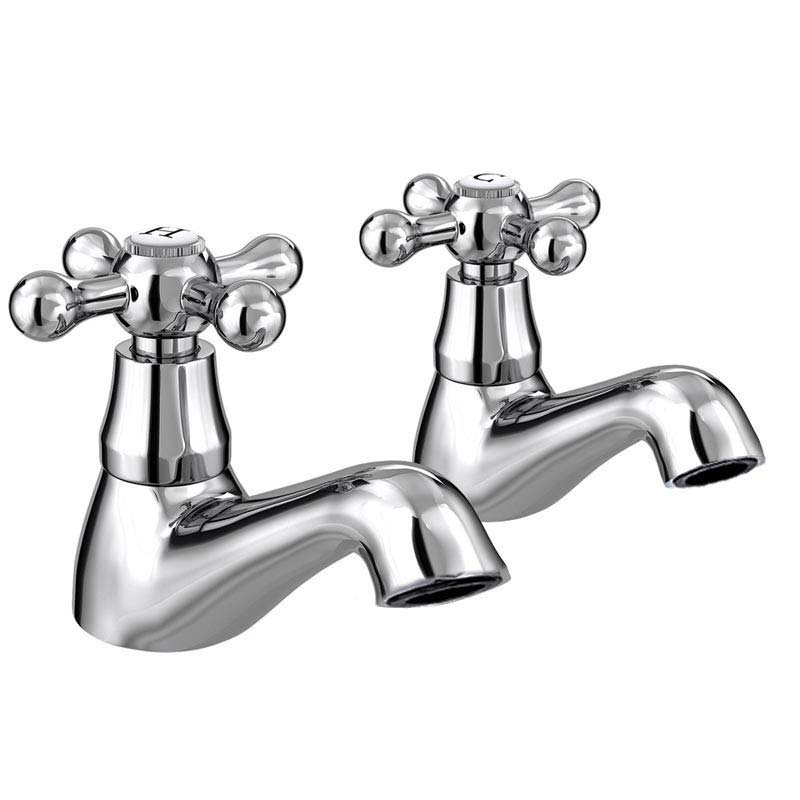
And that's it! Hopefully, this guide has given you the knowledge and confidence you need to go forward and be comfortable changing your bath tap. However, as we mentioned above, if you do not feel comfortable then it is always better to play it safe and call a professional.
I hope you have found this guide to replacing a bath tap useful. If you've now got your heart set on changing your basin taps then take a look at How to Replace a Basin Tap. Interested in more tap related blogs? See Can You Drink UK Bathroom Tap Water?

Alex
Alex is one of our bathroom bloggers here at Victorian Plumbing. You'll find him regularly blogging about fun bathroom ideas and trends as well as writing expert 'how to' step-by-step DIY guides.
