Our January Sale Ends Soon. Grab Up To 70% Off While You Can!
Free delivery on orders over £499*
How to Fit a Bathroom Sink
How to Fit a Bathroom Sink
Has it been a while since you've had to fit a bathroom sink or is this your first basin installation? Either way, this handy 10 step guide will show you how to fit a sink in no time at all!
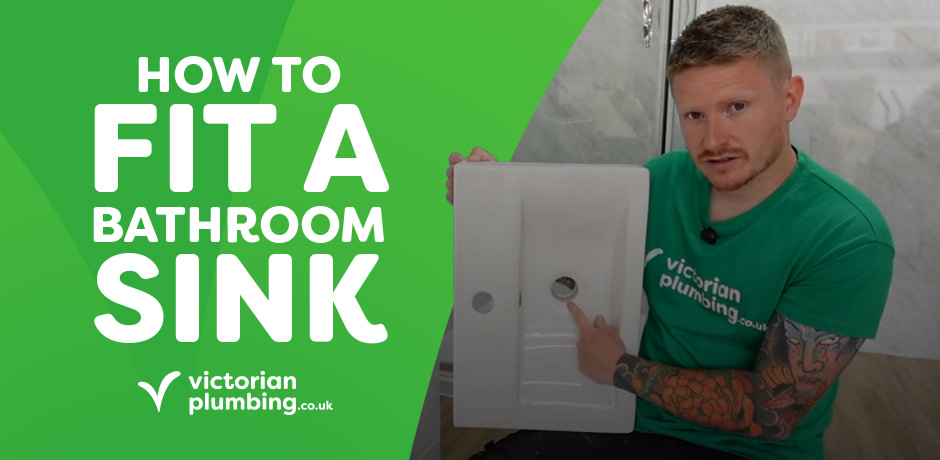
You may have already watched us secure a new floor standing vanity cabinet. The natural next step is to fit the matching basin, complete with tap, waste and trap, so that the unit becomes a fully functioning sink station. In the video below we run through the process from start to finish; the following paragraphs expand on each step so you can pause and work methodically in real time.
Everything happens in a deliberate order, build the fittings into the basin first, then set the basin onto the unit, and finally make the plumbing connections - this sequence saves both time and scraped knuckles.
What You’ll Need
Before you start, gather these essential tools for fitting your bathroom sink:
- Silicone sealant
- Pliers & adjustable spanner
- Screwdrivers & plumbing sockets
- Pencil, drill & spirit level
- Tape measure
- Bucket & old sheet (for spills)
Fitting a Bathroom Sink - Video Tutorial
Follow our 10 simple steps to fit your bathroom sink efficiently. See these steps in action with our step-by-step video tutorial below.
Step-by-Step Guide: How to Install a Bathroom Sink
Step 1 – Tap Tails & Foot
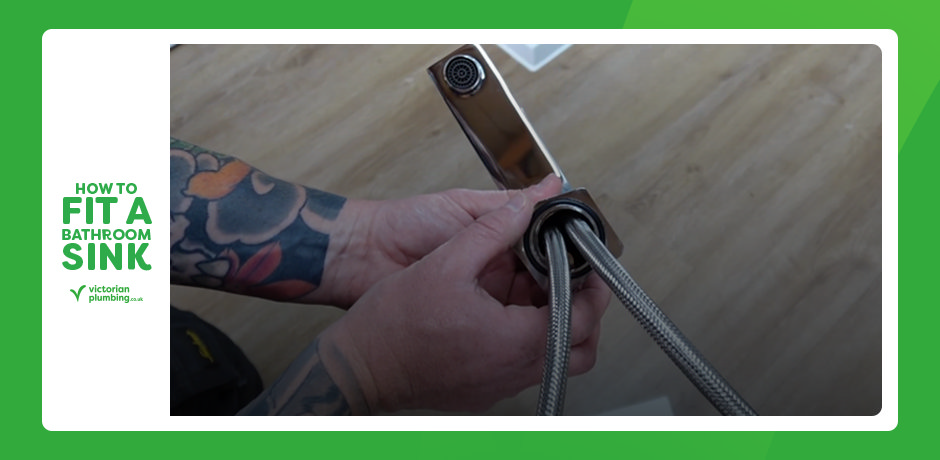
Begin with the sink upside down on a protected work surface. Fitting the hardware now is far easier than trying to reach up behind the vanity later. Screw the flexible tap connectors into the underside of the mixer tap by hand until the threads bottom out; there is an integral O-ring so hand pressure is usually enough. Slip the manufacturer’s plastic or rubber foot with its O-ring over the shank of the tap so it will sit snugly against the ceramic when tightened.
Step 2 – Drop In the Waste
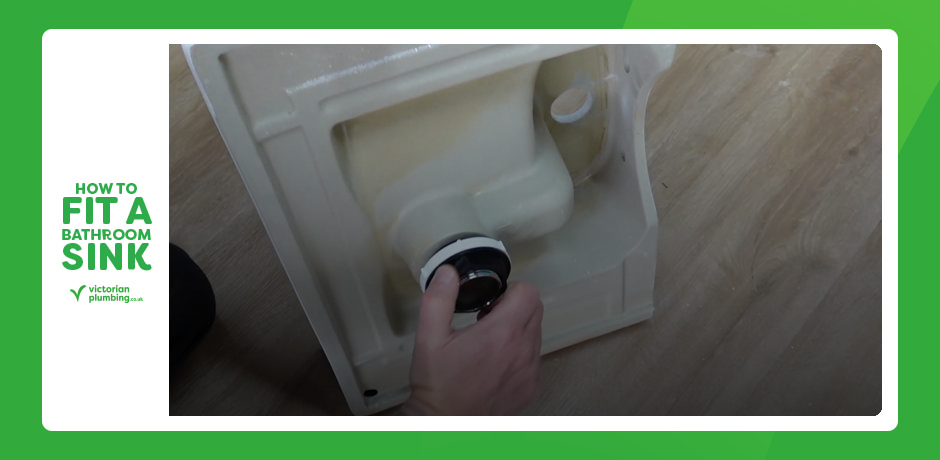
Next, drop the click-clack basin waste straight through the hole from the top side of the sink.
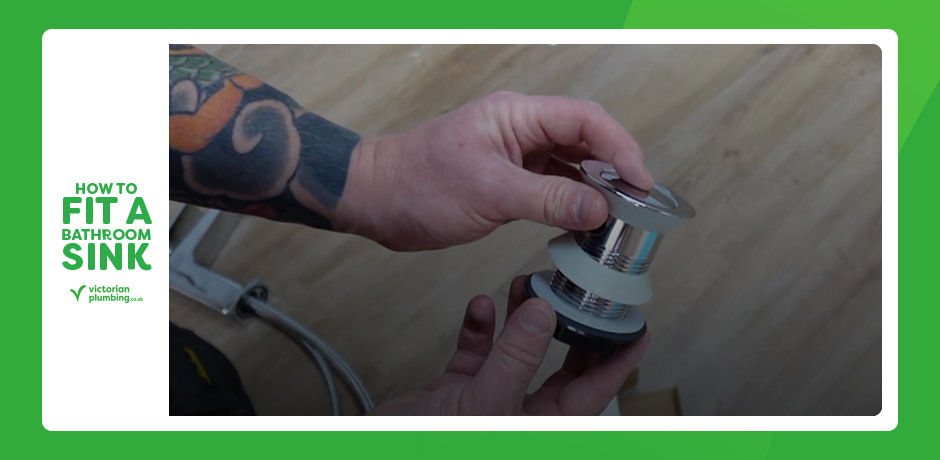
Step 3 – Tighten From Underneath
Turn the basin over, spin on the large locking nut and pinch it tight with finger pressure before giving it a final nip with a pair of grips. A properly tightened waste will not rotate when you flip the basin back upright, and the factory-fitted washer will create a watertight seal without additional sealant.
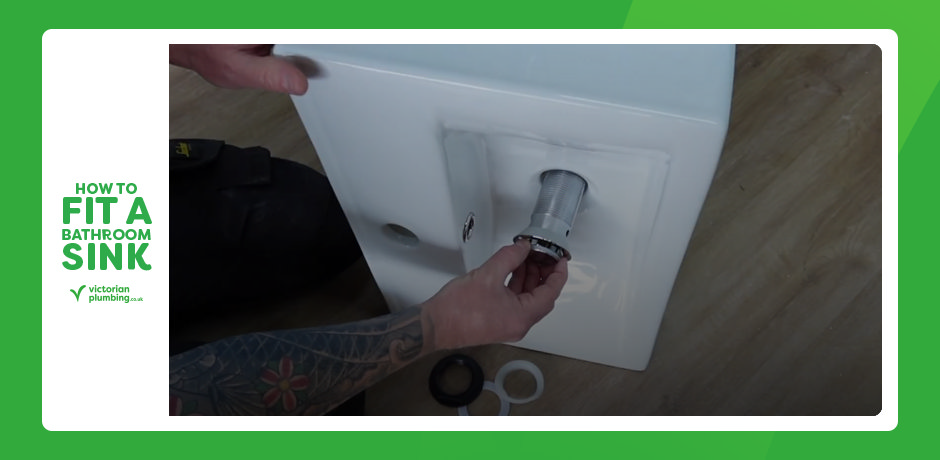
Step 4 – Secure the Tap to the Basin
Slide the two brass fixing screws into the threaded holes on either side of the tap tail, starting them by hand and finishing with a screwdriver until they are nearly flush. From beneath the basin, push the tap shank through its mount, hold the body of the tap with one hand to keep it upright and slide the metal clamping plate over the fixing screws. Thread the fixing nuts onto the protruding screws, then switch to an eight‑millimetre socket on a driver extension and tighten evenly. Pause just before they are fully home, sight the tap so that it faces squarely forward, and then give each nut a final quarter‑turn while holding the tap steady so it cannot twist out of alignment.
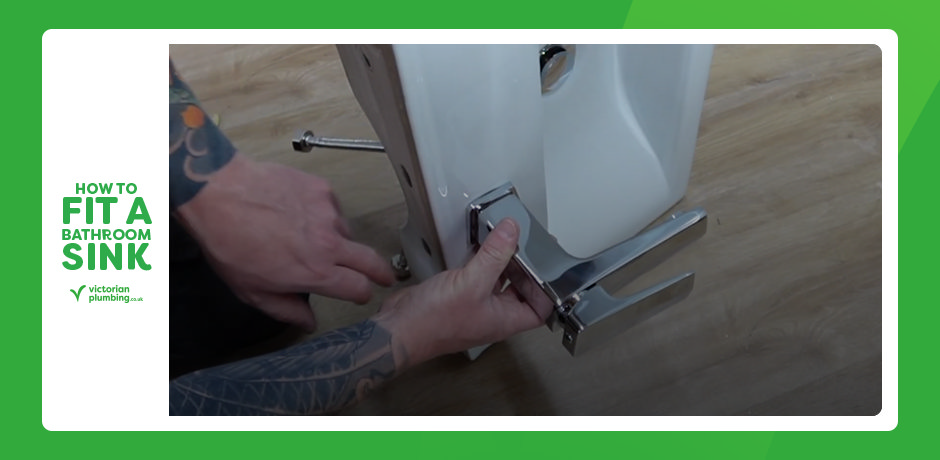
Step 5 – Position Your Bathroom Sink
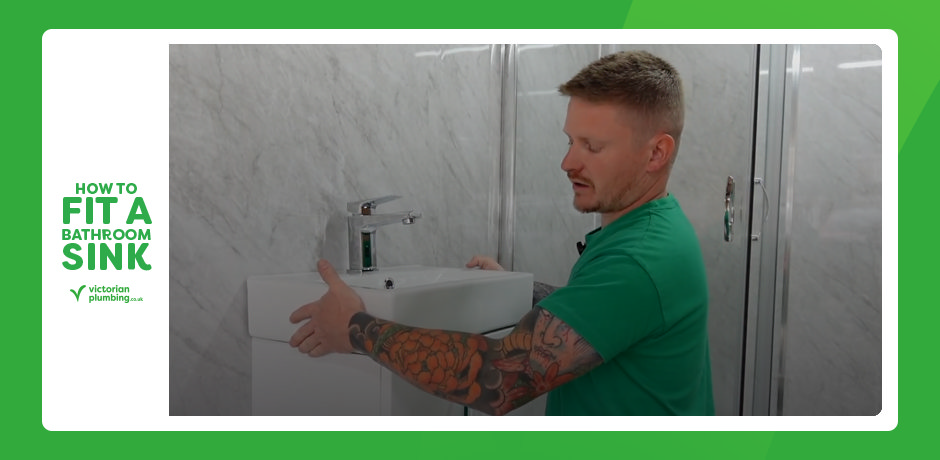
Lift the fully built basin into place on top of the cabinet and shift it gently until the rim looks perfectly centred from every angle.
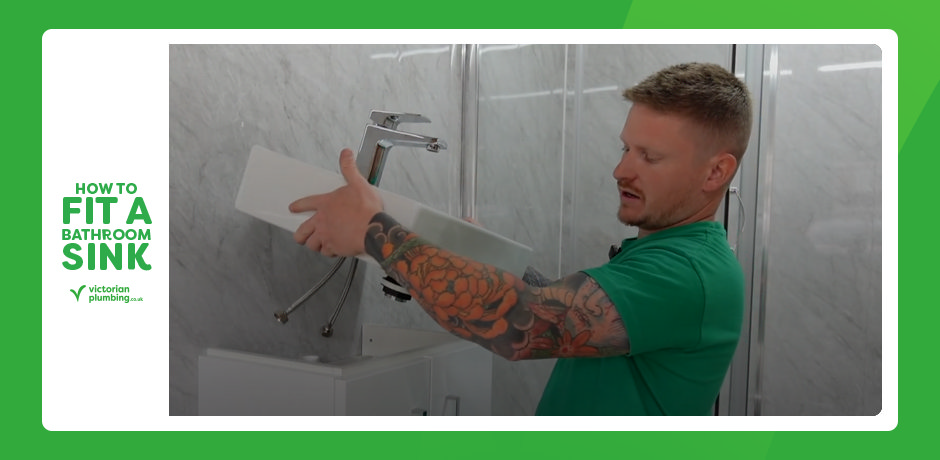
Step 6 – Align & Set
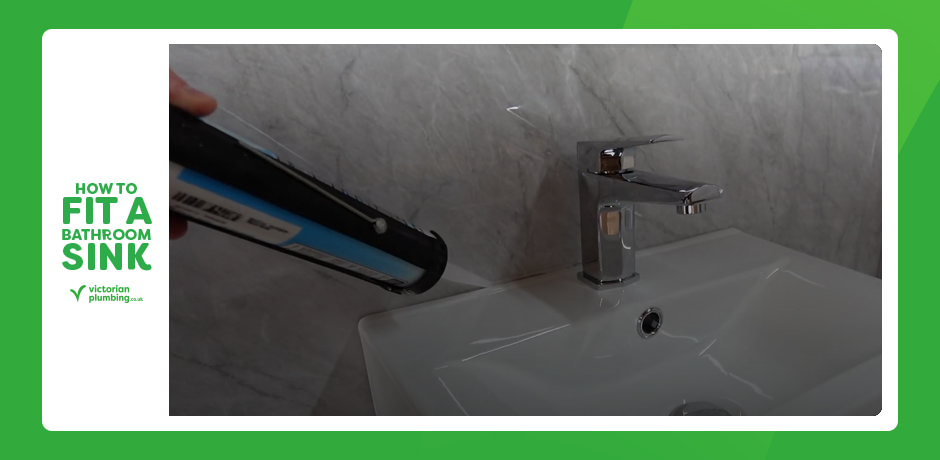
When you are happy with its position, raise the basin slightly, run a neat bead of clear sanitary silicone around the top edge of the cabinet and lower the basin back down. The silicone grips the ceramic, cushions minor imperfections and, once cured, will prevent accidental knocks from shifting the basin.
Step 7 – Connect the Water Supplies
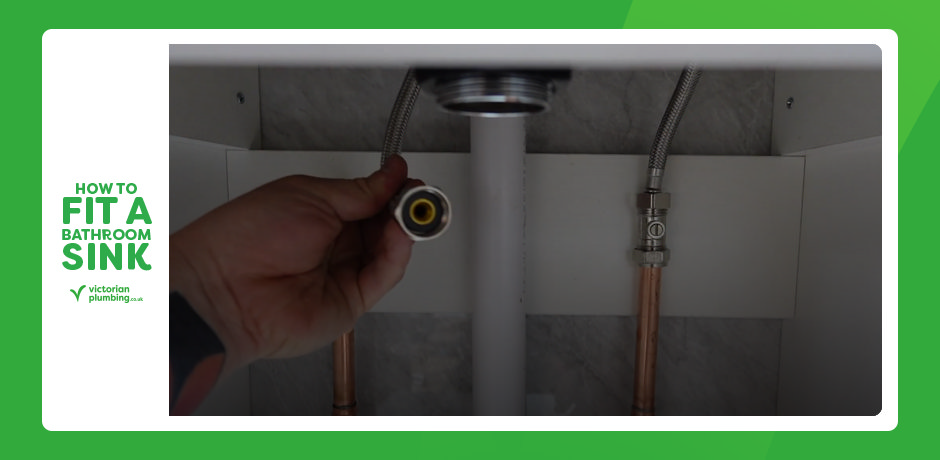
With the basin fixed, reach inside the cabinet and screw the flexible tap tails onto the isolation valves — hot to the left, cold to the right. Each connector includes a small captive washer, so tighten them only by hand until snug and then give them a single gentle nip with an adjustable spanner. Over‑tightening can crush the washer and risk leaks.
Step 8 – Fit Upper Section
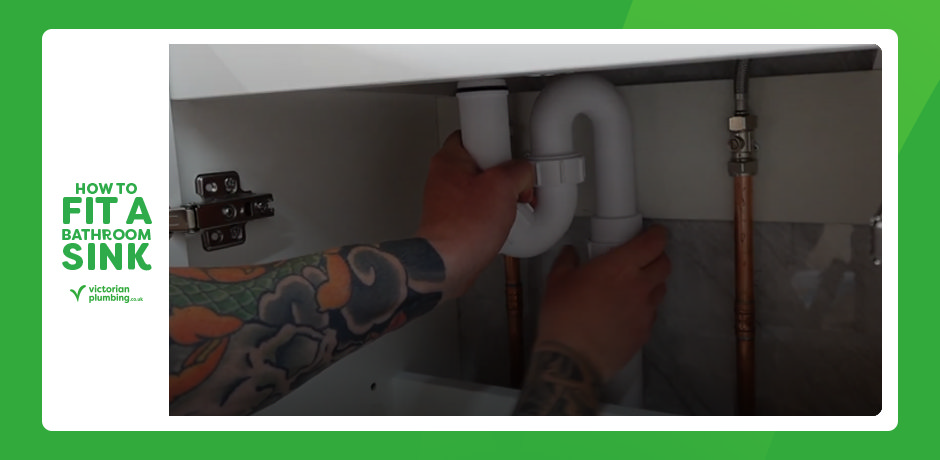
Unscrew the S-trap’s union so you can fit just the upper section to the basin waste first. Tighten the middle nut to create a firm seal.
Step 9 – Assemble & Align
Then assemble the remainder of the trap onto your existing waste pipework, ensuring the final connection lines up without strain. Once everything is aligned, lock the trap to the bottom of the basin waste and hand-tighten all compression nuts. A quick visual check for plumb alignment will minimise the chance of future drips.
Step 10 – Seal the Perimeter and Test
Run a final bead of clear sanitary silicone along the back edge where the basin meets the wall or upstand. Smooth the sealant with a profiling tool or a wet fingertip so it bridges the joint evenly and repels water. Allow the silicone to cure fully, check the manufacturer’s label for exact times, before turning on the isolation valves. Open the tap, let the water run and keep an eye beneath the basin while you fill and empty it several times. No dripping joints and no movement in the basin mean the installation is complete.
Loved This Step-By-Step?
Now that your sink’s fitted and flowing, why not keep the momentum going? Check out our full library of DIY bathroom tutorials or browse design inspiration for your next makeover. If this guide helped you, share it with a friend who’s tackling their own bathroom project — because great bathrooms are even better when they’re a team effort.

Jack
Jack is part of the resident bathroom bloggers team here at Victorian Plumbing. As a bathroom décor and DIY expert, he loves writing in depth articles and buying guides and is renowned for his expert 'how to' tutorials.
