Grab Up To 60% Off In Our February Sale!
Free delivery on orders over £499*
How to Install a Vanity Unit
How to Install a Vanity Unit
A vanity unit adds a stylish, functional element to your bathroom. In this DIY guide we explain how easy they can be to install yourself.
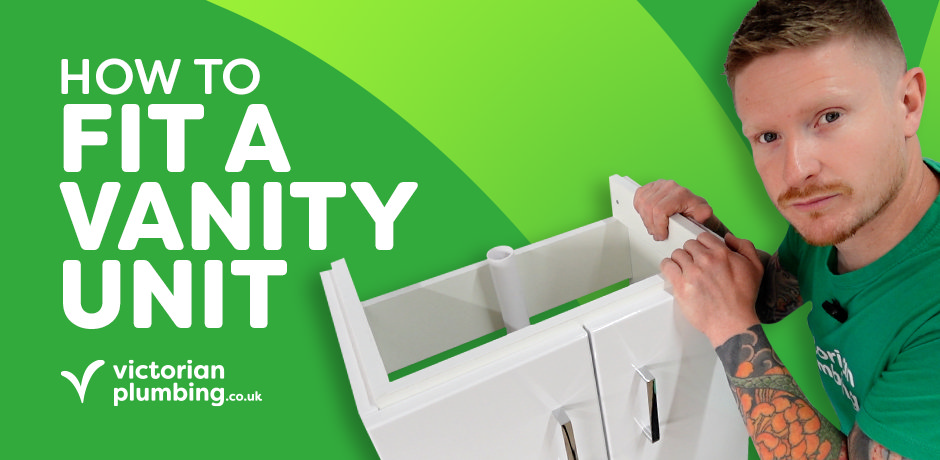
A new vanity unit is one of the simplest ways to add storage and style to your bathroom. In this quick tutorial we’ll show you, step‑by‑step, how to dummy the unit into position, mark up your services, and secure everything firmly to the wall. Follow along with the video below, then use the written instructions as a handy checklist while you work.
What You Need to Install a Vanity Unit
- Spirit level
- Pencil & masking tape
- Tape measure
- Drill / driver & appropriate bits
- Wall fixings (masonry, timber or hollow wall anchors)
- Silicone sealant or grab adhesive (optional)
- Safety gear: gloves & eye protection
- Your new vanity unit, basin, taps & waste
Fitting a Bathroom Vanity Unit
Press play for the full bathroom vanity unit installation walkthrough, then scroll down for the step‑by‑step written method.
Step 1 – Dummy Up the Unit
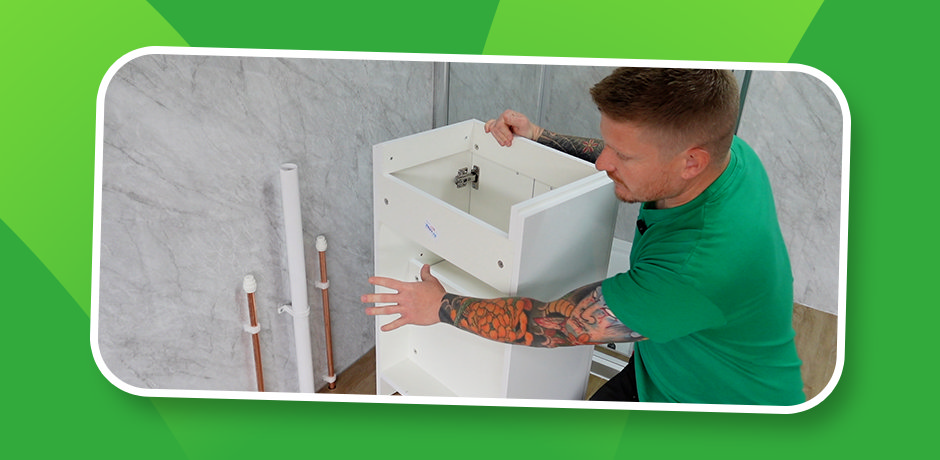
Start by positioning your new bathroom vanity roughly where it will live. Use this trial run to figure out exactly where the hot, cold and waste pipes appear — sometimes from the floor, sometimes straight out of the wall. Check that doors or drawers have room to swing fully and that skirting boards, boxing‑in or radiators are clear. Once you are happy, mark the floor or wall lightly with pencil to record the cabinet’s outline and the centres of each service pipe. Taking ten minutes to do this now will save you wrestling with misaligned plumbing later.
Step 2 – Prepare for the Services
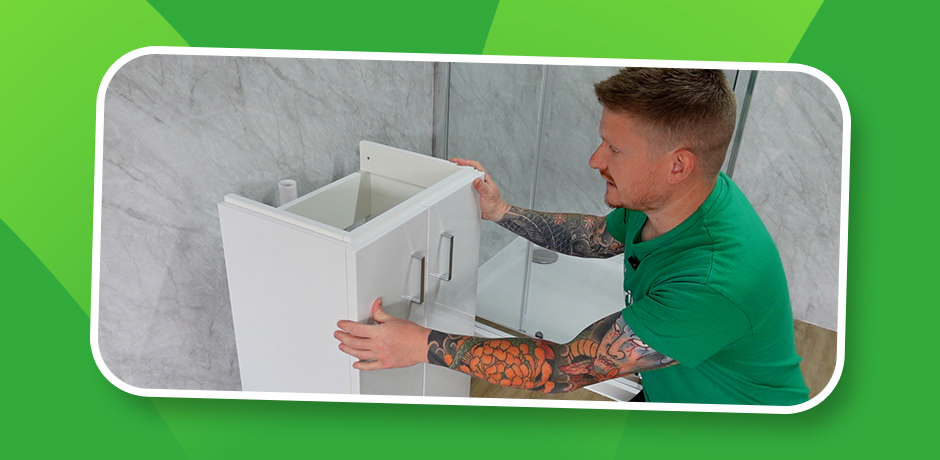
Slide the cabinet back out and drill neat clearance holes in its rear panel where the pipes must pass through. If the back is already open you may be able to skip this task, but always double check that nothing will fall behind the unit. After drilling, smooth any rough edges, vacuum the inside of the cabinet and then stand it back in place so the pipework pokes cleanly through.
Step 3 – Level and Align
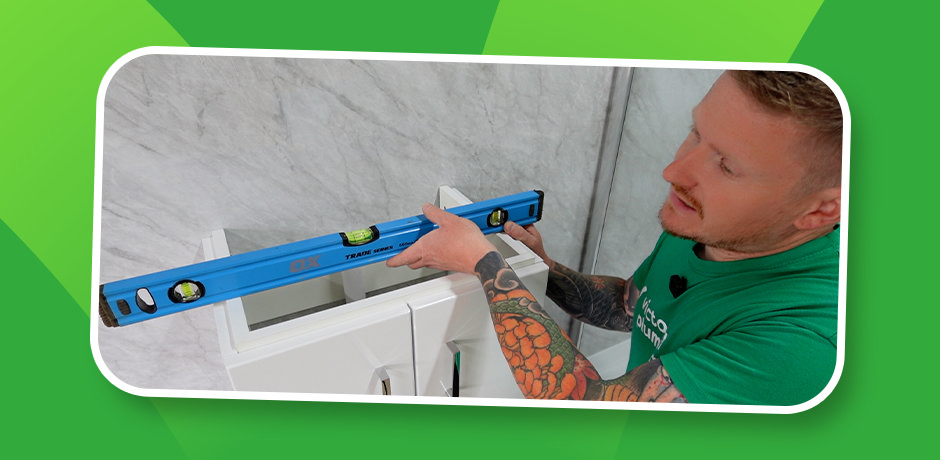
Place a spirit level across the top and along both sides. Most modern units sit on adjustable feet; turn these until the bubble is centred from left‑to‑right and front‑to‑back. Proper levelling is crucial because the basin that eventually sits on top needs a perfectly flat platform so water drains correctly and cabinet doors hang straight.
Step 4 – Secure the Unit to the Wall
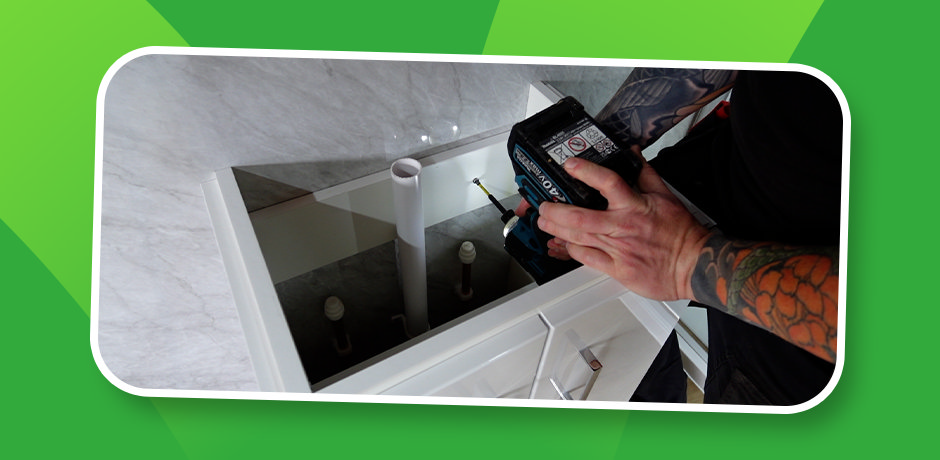
Look inside the cabinet for a solid timber or metal rail running across the back. This is the best place to anchor the unit. With the cabinet still in position, mark the rail’s pilot holes onto the wall, remove the cabinet and drill the wall to suit your chosen fixings. Replace the cabinet and drive the screws through the rail into the plugs, stud or hollow‑wall anchors. Tighten each screw just enough to pull the unit snug; over tightening can distort the cabinet or strip the fixings. If you find that the wall offers no reliable fixing points, run a generous bead of solvent‑free grab adhesive or sanitary silicone along the back rail, push the unit firmly against the wall and wedge something in front to hold it until the adhesive cures. The result should feel rock solid.
Step 5 – Final Checks
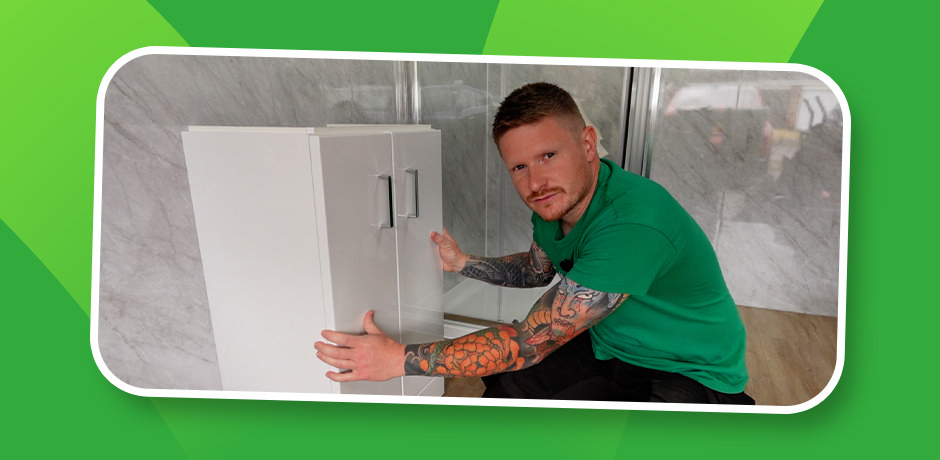
Give the cabinet a gentle shake, it should not budge. Open and close every door and drawer to make sure nothing has twisted out of line during fixing. Wipe away your pencil marks, tidy up the workspace and step back to admire a perfectly installed floor standing vanity unit. At this stage the cabinet is ready for the basin, taps and waste to be fitted.
Need More Bathroom DIY Help?
Now that your vanity’s sorted, why stop there? Explore our full range of DIY tutorials or dive into design inspiration for your next project.
If you found this guide useful, pass it on — share it with a friend who’s tackling their own bathroom upgrade.

Jack
Jack is part of the resident bathroom bloggers team here at Victorian Plumbing. As a bathroom décor and DIY expert, he loves writing in depth articles and buying guides and is renowned for his expert 'how to' tutorials.
