Grab Up To 70% Off In Our January Sale!
Plus an extra 10% off our Arezzo range with code AREZZO10. Code ends in:
How to Change a Tap Washer
How to Change a Tap Washer
This quick DIY guide shows you how to replace a tap washer safely, step-by-step, so you can stop leaks and annoying sounds at the source.
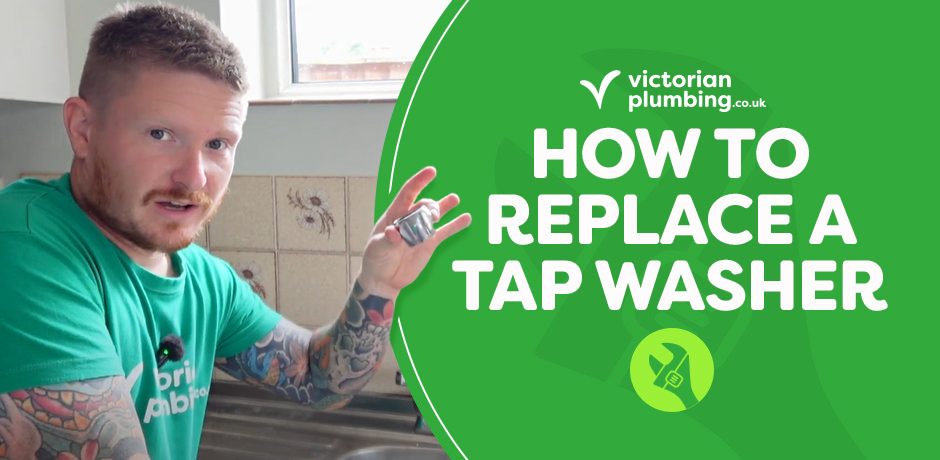
Changing a tap washer is a simple home fix that can save you from 2am drips and that faint whistle no one can un-hear. If your tap is dripping or noisy, it’s often a worn washer - swap it out and you’ll fix a dripping tap and get smooth, quiet turning again.
Left alone, a constant drip wastes water and can leave limescale marks around the spout and handles. The good news is replacing a tap washer (and the O-ring, if needed) is quick, tidy, and budget-friendly.
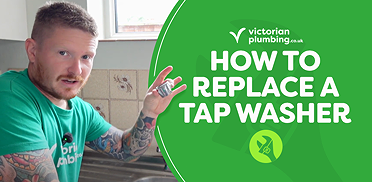
We’ve included a short video guide for how to change a tap washer you can watch at your pace, plus a clear step-by-step walkthrough below so you can follow along with confidence.
Please note that the steps below should be used as a general guide only. As with all our DIY guides, we always recommend that you seek professional help.
What You Need
- Small flathead screwdriver
- Adjustable spanner (correctly sized)
- Releasing spray
- Tap repair kit (assorted washers)
- Replacement O-ring (often included)
- Cloth/blue roll for drips
Safety first: Isolate the water at the under-sink isolation valve or the property stopcock, and open the tap to drain pressure before you start.
Video Guide
Press play to see the whole job in action, then use the written steps below to follow along at your own pace.
8 Steps to Change a Tap Washer
1) Isolate the Water
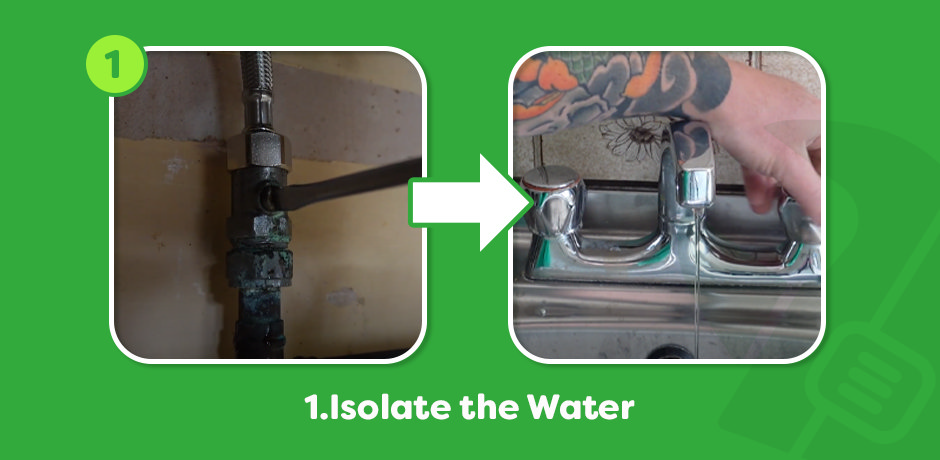
Turn off the water supply to the tap. You can either close the isolation valve beneath the sink or use the property stopcock. Open the tap to relieve pressure and let any remaining water drain away.
2) Confirm You’re Working on the Faulty Side
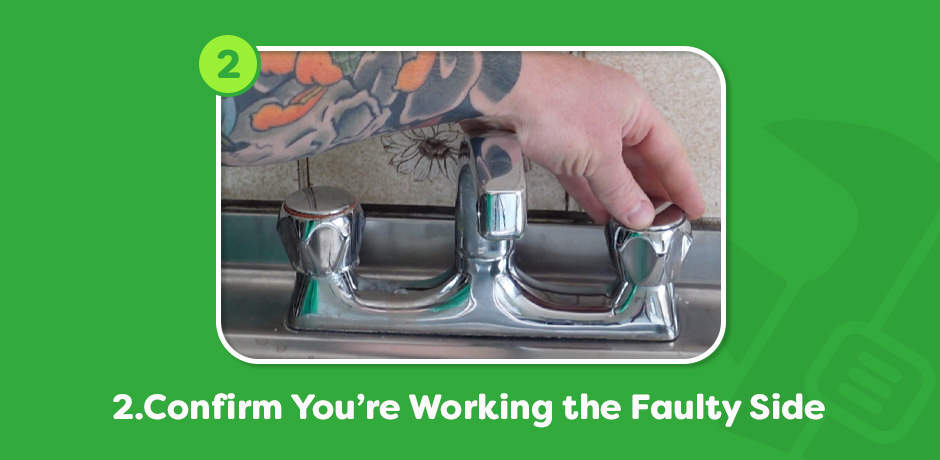
In our example, the cold side is the culprit. If you’re not sure which side is at fault, replace both hot and cold washers so you don’t need to revisit the job.
3) Remove the Handle Cap, Screw and Handle
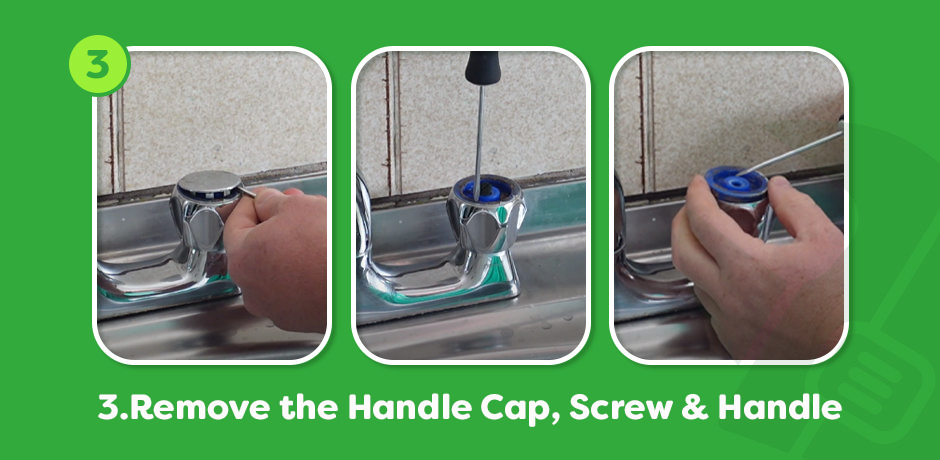
Use a small screwdriver to lift off the handle cap. You’ll see a small fixing screw underneath - remove it, then lift off the handle.
4) Free a Seized Middle Section (If Needed)
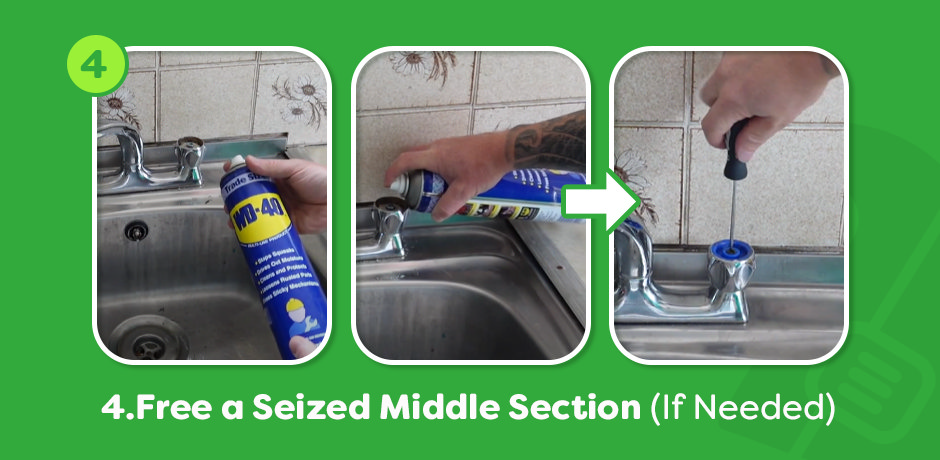
On some taps, limescale and corrosion can bind the middle shroud/section. A light spray of releasing agent (such as WD-40) and a minute’s patience usually frees it. Ease the section off carefully.
5) Loosen the Valve and Expose the Washer
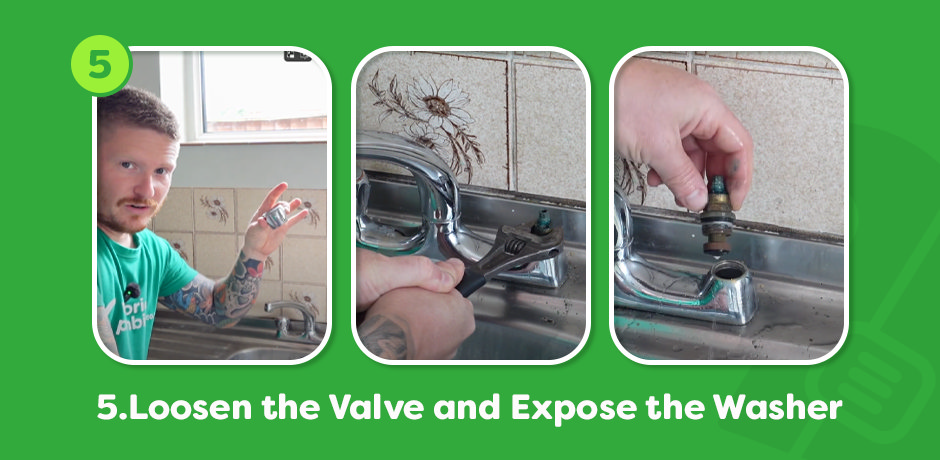
Fit an adjustable spanner securely to the valve body and turn counter-clockwise to loosen it. Expect a little residual water. Lift the valve out and you’ll see the tap washer at the end.
6) Select and Fit the New Washer (And O-Ring)
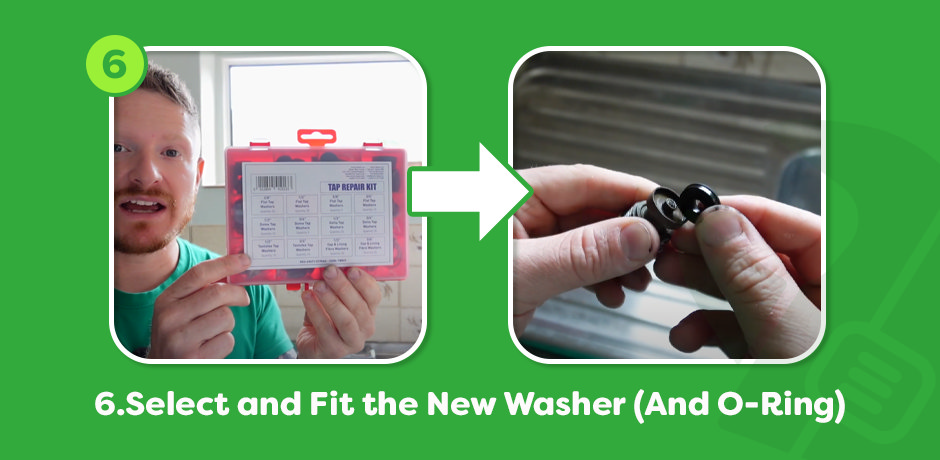
Open your tap repair kit and match a washer that fits the valve end snugly (our demo uses a tan style washer). Flick the old washer off with a fingernail or screwdriver and press the new one into place. While you’re here, replace the O-ring - on older taps this helps prevent leaks around the spindle.
7) Refit the Valve and Reassemble
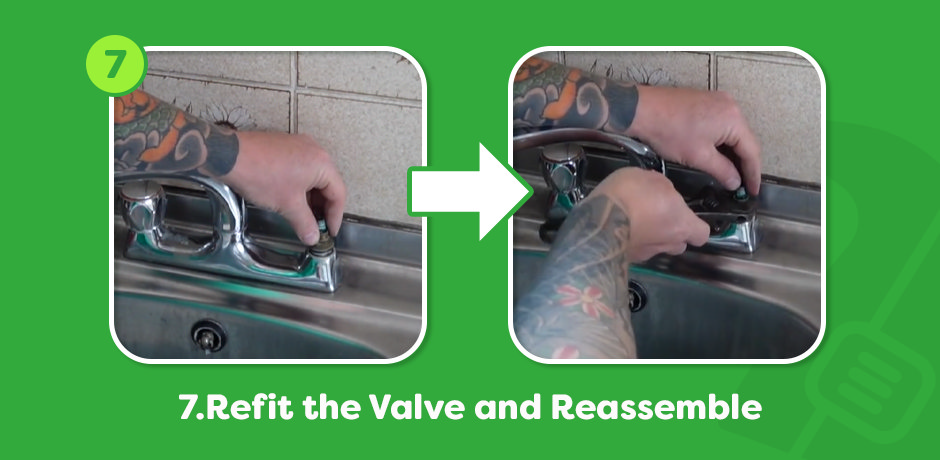
Thread the valve back into the tap body clockwise. Nip it up with the spanner - firm, not over-tight. Refit the handle, screw and cap.
8) Turn the Water Back on and Test
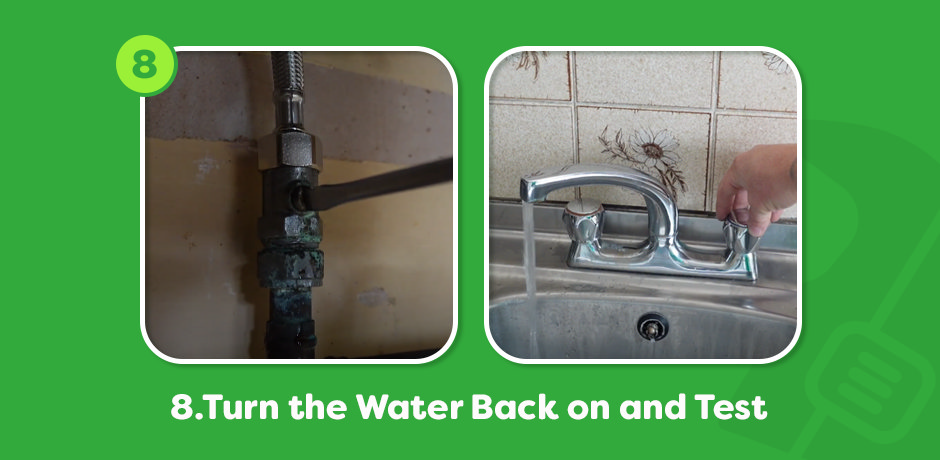
Restore the water supply. Check around the repair for leaks, then turn the tap on and off to confirm smooth operation. You should have no more noise and no more dripping - job done.
Job done and peace restored - no drip, no whistle. If you’re in the mood for more quick wins, have a look through our DIY guides for step-by-step fixes.
Know someone battling a dripping tap? Share this with friends or family so they can save water, money, and their sanity.

Jack
Jack is part of the resident bathroom bloggers team here at Victorian Plumbing. As a bathroom décor and DIY expert, he loves writing in depth articles and buying guides and is renowned for his expert 'how to' tutorials.
