EXTRA 10 % OFF AREZZO WITH CODE: AREZZO10
*Free delivery on orders over £499
Bath Panels
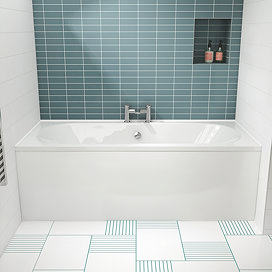
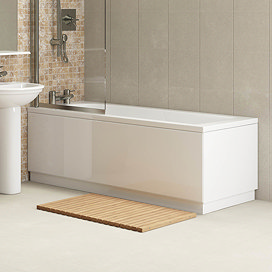
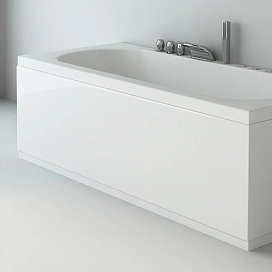
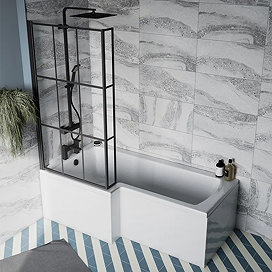
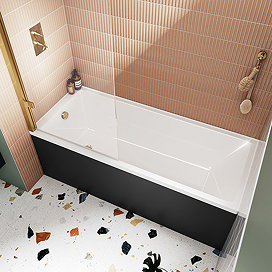
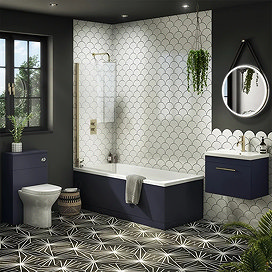
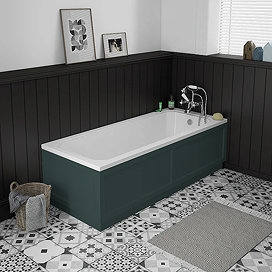
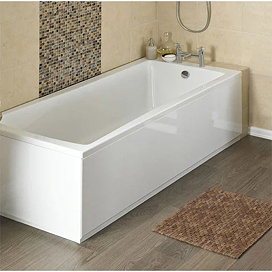
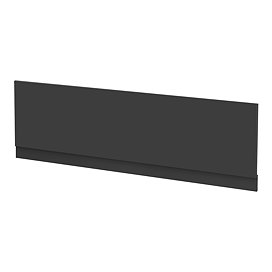
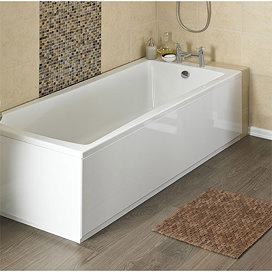
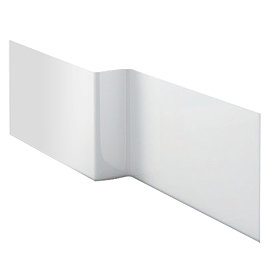
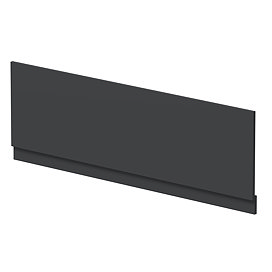
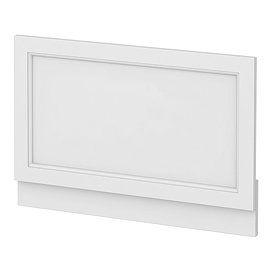
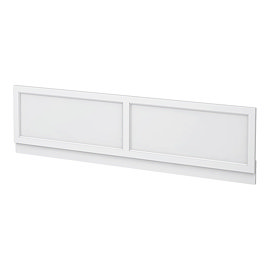
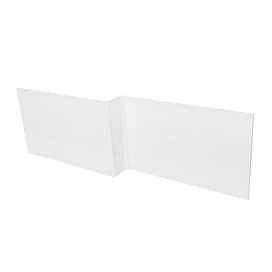
A bath panel is what makes your bath look properly finished, instead of sitting there looking a bit lost. Swap a tired bath panel for a fresh one and you’ll instantly lift the whole room. It’s one of the quickest ways to smarten up your bath area without touching the plumbing. Plus, enjoy free standard UK delivery on orders over £499.
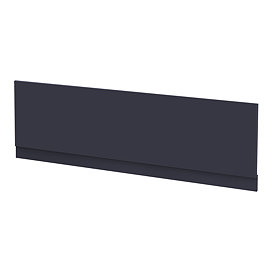
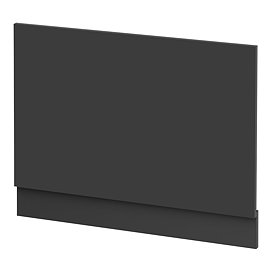
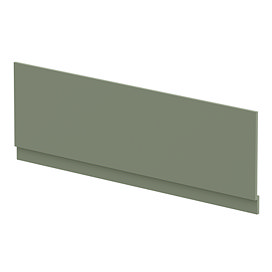
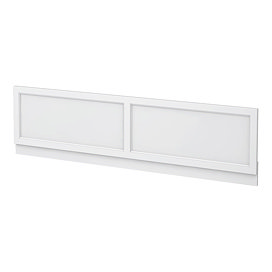
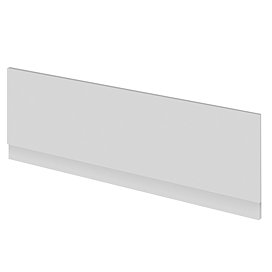
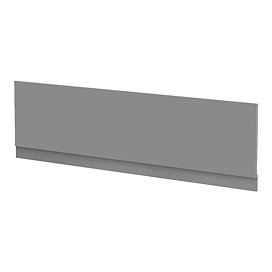
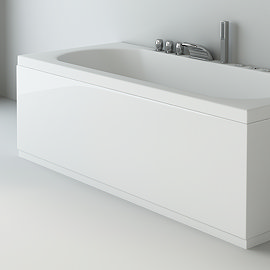
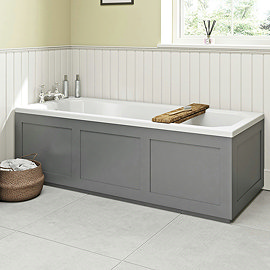
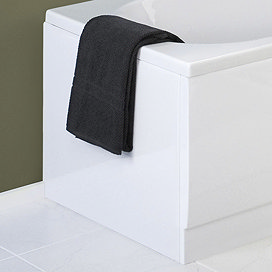
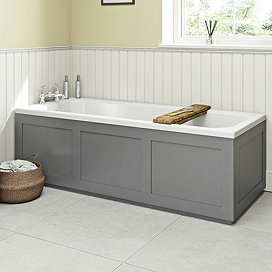
You can match your replacement bath panel to your bathroom’s look with ease. There are over 300 options covering acrylic, MDF, wood effect, curved, modern or traditional designs in a mix of colours and finishes. Whether you’re going modern, classic or somewhere in between, you’ll find a new bath panel that suits your space.
Every bath panel we stock is made to handle daily splashes and steamy bathroom life. MDF stays solid, acrylic keeps things simple and wood effect panels hold up brilliantly with just a bit of care. Most come with generous manufacturer guarantees too, so you know you’re fitting something dependable.
Shop By Type
Sort By
View:
View:
Premium
£169.95
In Stock
6
4.8 out of 5 review stars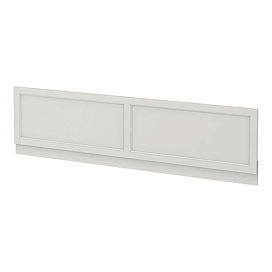
Premium
£159.95
In Stock
4
4.8 out of 5 review stars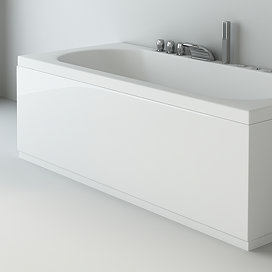
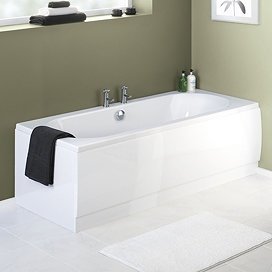
Waterproof
£99.95
In Stock
47
4.8 out of 5 review starsMore Sizes
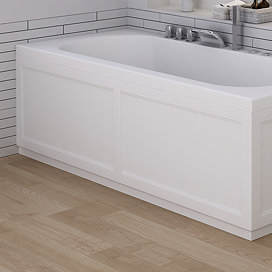
Best seller
£49.95
In Stock
58
4.7 out of 5 review starsMore Sizes
Waterproof
£189.95
In Stock
Waterproof
£149.95
In Stock
1
5 out of 5 review stars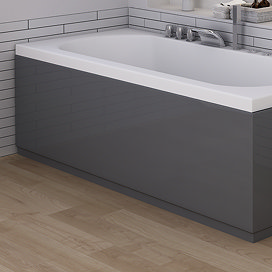
Waterproof
£109.95
In Stock
3
4.7 out of 5 review starsMore Options
Best seller
£29.95
In Stock
19
4.7 out of 5 review starsMore Sizes
SAVE 33%
£99.95
Was £149.95
In Stock
8
4.9 out of 5 review stars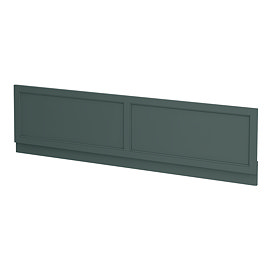
Premium
£159.95
In Stock
2
5 out of 5 review stars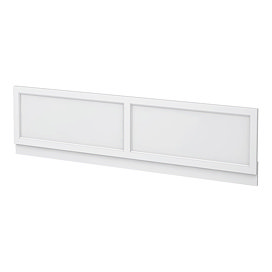
Premium
£149.95
In Stock
1
4 out of 5 review stars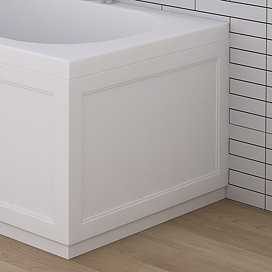
Waterproof
£79.95
In Stock
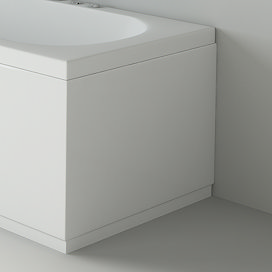
Waterproof
£59.95
In Stock
5
5 out of 5 review starsMore Sizes
Best seller
£69.95
In Stock
15
4.7 out of 5 review starsMore Sizes
Recently Reviewed
Few cracks
13th December 2025There were a few cracks on the joins, but otherwise ok
David Willock from Kent- verified purchaser
My builder was impressed
11th December 2025My builder was impressed with the quality of this panel. Even asked for the link so he can recommend to all his other clients
Evelin Bonfim Ribeiro from - verified purchaser
Review From Trustpilot
9th December 2025Good quality
Stuart Lawson- verified purchaser
Neat and looks great.
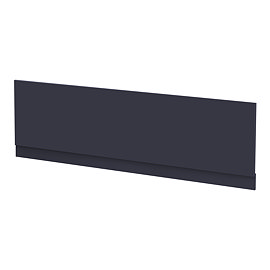
8th December 2025Fitted easily, colour a deep blue so goes very well in our bathroom.
Graham Temple from West Sussex- verified purchaser
