Grab Up To 70% Off In Our January Sale!
Free delivery on orders over £499*
How to Tile a Bath Panel
How to Tile a Bath Panel
In this straightforward guide, learn how to tile a bath panel in just 9 simple steps. We’ll give you tips and tricks on completing this small DIY task by yourself!
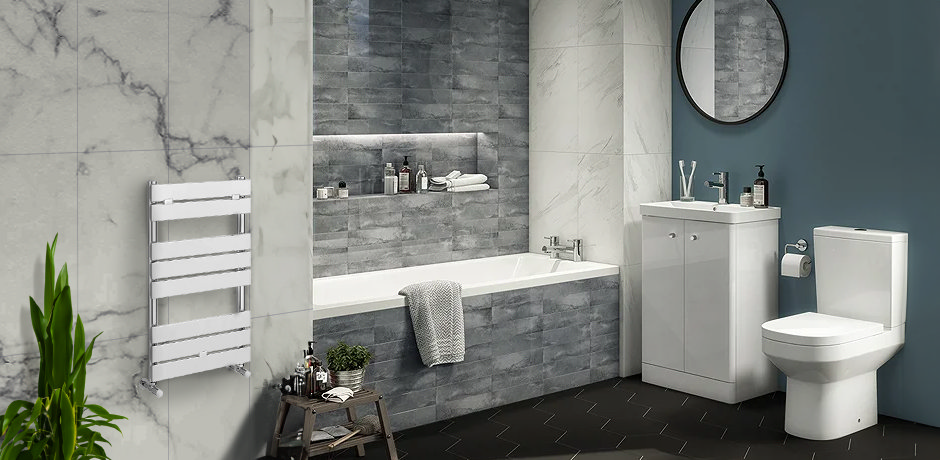
Similarly to tiling a bathroom wall, which you can read about here, tiling a bath panel can be a lengthy process. The results are worth it...but only if done correctly. We're here to provide you with all the information you need to start your DIY journey! We'll be discussing preparation hacks, tools and materials you might need, and a detailed step-by-step tutorial!
Table of contents
- What is a bath panel?
- Benefits of tiling your bath panel
- What you will need
- How long does it take to tile a bath panel?
- Preparation
- How to tile a bath panel
- How much does it cost to tile a bath panel?
Use the links in the contents list above to skip to specific parts of the tutorial!
What Is a Bath Panel?
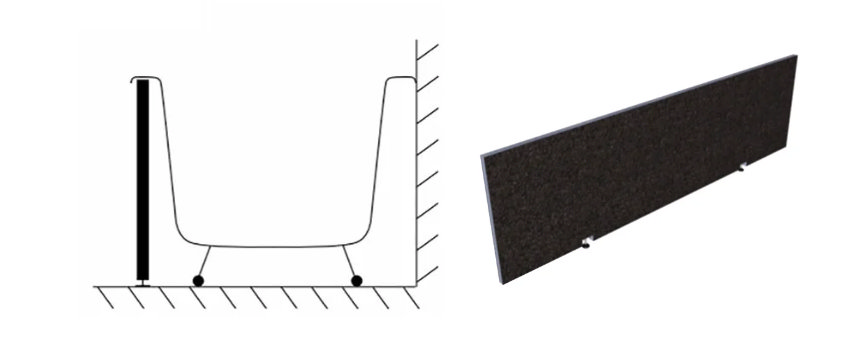
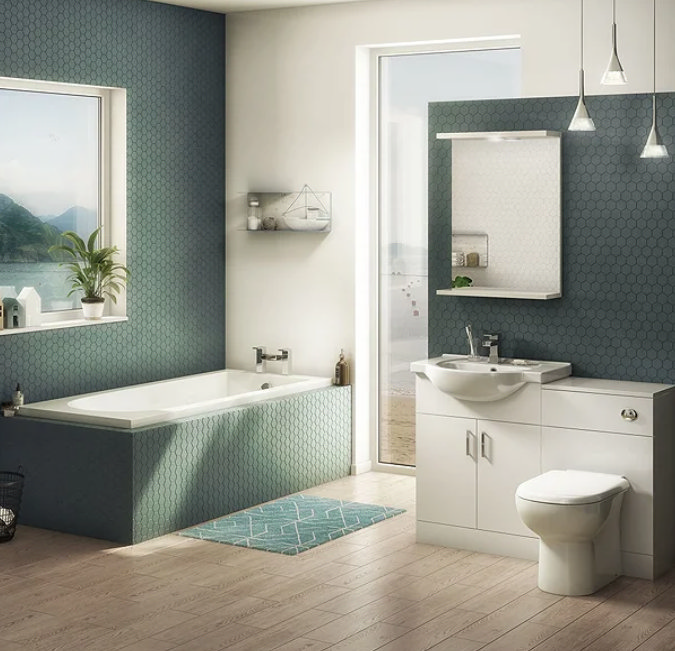
A bath panel is essentially a cover for the frame and fittings beneath a bath. When tiling your bath panel, you have two options. You can choose to seamlessly integrate your bath into your bathroom, by matching your bath panel tiles to ones on your wall or floor. Alternatively, you could use a completely different tile to make your bath a standout feature.
Benefits of Tiling Your Bath Panel
- Aesthetically pleasing. Tiled bath panels are modern, stylish and can completely re-invent your bathroom aesthetic!
- Easy to clean. Tiled bath panels are surprisingly easy to clean and maintain.
- Damages aren’t expensive to repair. If a section of the bath panel is damaged, it is cheaper and easier to replace a few tiles rather than an entire panel.
- Customise your bathroom. There is a huge range of different sizes, colours and textures to choose from when picking out your bathroom tiles. This allows you to individualise your bathroom and make it your own!
What you will need:
Tools
- Measuring tape
- Putty knife (or something similar)
- Sandpaper
- Tile cutter (unless you can get your tiles professionally cut)
- Grout float
- Towel or sponge
- Bucket (to mix adhesive or grout)
Extra optional tools
- Tile spacers
- Gloves
- Bubble level (to ensure your panel/tiles are level)
Materials
- Tiles
- Bath Panel
- Tile adhesive
- Grout
- Sealer
How long does it take to tile a bath panel?
Factoring in preparation and drying time, tiling a bath panel could take between 1-2 days. Whilst a lot of this time involves patiently waiting for adhesives and grout to dry, tiling is still a time-consuming process. So, be sure to clear your schedule before you begin! You’ll also need to avoid using your bath during this time so, if you’re a daily bather, make sure you’ve got somewhere else to soak for the time being!
Preparation
Before tiling your bath, you must take time to prepare. Make sure you’re 100% sure of the colour, texture, and size of the tiles you intend to use. Factor in whether you’d like your panel to match the rest of your bathroom, or whether you intend for them to clash. Be sure to choose a grout colour that matches your tile and double-check that you have enough tiles to completely cover the panel before you start sticking them down.
How To Tile a Bath Panel
Step 1. Plan
To avoid messing up, always remember to plan ahead of time. Doing tasks like measuring your panel in advance and ensuring that you have all of the right materials will help you achieve the best possible outcome for your project!
Step 2. Prep
After making sure that you have everything needed to start tiling, prep your bath panel surface. This step is extremely important as, without it, your tiles won’t stick to the surface. To prep your bath panel, smooth down the surface with sandpaper. Afterward, clean your surface using a mild detergent. Make sure that the cleaning agent does not have bleach or anything acidic or abrasive inside it.
Step 3. Apply adhesive
Next, apply an adhesive of your choice making sure that it’s waterproof and suitable for bathrooms to avoid the tiles from falling off. To apply, use a putty knife to evenly spread a layer of adhesive. The thickness of the layer will depend on advice from the adhesive manufacturer. Take a look at our selection of quality adhesives and grout here!
Step 4. Tiling
Now, here comes the fun part. Start placing the tiles on the adhesive layer. You can use tile spacers if you're worried about it looking uneven. Make sure you work from the middle outwards to create a symmetrical pattern!
Step 5. Cutting
You may find, around the border of your bath panel, that your tiles are coming off the edge. To fix this, measure and cut the tiles for the outskirts of the panel, to size. You can do this yourself with a tile cutter or take them to be cut professionally.
Step 6. Dry
Next, let the adhesive dry. You can usually find information about the drying time on the product itself, but this process usually takes between 24-48 hours.
Step 7. Grout
After the adhesive has completely dried, fill in the gaps between the tiles with grout. This can be achieved using a grout float. Make sure that all of the cracks and crevices between the tiles are covered, before wiping off the excess grout with a damp towel or sponge.
Step 8. Sealer
Once the grout has completely dried (again, look at the manufacturer’s recommended dry time) apply a sealer of your choice. This locks in your tiles and protects them from water damage.
Step 9. Clean up
Make sure you clean off any extra residue and you’re left with a beautifully tiled bath panel that is ready to admire!
How much does it cost to tile a bath panel?
Hiring professionals for installations can put a strain on your budget, making many opt for DIY, especially for simple tasks. Hiring a professional to tile your bath panel can cost up to £300, so it is understandable if you’d rather give it a go yourself. As long as you follow the necessary steps and precautions, we say go for it! Happy styling your tiling!
If you'd like to give your new bathroom a new look, check out our quality bath panel and tile collection!

Hannah
Hannah is one of our bathroom bloggers here at Victorian Plumbing. She'll be posting updates on the latest bathroom trends and decorating tips. Look out for her expert 'how to' step-by-step DIY guides too!
