Our January Sale Ends Tonight! Grab Up To 70% Off While You Can.
Free delivery on orders over £499*
How to Fit a Kitchen Sink
How to Fit a Kitchen Sink
Replacing an old kitchen sink is a great way to refresh and modernise your kitchen. Following our step by step guide, you'll be able to successfully replace your kitchen sink and give your kitchen that much needed upgrade.
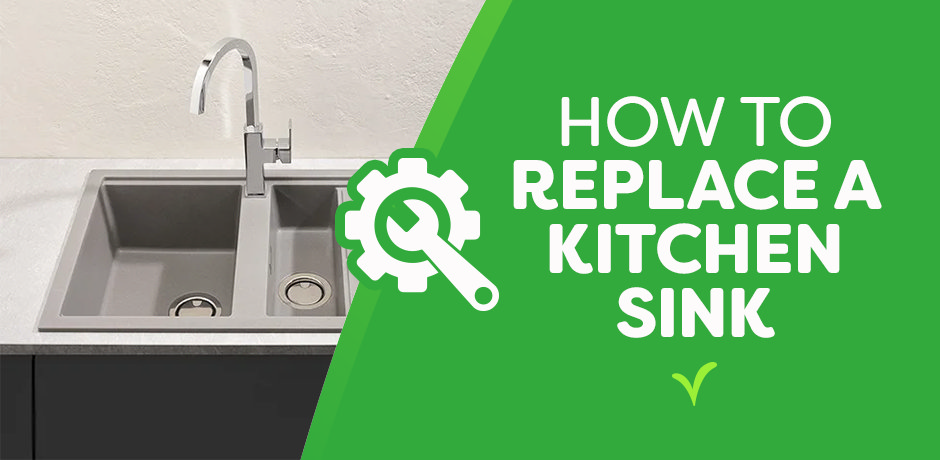
There are many kitchen sinks available for all tastes and budgets. However, they are difficult to install for people who don't have experience with this type of DIY project, especially if you have to remove an old sink first.
You can flip through the table of contents on a manufacturer's website all you want, but you're going to need actionable steps if you plan on fitting a kitchen sink just right.
Do you need to know how to fit a kitchen sink? Whether you want to install a top mount or undermount sink, this article will set you in good stead and tell you how to fit them.
What you'll need
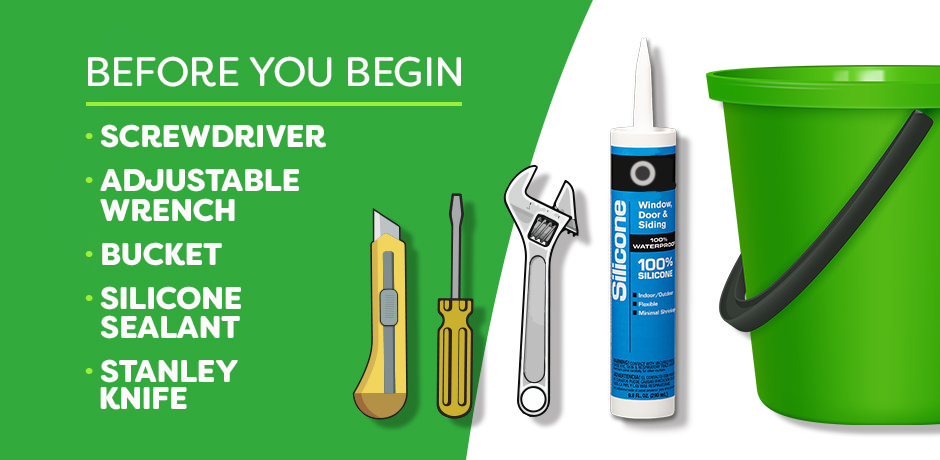
Before you start to replace your kitchen sink, there are a few things that you will need to help you along the way :
- Stanley knife
- Screwdriver
- Adjustable wrench
- Silicone sealant
- Bucket
Step 1: Turn off your water supply
First, make sure you turn off the water supply to the taps of the sink you're replacing. The hot and cold water pipes beneath the sink that supply the taps may have quarter-turn isolating valves, so turn the water off by moving the handle or nut on the valve until it reaches 90 degrees to the flow of the pipe.
You can tell the tap is on if it is in a parallel position. If there aren't any isolating valves on your sink, it would be an ideal time to fit them. You can purchase flexible hoses with these types of valves already fitted, but make sure you get the correct type for your specific tap.
It may be a good idea to turn off the water supply for the whole property—you don't want to be getting drenched later on.
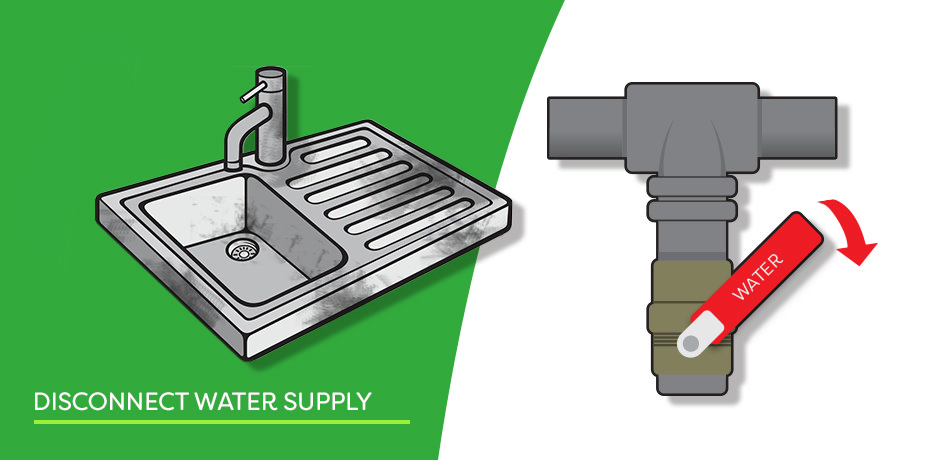
Step 2: Close off the stopcock
If there aren't any isolator valves, you should turn off the cold water at the mains stopcock. There could also be another stopcock in the hot water system. You can close them by turning the handle clockwise. It is worth noting that your stopcocks may be hard to turn off as they aren't used regularly.
You can be sure the water is turned off by opening the tap on the kitchen sink. The water supply may still run for a couple of minutes, that's if you are emptying the expansion pipe—so be patient.
Step 3: Disconnect drain pipes
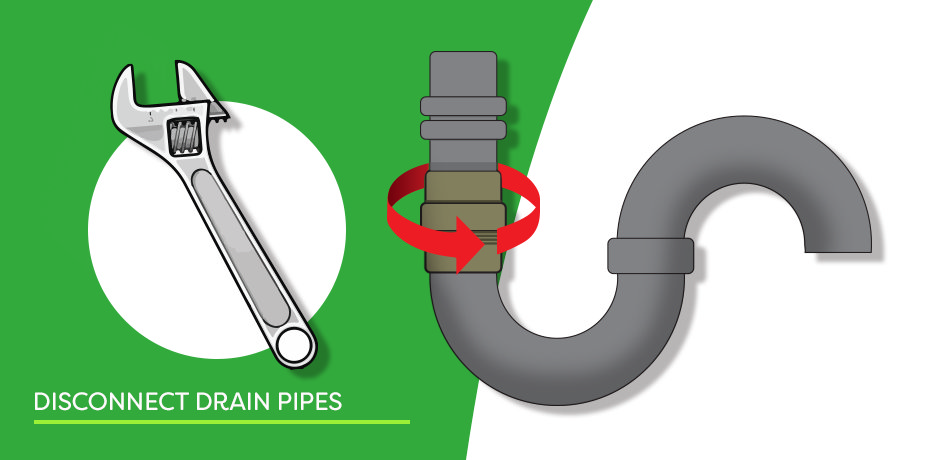
With the water supply disconnected, you can start to loosen the drain pipe. To do this, take the adjustable wrench and carefully start to loosen the drain pipe at the connection point. Again, ensuring the bucket is placed beneath the pipe to catch any remaining water. At this point, you will be able to remove your taps.
Step 4: Remove taps
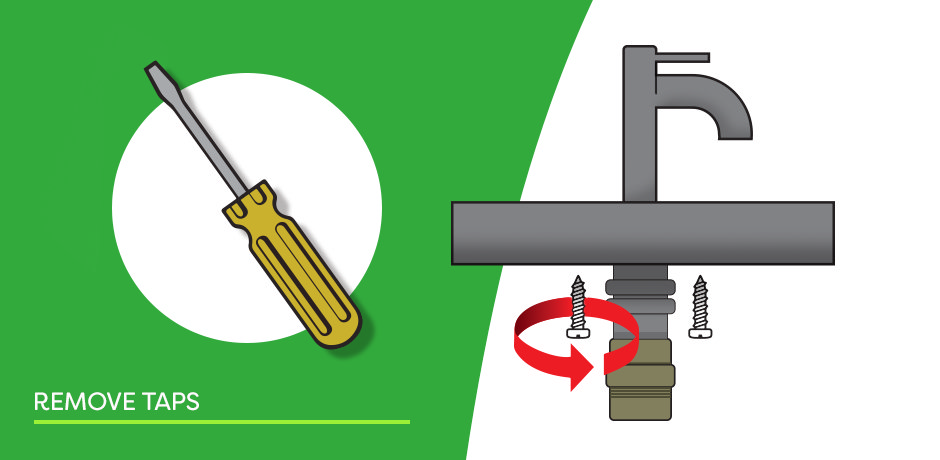
Whether you are adding a new tap or sticking with the same, you will need to remove the taps. Do this by loosening any screws that are holding the tap in place. Lift the old tap away and remove the pipe that connects to the tap.
Step 5: Loosen clips
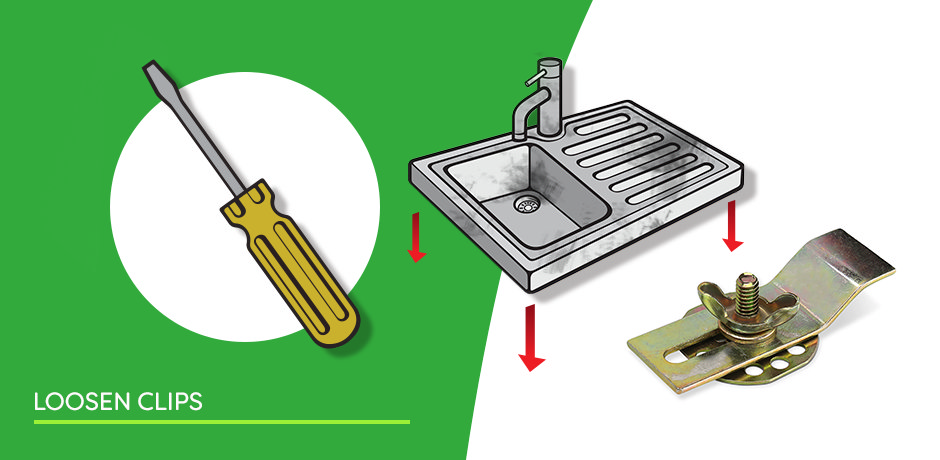
Looking under the counter, you will see some metal clips that are keeping the sink secure. Tae a screwdriver and loosen all of the clips.
Step 6: Remove silicone sealant
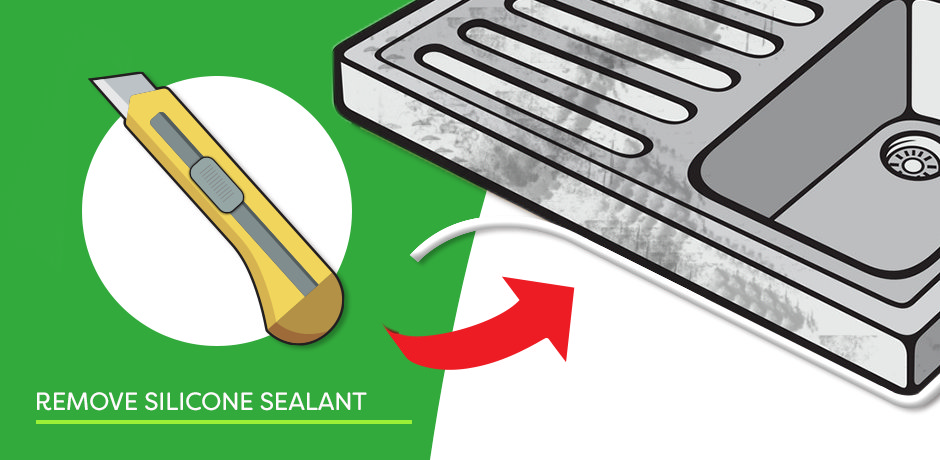
Now you can remove the sealant surrounding the sink. The best way to remove silicone sealant is to use a Stanley knife to carefully cut the sealant away from the sink. Take extra care when doing this to avoid damaging your kitchen counters!
Step 7: Remove the sink
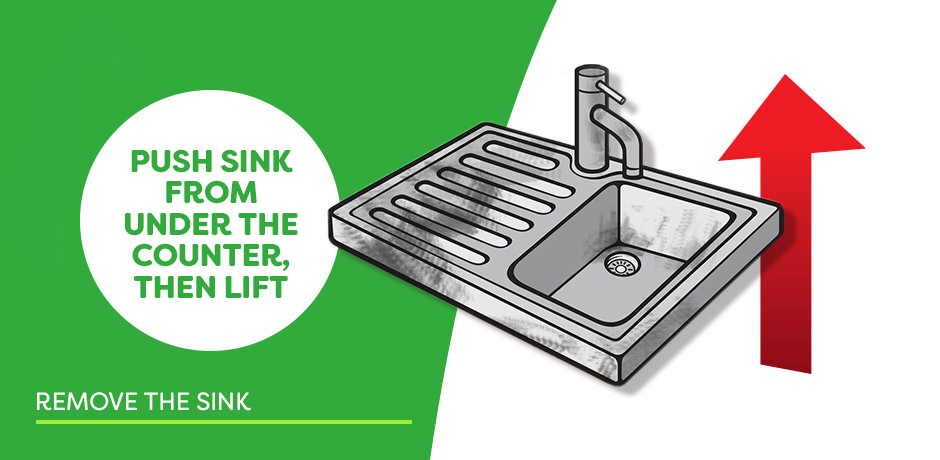
With everything disconnected, you will be able to remove your old sink. Some sinks can be very heavy, especially ceramic sinks. So make sure that you have an extra pair of hands to help you to safely lift the sink. The best way to remove a sink is to push the sink up from under the counter and then lift the sink up and away.
Step 8: Assemble new sink and taps
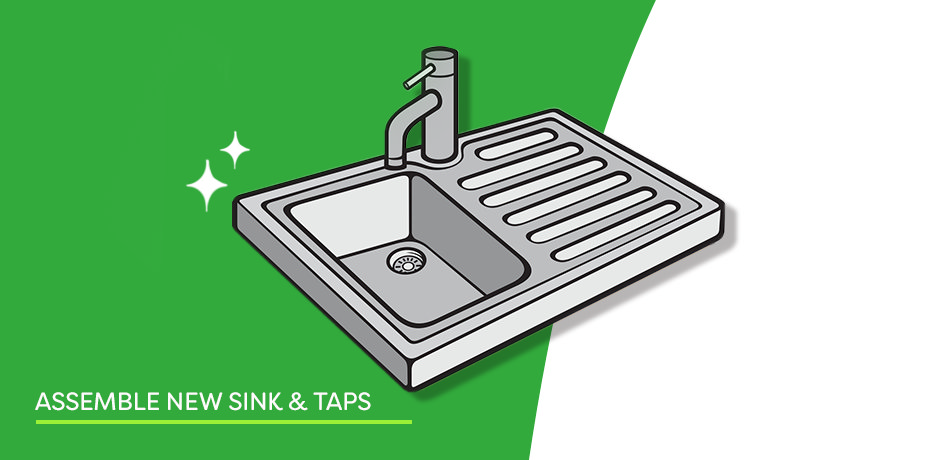
Before you start to fit your new sink, make sure that you assemble your sink as much as possible (if any assembly is required). Also make sure that you assemble any new taps as much as possible, as this can be harder to do once connected to supply pipes.
Step 9: Attach metal clips and fixings
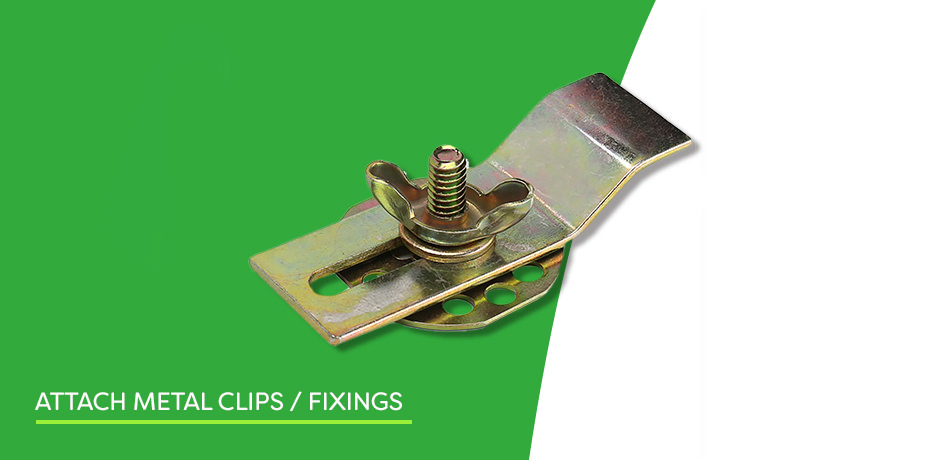
The first thing that you will need to do is attach the metal clips to the underside of the sink. Make sure that you follow the instruction manual for your sink to ensure that you attach the metal clips to the right areas. Then you will want to flip them in towards the sink so that they won't get in the way when you lift the sink into place. We recommend that you attach the clips first as this can be harder to do when the sink is in place.
Step 10: Install tap(s)
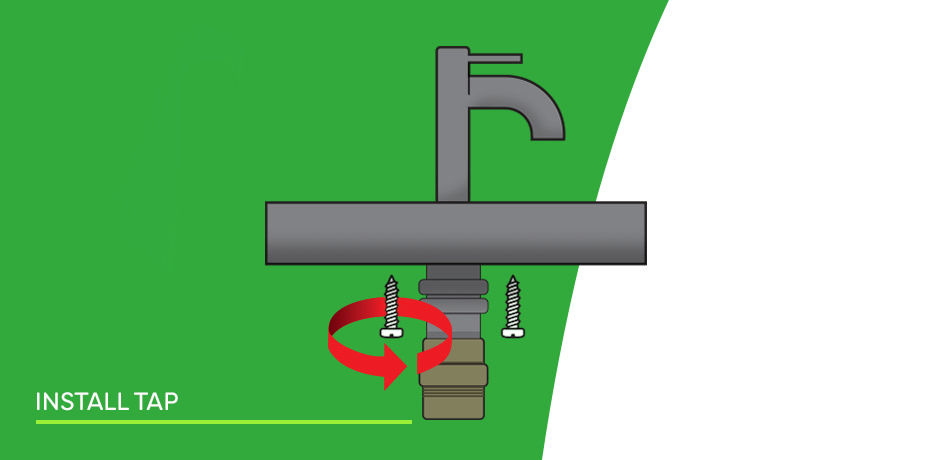
Now you can install your tap at the corresponding holes on the new sink. Make sure that you follow the correct instruction manual for tap installation. Again, we recommend doing this before lifting the new sink into place to allow for easier access.
Step 11: Lower sink into place
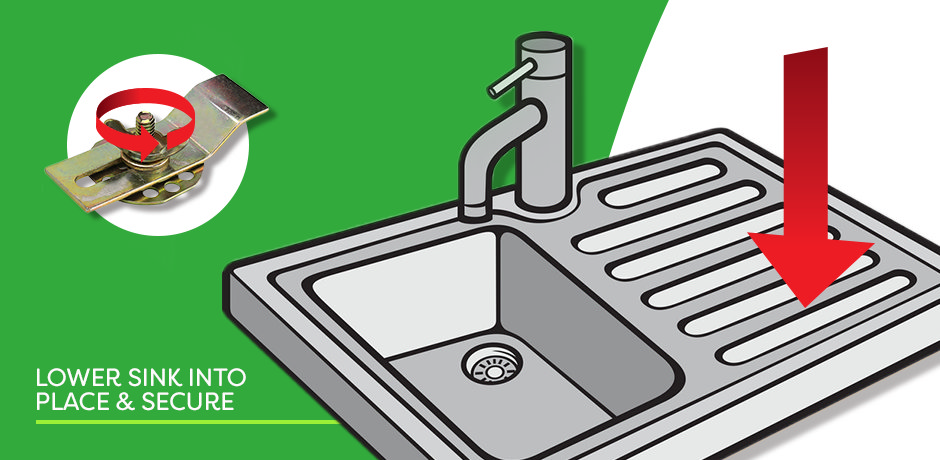
After adding your tap, you can carefully lift the new sink and lower it into place. If your new sink is heavy, you may need some assistance with this bit.
Step 12: Secure sink
Now you can go ahead and secure the sink in place. To do this, you will need to return to the metal fixings and flip them so that they are facing outwards. Then, using a screwdriver, you will be able to tighten the metal clips so that they won’t budge.
Step 13: Reconnect water supply
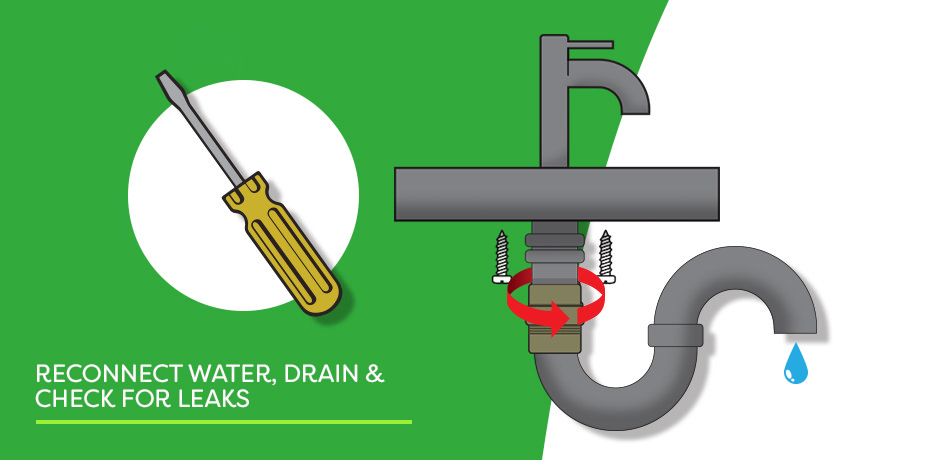
With the sink securely in place, you can reconnect the water supply and drain to the corresponding pipes using the adjustable wrench. Make sure that you do not over tighten any of the pipes as this can cause breakage at the joints on the pipe.
Step 14: Check for leaks
Before you break out the silicone sealant, you want to be sure that there are no leaks due to damage or a fault. Turn on the water supply and allow both hot and cold taps to run. Whilst the taps are still running, check under the sink for any leaks or drips. Should you encounter any leaking, turn off the taps and the water supply once again and remove the pipes for further inspection. If you find any damage, you will need to replace the damaged part before you can start to use your sink.
Step 15: Add silicone sealant
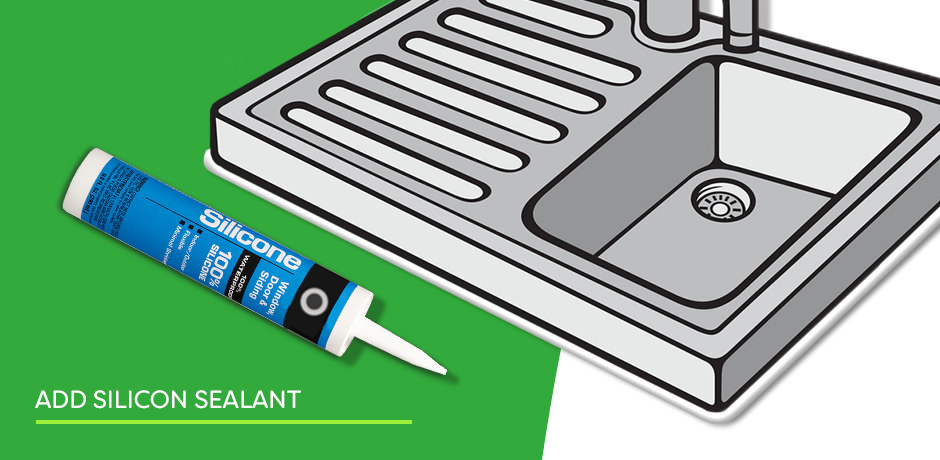
If you did not find any leaks or drips, you will be able to seal the sink using silicone sealant. This is a very important step, as this will waterproof the edge of the sink and the countertop, preventing any water damage.
Frequently asked questions
How easy is it to move a kitchen sink?
If your sink drain is vented and the water can move freely, you can move sinks relatively easily. Before you begin the replacement, the hole underneath the sink must be completely clear, so you have access.
Do you need a plumber to install a kitchen sink?
You may not need a plumber's help for the whole process. However, there may be certain elements that you might need a professional for. For example, if you find your stopcock is too difficult to close on your own, it's best to contact them for their services.
If kitchen DIY is something you aren’t confident in attempting, we would thoroughly recommend hiring a plumber.
What factors should I consider before buying a new sink?
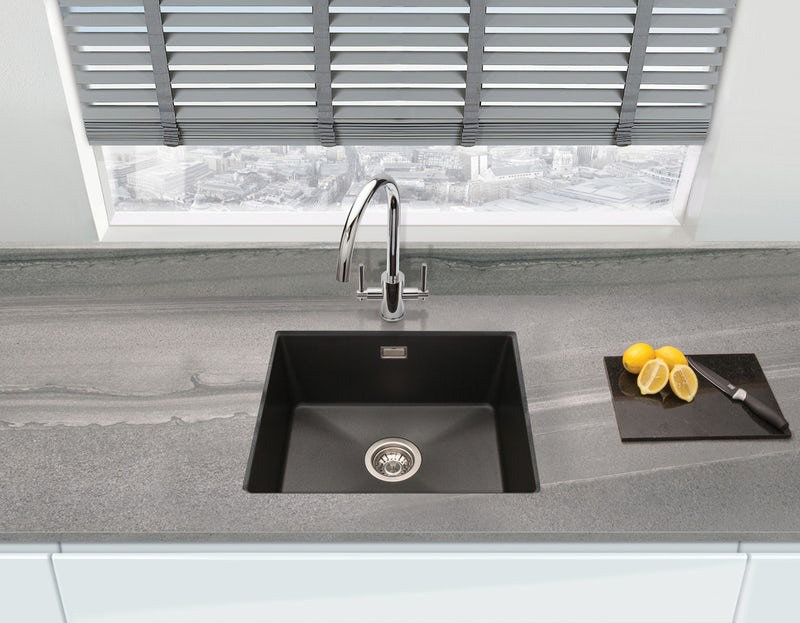
The most important factors are material and size. Whether you prefer porcelain, stainless steel, or cast iron, you don't want your sink to look out of place in your kitchen.
If your kitchen is small, opting for a large sink would look out of place, and vice versa. Ensuring your kitchen site has enough space for the size of sink you want is the most important. That's why we recommend following each step from our guide above and not skipping any precautions—you'll ensure the area is the correct size before fitting the sink.
Our final thoughts
Hopefully, this guide has helped you learn how to fit a kitchen sink in manageable steps. Your sink will be fitted so well that any visitors you have won't believe you completed the job yourself!
When it comes to replacing your kitchen sink, chances are you can probably use your existing waste outlet, inlet pipes, and water supply pipes. To make life even easier, try to choose a waste similar in size to the one you'll be removing.
When purchasing a sink, choose one similar in shape and dimensions to your current one. Correctly measure under the sink—you can go larger if you have enough space to cut a larger opening. Regarding the bowl, choose one as close to the same depth as your current sink unit.
Whether you’re searching for a classic Belfast or Butler sink or perhaps something more designer, we have one of the widest ranges of kitchen sinks around, from leading brands like Rangemaster and Bristan.

Megan
Megan is an expert bathroom blogger, she enjoys writing helpful DIY articles and bathroom inspo blogs. As well as specialist bathroom advice, Megan also shares expert how-to blogs with step by step guides.
