Grab Up To 60% Off In Our February Sale!
Valentine's Deal + Extra 10% Off Taps With TAPS10. Ends:
How to Fit an Electric Shower
How to Fit an Electric Shower
Follow this step by step guide to learn how to fit an electric shower.
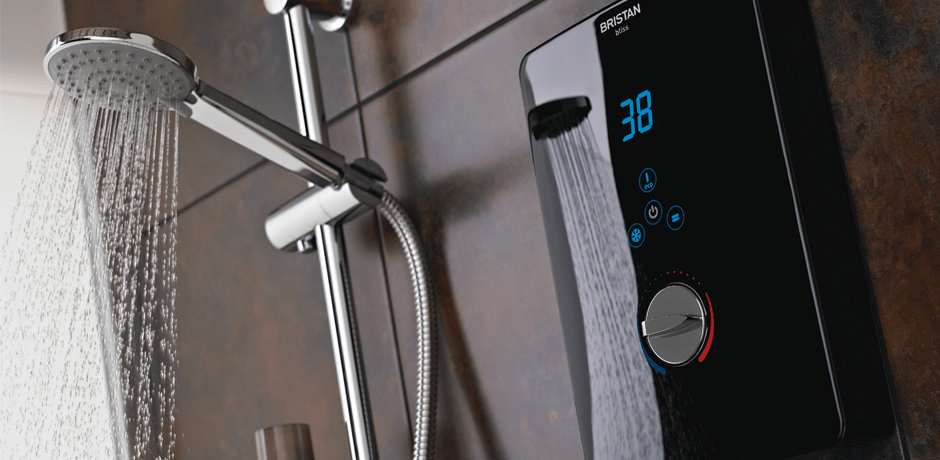
Electric showers are a great option for any home. Not only can they be installed into any type of water system, they also solely rely on a home’s cold water supply. This means they’re great for saving energy and you won’t ever have to worry about running out of hot water when you’re using it.
So now that you have opted for an electric shower, how do you get it fitted in your bathroom?
It’s important to note that in order to fit an electric shower you must have a Part-P Certification, whether this is as a plumber, electrician, or registered as a competent person through the Part-P verification system. This is because you’re handling electricity with water and so this installation process requires specific knowledge.
So if you’re a competent person, plumber or electrician who needs reminding of how to fit an electric shower, or if you’re curious as to how long the process of fitting an electric shower might be, then feel free to follow this easy step-by-step guide
Things to prepare when fitting an electric shower
Equipment Needed:
- Your electric shower and manual
- Drill
- Screwdriver set
- Pencil
- Wire snips
Popular brands:
(Please note that if you’re starting from scratch and not replacing a previous shower unit you will also need a reciprocal saw, an adjustable wrench, pipe cutter and pipe fixings).
If you’re simply replacing an old electric shower with a new one, then consider yourself lucky! This should be a very simple process. If you’re replacing a mixer or power shower with an electric shower then this will require some extra steps to sort out the pipe work. This is because an electric shower only takes water from the cold water supply whilst all other types of shower utilise both hot and cold water supplies.
If you’re replacing an old shower unit make sure this unit is fully removed before following this step by step process.
Fitting an Electric Shower
Step One: Safety First
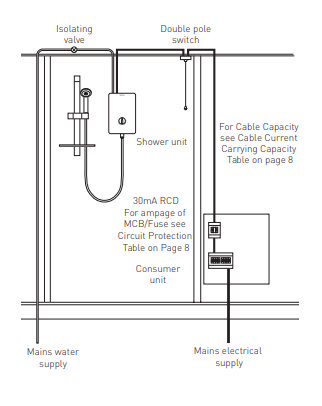
In order to get started, it’s important to make sure that the fuse for the electric shower is off, so that you don’t electrocute yourself when carrying out any work with the cables.
You also want to isolate the water supply into your shower. This can be done by turning the isolation valve. This is found on the pipework leading to your shower and is often tucked away under your bath or behind your bathroom tiles.
Step Two: Positioning
If you’re replacing an old unit, this step should be fairly straightforward as your electricity cables and water supply pipe will already be in roughly the right place for your shower installation.
If, however, this is a brand new bathroom or you are looking to relocate your shower, this will require some extra steps. You will need to locate an appropriate access point for water and electricity connections on the decided wall for your shower.
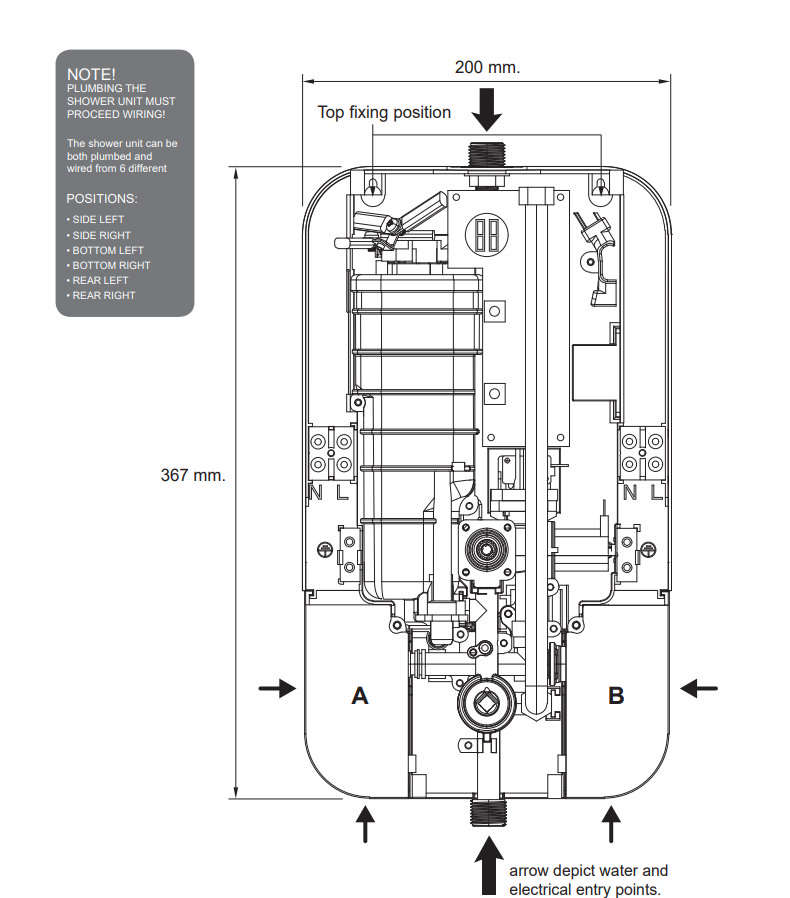
Unscrew your new shower so you can hold just the back unit without the cover against the wall, covering the electric cables and water pipe. Whilst holding the back unit in place, loosely connect the shower unit to the water supply pipe to make sure it fits and covers any holes you currently have. Alternatively, depending on which electric shower you have, it may come with a template for you to place and trace around.
Step Three: Marking
Trace around your shower unit or template with a pencil, making sure to mark the designated screw hole on the shower. Once this is done, safely remove the shower unit or template and put it to one side.
Step Four: Drilling
Using your drill and the appropriate drill head for tiles, drill the holes you have marked for your screws.
If you’re starting from scratch you will need to drill and saw your hole for access to the electrical and water pipe to come through into the back of the shower unit here as well.
Make sure once you’re done drilling to place some wall plugs in the holes to keep everything secure.
Step Five: Fitting
Loosely screw the shower unit into place. We recommend that you do this loosely at first so that you can still adjust the angles a tiny bit whilst you connect it to the water pipe. Once the water pipe is connected you can firmly screw the shower unit into place.
Step Six: Connect the electrics
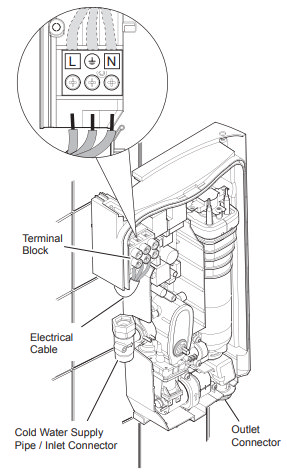
If you’re working with a new shower placement and you have a new wire for the electric, cut it to size and splay the wires by removing the plastic outer layer. This should provide you with access to the three wires within. If you need a quick refresher, brown is the live wire, green is the earth wire and blue is neutral wire.
Next, with wire snips remove the coating from each wire so that the cables are fully exposed.
If you’re replacing an old unit, you won’t need this extra step! The length of your cables should be roughly correct if you’re putting your new shower in the same place but feel free to make some adjustments should it seem necessary.
Now you need to feed your cables into the corresponding cable in the shower unit (green to green, brown to brown and blue to blue). Make sure those connections are secure by screwing them into the corresponding bracket firmly.
Step Seven: Secure everything
This step is just about making sure everything is secure which, of course, is important when working with water and electricity. If you have excess lengths of wire make sure you tuck this back into the hole in the wall. Check that your water pipe is secured properly also.
Depending on the brand of shower you’re working with they may also have additional safety clips so be sure to make use of these as well.
And that’s the hard part done! All that’s left to do is attach the shower rail and shower hose.
Step Eight: Final steps
Whilst each shower differs, fitting the shower rail and hose is a simple process. Typically there are two small plastic clips that need to be screwed into the wall, one above the other. This is what your shower rail slots into.
Then screw shower hose into your shower unit, pop back on your shower’s front cover, and you’re good to go.
Once you’ve screwed your shower unit’s front cover back on, all you need to do is unscrew your isolation valve and turn the corresponding fuse back on so that electricity can reach your shower.
If you turn your shower on and water comes through, let it run for a bit to make sure there’s no leaks. If everything seems to be running as it should then you have officially finished fitting an electric shower!
Congrats! If you found this on how to fit an electric shower helpful, feel free to check out our other step-by-step guides in the Victorian Plumbing Blog

Trinity
Trinity is one of our expert bloggers in bathroom design and DIYs. Read her blog posts for the latest coverage of style trends and easy-to-follow guides.
