Grab Up To 60% Off In Our February Sale!
Plus an extra 10% off our Arezzo range with code AREZZO10. Code ends in:
8 Trade Tips For Perfect DIY Tiling
8 Trade Tips For Perfect DIY Tiling
We've compiled a list of tradesman's tips that could hold the secret to your perfect tiled look.
Tip 1. Buy Smart
Tip 2. A Cunning Plan
Tip 3. Floor Tiles
Tip 4. Wall Tiles
Tip 5. Are You on the Level?
Tip 6. Careful When You Cut
Tip 7. Trust Your Spirit Guide
Tip 8. Work Backwards
Tip 9.And Remember
Jump to a section of this post by clicking a link above.
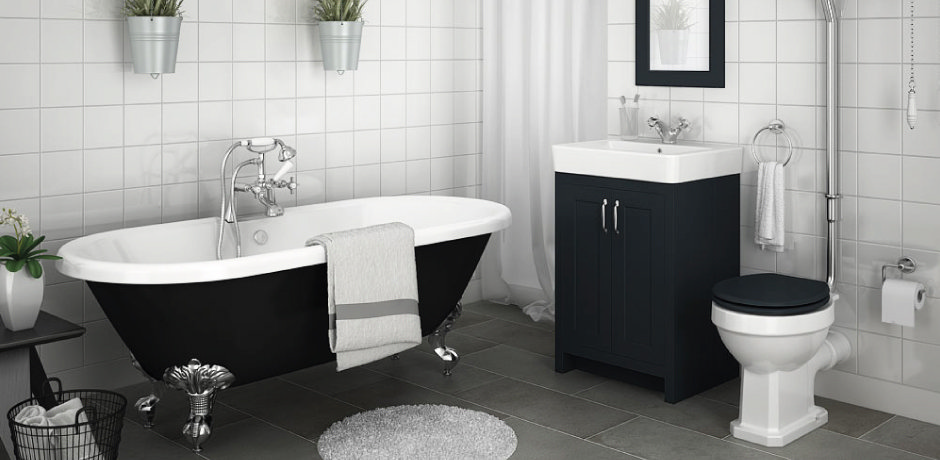
Bathroom tiles are the classic solution to decorating your bathroom walls and floors.
There are tons of different sizes, materials, colours and finishes that you can choose from in order to achieve an unbelievable range of results. There is something about a tiled bathroom that evokes a feeling of Ancient Greece. Something about the tessellation of shapes and the smooth, white lines and neatly cut edges that is so rich with history, style and cleanliness.
Whether you choose a rustic old-world charm, a high-gloss contemporary look, or anything in between, we hope these tips help you achieve the best results possible.
Tip 1. Buy Smart
Before your tiling job, you should try and estimate how many tiles you are going to need. Then, add 10% to that. That way you are covered in case you drop some, the dog chews a couple, or you need some odds and ends to get around difficult gaps or shapes.
You can do this by working out the area you are going to tile, and by knowing the measurements of the tiles you are going to use.
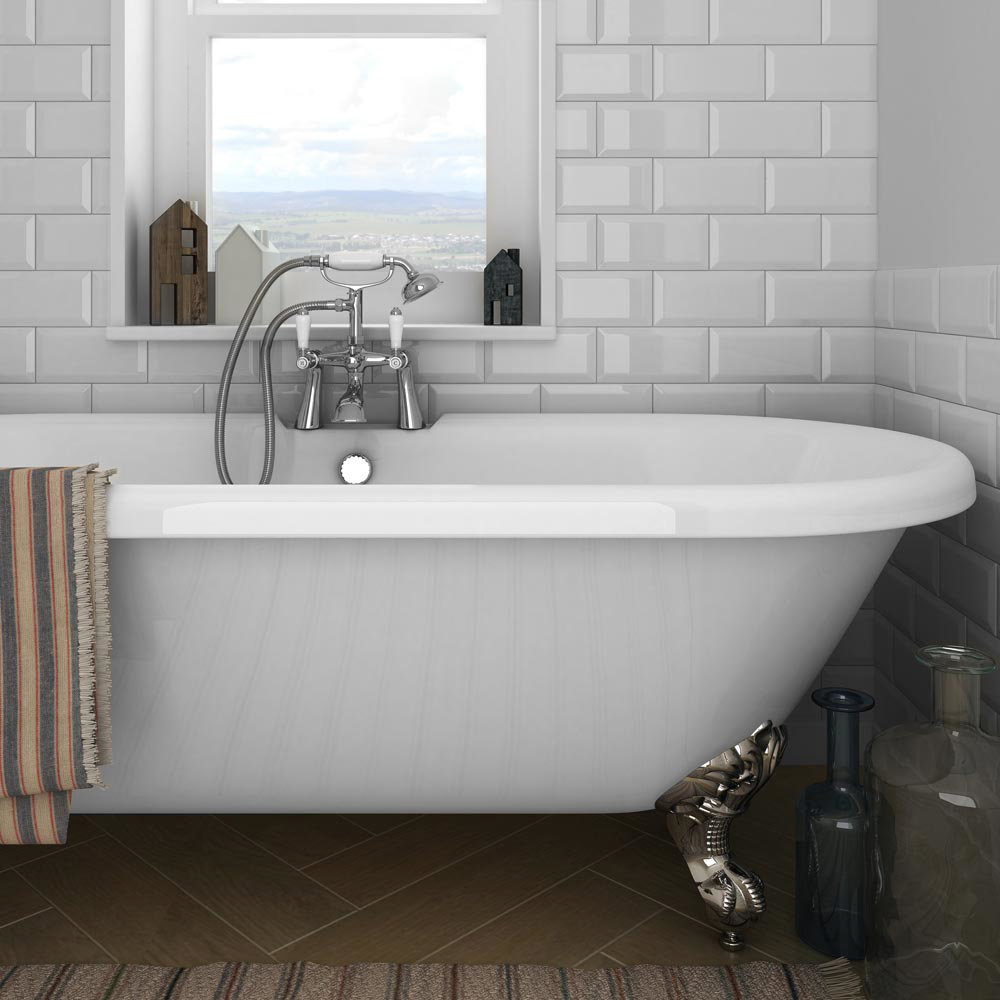
Bonus tip: Buy all your tiles in one go. This ensures any colour disparities are kept to a minimum. Plus, if you go back a week later to get those last few to fill that little gap you didn’t factor in, only to find out they’re all out of Arctic White and the only stuff left is Essex Pink, you may be in a spot of trouble.
Tip 2. A Cunning Plan
As with any home DIY job, we recommend careful, thorough measurement and planning.
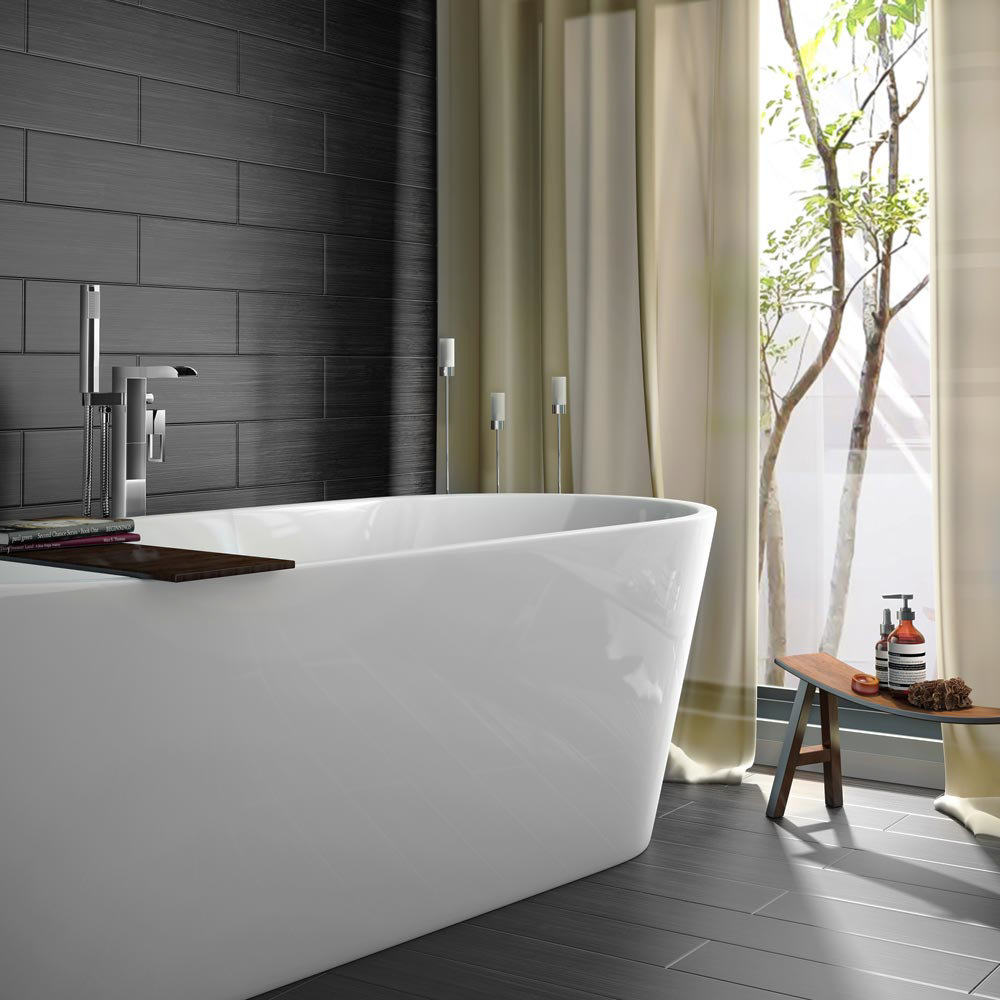
Measure twice, cut once is the saying, and when it comes to tiling it can mean the difference between gorgeous walls and floors that raise the whole look of your bathroom, and a total mess - you don't want to look at none-matching, odd-patterned tiles every morning, do you?
Tip 3. Floor Tiles
Using a chalk line, divide your room into four equal quarters by drawing a line from the middle point of each wall to the middle point of the wall opposite. This should give you a nice right angle to start your planning.
Without using any adhesive, line up two rows of floor tiles along the guide lines, making an L or backwards L in the middle of your room. Remember to leave a little bit of space for grout lines. If there is a gap at the edges, you can shift your guide lines slightly, or even make changes to your grout lines, but keep them straight and at right angles.
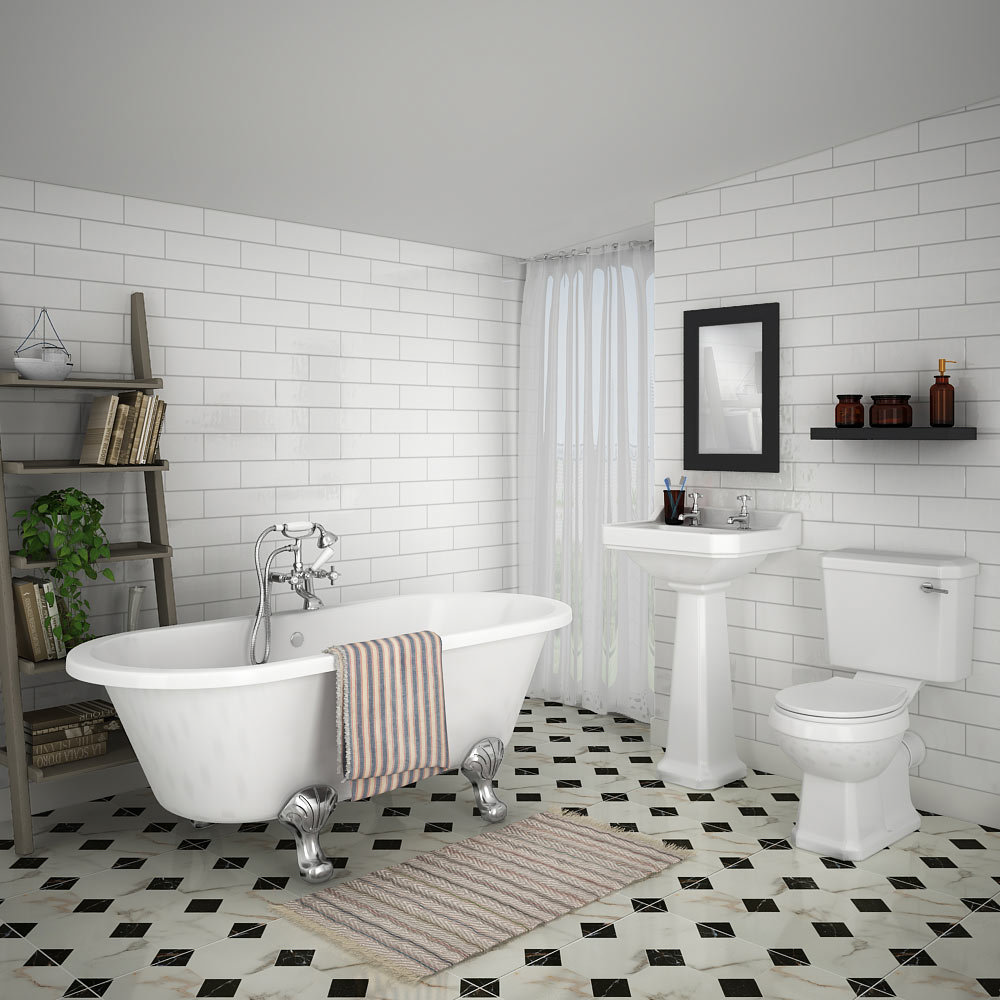
The idea here is to work out your spacing and placement so you can work with full or half tiles to reduce awkward cutting. When you find a guide line you are happy with that will maximise your use of full tiles, mark the new lines in chalk. You should now have a blueprint to being tiling.
Tip 4. Wall Tiles
First, make a tile gauge - lay a line of wall tiles on the floor as they would sit on the wall, line a batten next to them and mark it with a pencil at the place where the tile joins land. This makes a kind of ruler so you can work out where your tiles will go on the wall.
Starting from the bottom of the wall, move the wooden batten upwards one tile space at a time and mark the wall with pencil. If you find a gap at the top, move everything up half a tile to try and ensure that you finish on a whole tile at the top of the wall. When your wall is marked, tack the batten to the wall to provide base line. Remember to use a spirit level to make sure it is even.
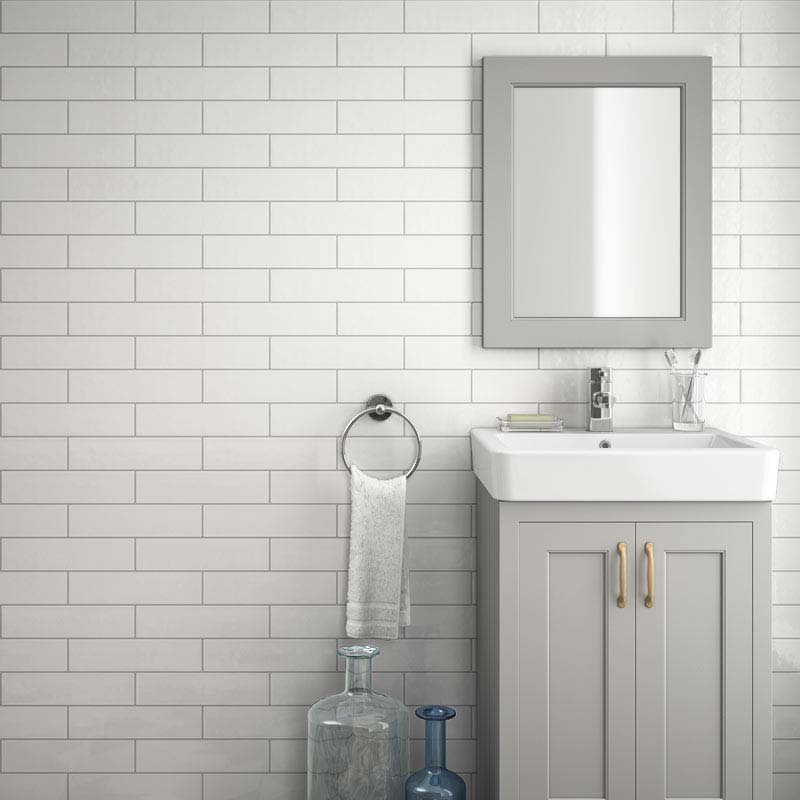
Repeat this process for the horizontal line, and attach at a right angle - this should form a right angle ruler for your tiling. Keep this horizontal line at the same level for every wall, and always try to finish at the top with a full tile.
Tip 5. Are You on the Level?
Always make sure you are tiling on a suitable area. For instance, if you are laying floor tiles and you aren't sure about your surface, we recommend fitting a layer of plywood to provide a solid, level base.
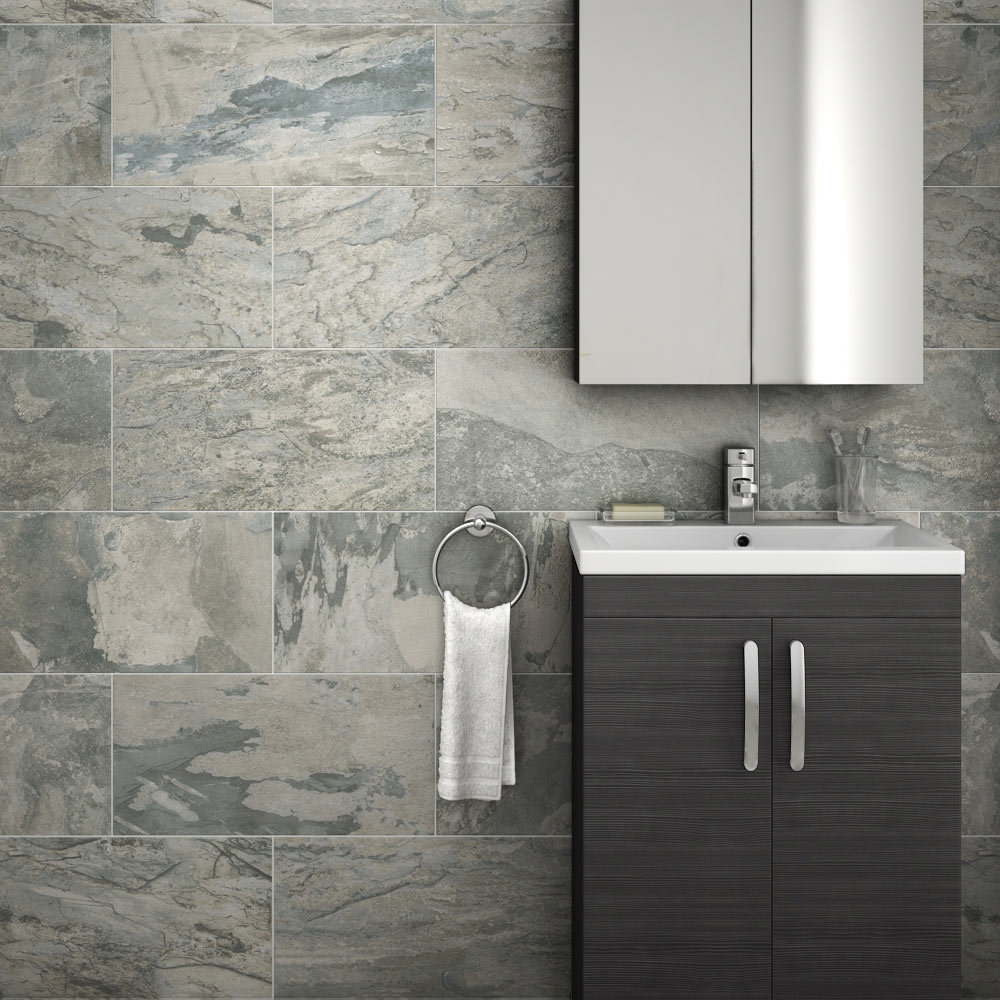
You can tile over many surfaces, even old tiles (just make sure the joint lines do not fit over one another), however, be sure to look out for any old wall paper, any large holes (fill these with plaster filler) or any powdery surfaces that need a coat of plaster stabilising solution in order to provide a stable surface for your tiles.
Tip 6. Careful When You Cut
You will inevitably have to cut tiles into some unusual shapes - you may need to tile around toilets, basin pedestals and oddly-shaped walls or windows. Use a pencil to mark the shape you will need, or use a card stencil, but always err on the side of caution - you can cut more off if you need it, but you cannot uncut that which has been cut!
Tip 7. Trust Your Spirit Guide
Making sure your tiling is level is absolutely crucial to achieving the best look. If your tiles are off at an angle then you will end up having to cut lots of awfully difficult little pieces, plus, every time you walk into your bathroom you will get sea sick from the wavy lines.
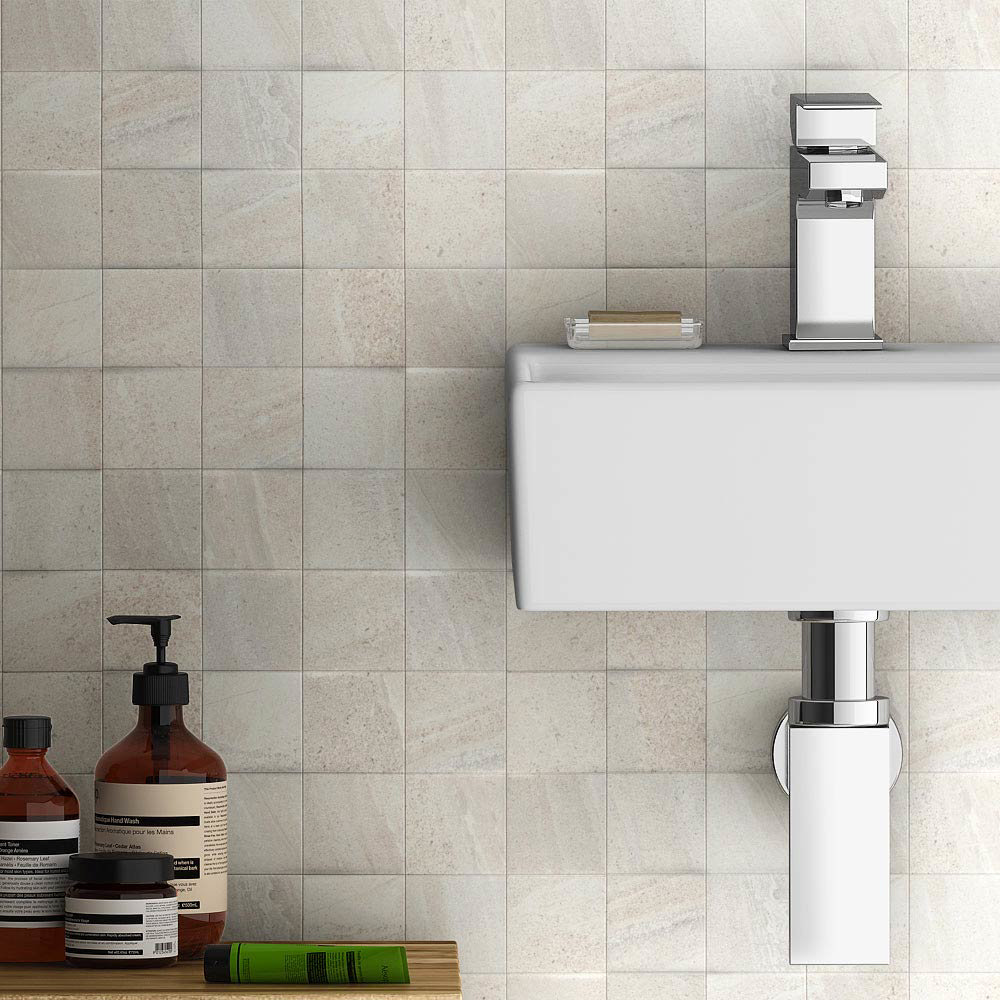
Use your spirit level often and make absolutely sure you are level. One common problem is bathtubs being not quite level, this can be solved by removing the bath panels and adjusting the legs until it is perfect.
Tip 8. Work Backwards
So simple it should be obvious, but it isn’t.
When tiling a floor, work towards the door so you are not trampling over freshly laid tiles to get to space that needs doing, and you always have plenty of room to walk around during the job.
As always, we recommend that if you do not feel totally confident with this job, contact a professional tradesman who can ensure the job goes off without a hitch.
Have you found these trade DIY tiling tips helpful? We are always looking for ways to try and give you the kind of insight that will help you in your own home design and DIY projects. If you have a job coming up and would appreciate some hints and tips that you don’t see on our website, then get in touch with us on the VP Facebook and Twitter pages.

Alex
Alex is one of our bathroom bloggers here at Victorian Plumbing. You'll find him regularly blogging about fun bathroom ideas and trends as well as writing expert 'how to' step-by-step DIY guides.
