UP TO 70% OFF JANUARY SALE!
Free delivery on orders over £499*
How to Clean a Stainless Steel Sink
How to Clean a Stainless Steel Sink
If your stainless steel sink’s lost its sparkle, don’t worry – here’s how to clean it and keep it shining and scratch-free, without breaking a sweat.

Stainless steel sinks are a top pick for loads of households – they’re durable, resist rust and stains like a champ, and look sleek in pretty much any kitchen style. But let’s be real – even these kitchen heroes can start to look a bit…meh. Water spots, limescale, and grime don’t take long to mess up that lovely shine.
The good news - a little TLC is all it takes to get your sink looking sharp again. Whether your stainless steel sink is dull, brushed, or dirty, we’ve got the tips to clean it up! Here’s how to clean your stainless steel sink, from restoring shine to tackling rust stains – all without scratching your surfaces.
Contents
3. Step-by-Step Cleaning Guide
Click any of the links above to jump straight to the section you’re after.
Stainless Steel vs. Other Sinks: Why Go Stainless?
Why choose stainless steel over other sink materials like ceramic or granite? It’s a no-brainer!. Unlike ceramic or granite, they won’t chip or crack under pressure.
Sure, they might pick up a few water spots here and there, but with a regular clean, those are easy to keep in check. And if you're looking for a sink that can handle the daily hustle of a busy kitchen, stainless steel is the way to go.
Do’s and Don’ts For Cleaning Stainless Steel Sinks:
Do’s:
- Follow the Grain: Always clean and polish in the direction of the grain to avoid accidental scratches.
- Rinse Thoroughly: After every cleaning step, rinse the sink well to avoid residue buildup.
- Dry After Cleaning: Standing water leaves marks. Always dry the sink with a microfiber cloth to prevent water spots and limescale. Keep a cloth nearby and give the sink a quick wipe after each use.
- Polish for Shine: Use olive oil, baby oil, or Bar Keepers Friend to keep your sink looking fresh and glossy.
- Clean Regularly: Don’t wait for your sink to scream for help. A little regular TLC makes deep cleans less of a chore.
Don’ts:
- Avoid Harsh Scrubbers: No steel wool, abrasive pads, or rough scrubbers! They’ll scratch the surface and ruin the shine. Use the soft side of your sponge.
- Say No to Bleach: Skip the bleach and harsh chemicals – they can corrode stainless steel and cause discolouration.
- Stay Away from Oven Cleaners: Stainless steel sinks don’t get along with oven cleaners – these will strip the finish and leave your sink looking worse for wear.
- Don’t Let Water Sit: Avoid leaving water in the sink for extended periods to prevent water spots and corrosion.
- Avoid Metal and Plastic Bowls: Don’t leave metal cans or cast iron cookware in your sink – they can cause rust stains. Also, washing up bowls can trap grit underneath, scratching your sink’s surface.
- Avoid Corrosive Substances: Wipe up spills from salt, vinegar, citrus juices, mustard, or pickles ASAP – they can cause corrosion if left too long.
Tools and Materials You’ll Need:
• Soft sponge or cloth
• Baking soda
• White vinegar
• Dish soap
• Microfibre cloth
• Lemon or lime
• Olive oil or baby oil
• Old toothbrush

How to Clean Your Stainless Steel Sink
Basic vs. Deep Cleaning: Know When to Scrub
How often should you clean your stainless steel sink? It really depends on how much action it sees.
A quick wipe down after each use will keep water spots and grime at bay, but if your sink’s the hardest worker in your kitchen, it’s worth doing a deeper clean at least once a week.
-
Quick Clean: Each day, give your sink a quick wash with warm soapy water or dish soap. It’ll stop bacteria from building up, remove fingerprints, and help prevent limescale deposits – especially in hard water areas. Use a soft sponge and rinse thoroughly with warm water. Don’t forget to dry with a microfiber cloth to avoid watermarks!
-
Deep Clean: Once a week, take things up a notch by polishing your stainless steel sink. Use a cream cleaner (Cif or a stainless steel-specific product works wonders) and buff it in with a microfiber cloth, following the direction of the grain. For stubborn stains, leave the cream on for 5 minutes before rinsing off.
Pro Tip: Always start by removing food scraps and rinsing out debris. Little bits of grit can actually scratch the sink if left behind while cleaning!
Step 1: Start with a Quick Rinse
Before you reach for the cleaning gear, make sure your sink and plughole are completely empty (yes, that includes those pesky sink grids and any lingering dishes).
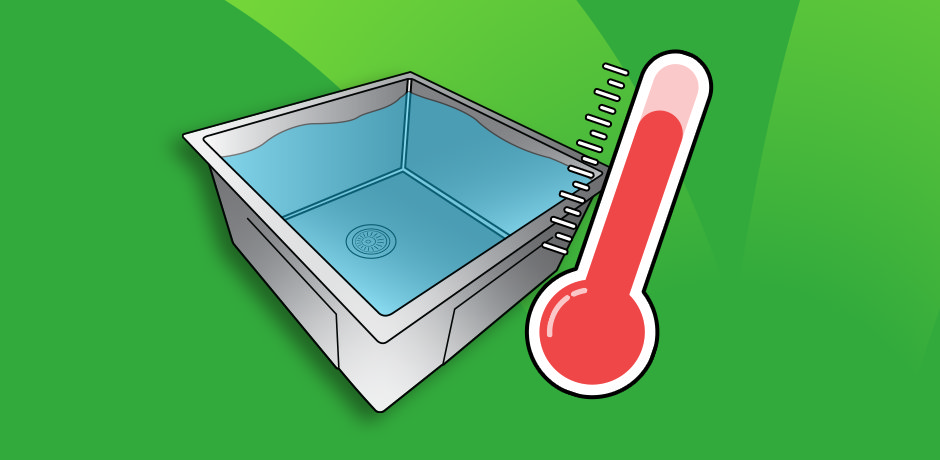
Now, give your sink a good rinse with warm water. We’re talking about washing away the crumbs, soap scum, any loose dirt and grime, and that mysterious gunk near the drain you’d rather not think too hard about.
If you’ve got any grit or debris lying around, wiping it out first prevents accidental scratches while scrubbing.
Step 2: Scrub with Baking Soda Or Dish Soap
For everyday cleaning, dish soap is your best mate! It’s gentle, effective, and something you already have in the cupboard. Apply it with a non-abrasive sponge (no steel wool, please!) and scrub the sink thoroughly. If you're dealing with more serious stains, baking soda is your hero.
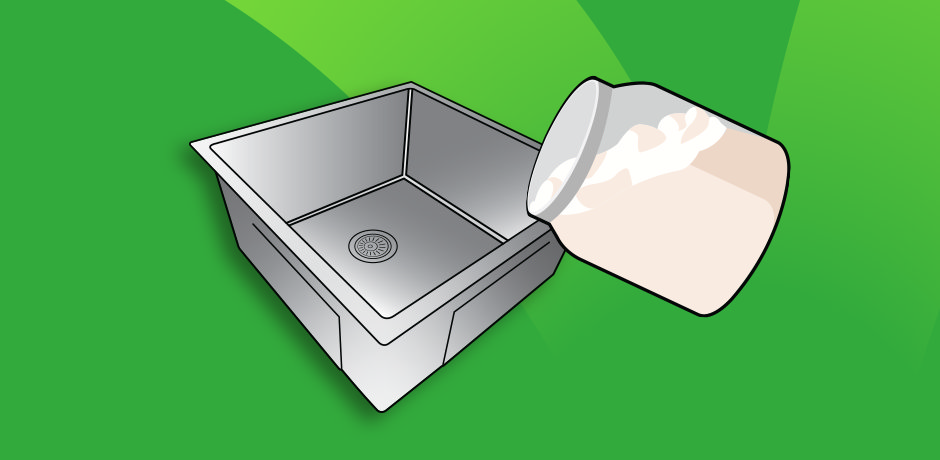
Sprinkle a generous amount of baking soda all over the wet sink - don’t forget the sides! Use a soft sponge or cloth to scrub in circular motions, in the direction of the grain – this is key to avoiding accidental scratches! If needed, add a bit of water to form a paste while you work on any stubborn spots.
Pay special attention to the corners and around the drain where dirt tends to accumulate. Baking soda is non-toxic and mildly abrasive - helping to scrub away tough stains without scratching that shiny surface. This works perfectly for brushed and new stainless steel sinks alike.

Step 3: Give It a Vinegar Rinse To Tackle Water Spots
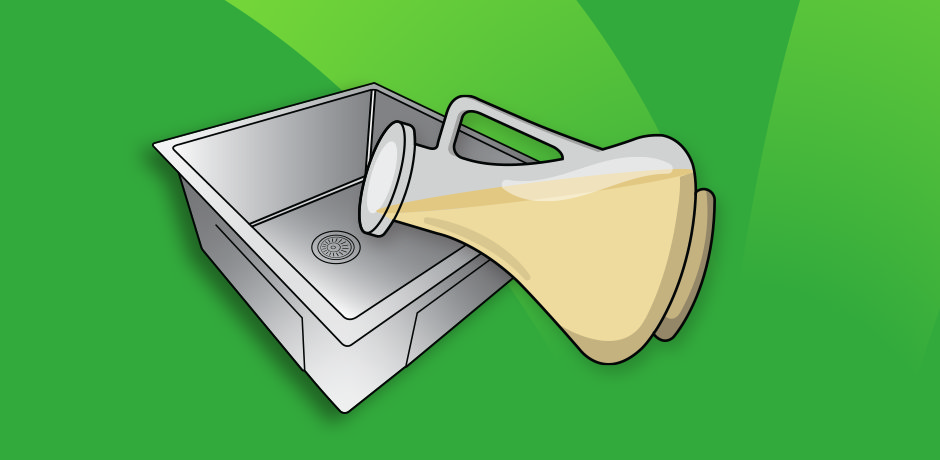
If you’ve got limescale buildup, mix up a 1:1 solution of distilled white vinegar and water in a spray bottle. Spritz it over the sink and let it sit for a minute or two.
But remember – don’t leave it for too long. Vinegar’s acidic, and if left for too long, it can damage the sink’s surface. Rinse thoroughly, and dry with a microfiber cloth.
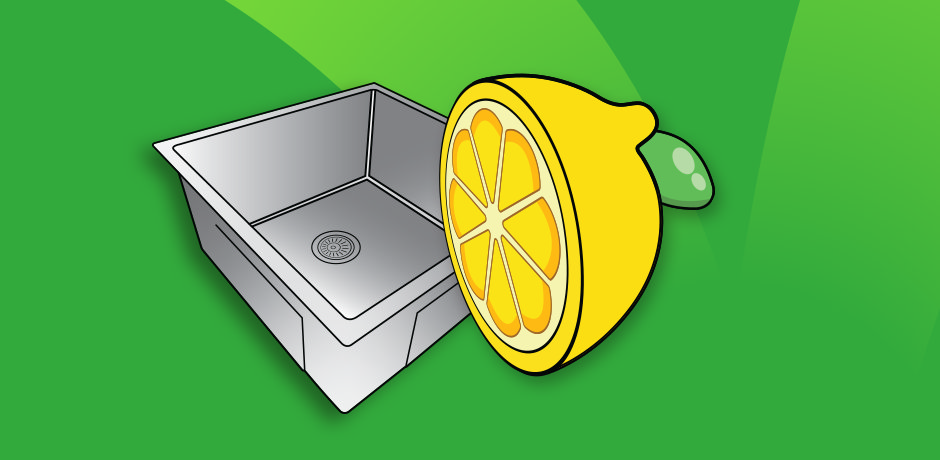
Step 4: Scrub with Lemon
Grab a lemon (or lime), cut it in half, and use it to scrub your sink. The citric acid works wonders on hard water deposits, breaks down any lingering grime, and leaves your sink smelling fresh. Plus, it’s a natural sanitiser – double win!
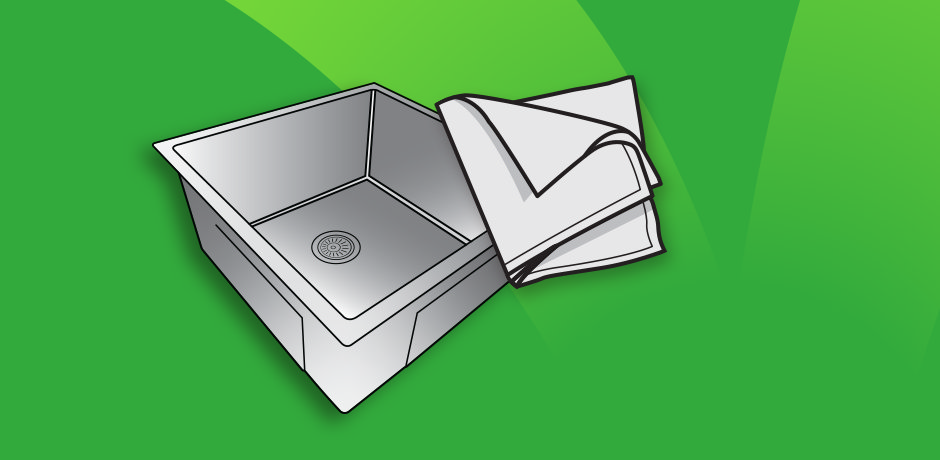
Step 5: Rinse and Dry
Rinse everything down with warm water – don’t skip this, you don’t want any residue hanging about as this’ll just attract more grime later. Then, grab a microfiber cloth (or your best tea towel) and dry the sink thoroughly. This helps to prevent water spots and keeps the stainless steel looking showroom-worthy.
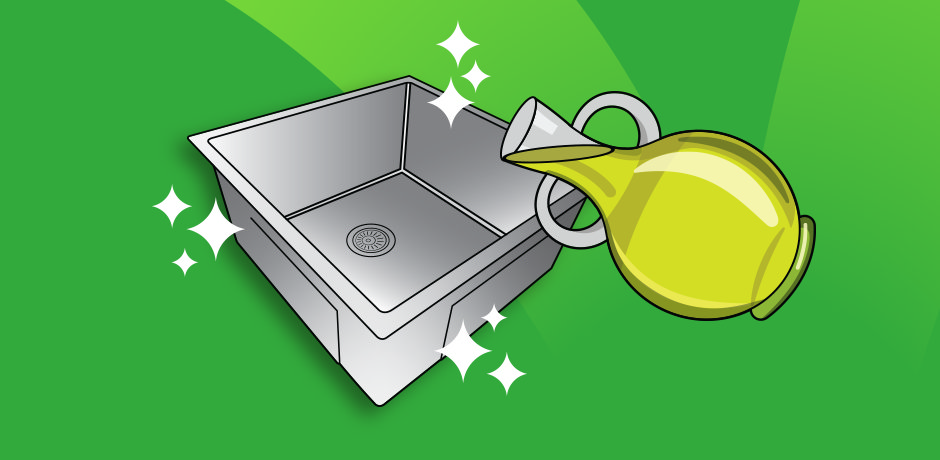
Step 6: Buff & Polish with Oil
Yep, you read that right - olive oil! Just like bodybuilders oil up for that extra shine, your sink needs a little love to really pop. Dab a tiny bit onto a clean microfibre cloth and gently buff the sink in the direction of the grain.
This little trick restores that gorgeous shine, helps repel water, and even keeps pesky fingerprints at bay. Your sink will be looking so fresh, you'll wonder why you didn't do it sooner! No olive oil? Flour works in a pinch, too.
You`ll have your sink ready for the stage and posing like a pro in no time.
Note: Buffing with baby oil or club soda also works here.
Tackling Tough Stains & Limescale
Got a stubborn stain that just won’t quit? Mix washing-up liquid with baking soda to form a paste and gently rub it into the stain with a cloth. For limescale, vinegar or lemon juice will do the trick – just remember to rinse it off thoroughly to avoid any long-term damage.
Don’t forget to use an old toothbrush to scrub those hard-to-reach areas, like around the plug hole or waste strainer.
If rust is an issue, try rubbing alcohol on those pesky areas – it works wonders!
Final Scrub
Give these tips a go, and your stainless steel sink will be the shiny crown jewel of your kitchen once more. Ready to give it a try? We reckon you’ll nail it in no time.
Frequently Asked Questions
How often should I clean my stainless steel kitchen sink?
For best results, rinse and wipe your sink daily and perform a thorough cleaning once a week.
What direction does the grain go in my stainless steel sink?
Your stainless steel sink has a "grain"—fine lines running either horizontally or vertically, like wood grain. To spot it, look closely for subtle striations across the surface. Always clean and polish in the same direction as these lines to avoid scratches and streaks. Cleaning against the grain can cause dirt to build up and dull the finish over time. Following the grain helps maintain the sink’s shine and smooth appearance.
Can I use vinegar on stainless steel?
Yes, white vinegar and baking soda are safe to use on stainless steel and help to disinfect and remove stains.
Why is my stainless steel sink getting scratched?
Using abrasive cleaning tools or harsh chemicals can scratch the stainless steel surface. Always use soft sponges and non-abrasive cleaners.
How do I remove odours from a stainless steel sink?
Using a sink and drain freshener every now and then to get rid of odours. Alternatively, you can pour a capful of concentrated disinfectant down the drain to keep it smelling fresh. For a more natural approach, sprinkle baking soda down the drain, followed by vinegar. Let it fizz for a few minutes, then rinse with hot water for an easy odour fix!
Need to upgrade your cleaning gear or fancy a new sink to match your pristine kitchen? Explore our range of sinks and cleaning accessories now, and keep your kitchen looking sharp! For more cleaning tips and bathroom care advice, visit Victorian Plumbing’s blog.

Jack
Jack is part of the resident bathroom bloggers team here at Victorian Plumbing. As a bathroom décor and DIY expert, he loves writing in depth articles and buying guides and is renowned for his expert 'how to' tutorials.
