Grab Up To 60% Off In Our February Sale!
Valentine's Deal + Extra 10% Off Taps With TAPS10. Ends:
How to Seal a Bath
How to Seal a Bath
Applying sealant to a new bathtub is often one of the final things to tick off when completing a renovation. With our quick and easy tutorial, you can seal your bath like a professional in a matter of minutes!
Knowing how to use sealant is a great skill to have when you are working on some renovations. It can be the quick final step to completing a project and making the space look finished.
One of the largest spaces which will need sealing in your home is the bath. It is important that you know the correct way to seal a bath as silicone sealant works to prevent water settling down the back or sides of the bath. If you do not seal your bath correctly and leave gaps in between, and trapped water could cause expensive damage such as rotten flooring and the build up of harmful and unsightly mould.
By following our useful tutorial, you will be able successfully seal your bath and ensure that all of the nooks and crannies around the bath are watertight and protected.
What you Need
Before you begin, there are a few things that you will need :
- Wet wipe or damp cloth
- Blue roll
- Gloves
- Masking tape
- Silicone sealant
- Sealant gun
- Silicone profiling tool
- Washing up liquid
- Spray bottle
How to Seal a Bath
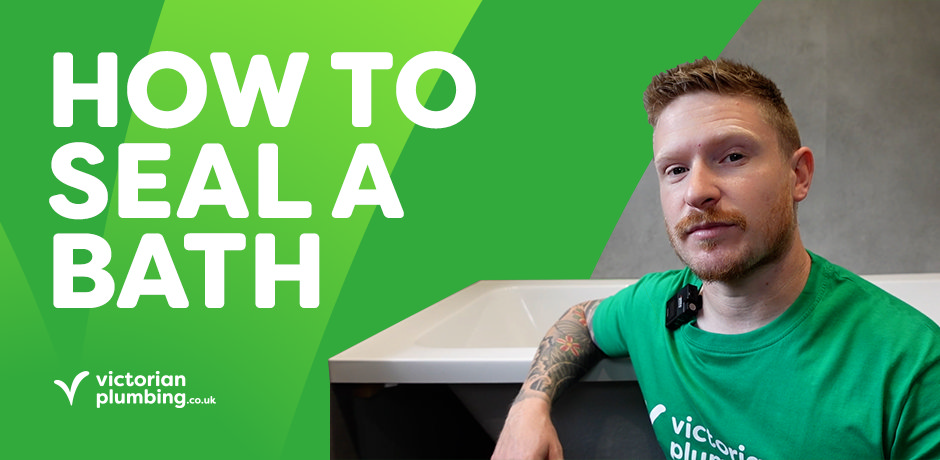
Take look at our quick and easy to follow video tutorial for an in depth demonstration that will help you to seal your bath to a professional standard.
Step 1 - Clean Around the Bath
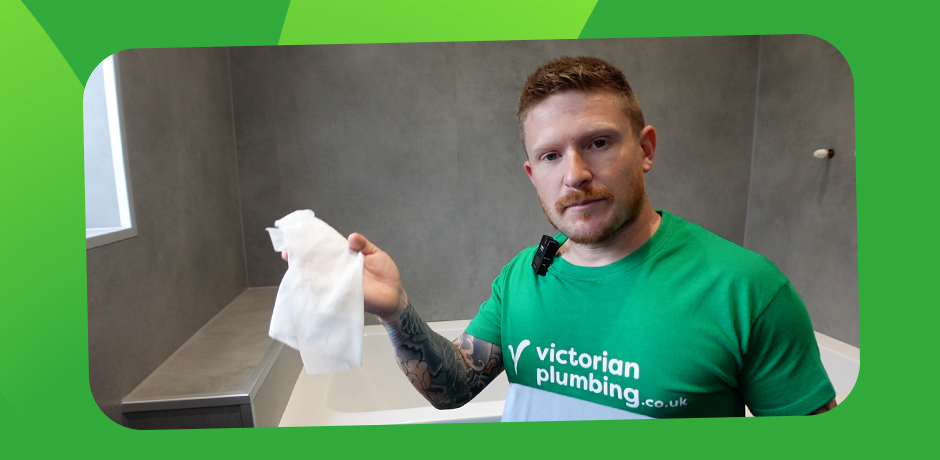
Before you begin, you want to make sure that the bath is clean. Any dust or grime must be removed before you can add the silicone sealant. You can simply clean around the bath using a wet wipe or damp cloth to remove any dirt.
You also want to make sure that the area is dry after cleaning, so make sure to use blue roll or paper towels to dry the area you have cleaned.
Another thing you want to do before you begin is make a soapy water solution using washing up liquid and water in a spray bottle. Making this now will make the profiling process easier.
Step 2 - Prepare Silicone Sealant
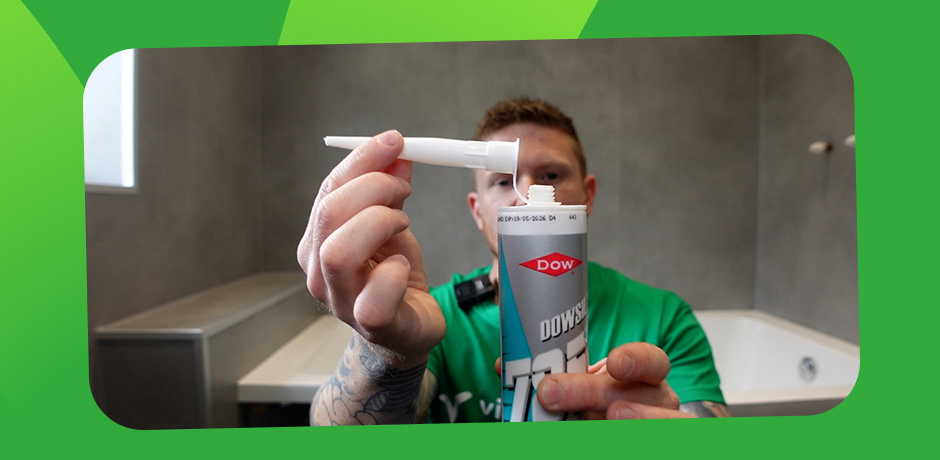
Now that the area is clean and dry, you can prepare the silicone sealant. The first thing you need to do is cut the top off the silicone sealant using a Stanley knife. Make sure to take care when cutting the top off to avoid any injuries.
Then you will need to cut the end of the nozzle at a slight angle. Again, take extra care when doing this to avoid an injury. After cutting the end of the nozzle, you can put the tube of silicone into the silicone gun
Step 3 - Fill the Bath

Next you will need to fill the bath up to two thirds. When a bath is filled there is a lot of weight in the bathtub, so you want to make sure that you are applying the silicone when there is weight in the bath.
Step 4 - Apply Silicone
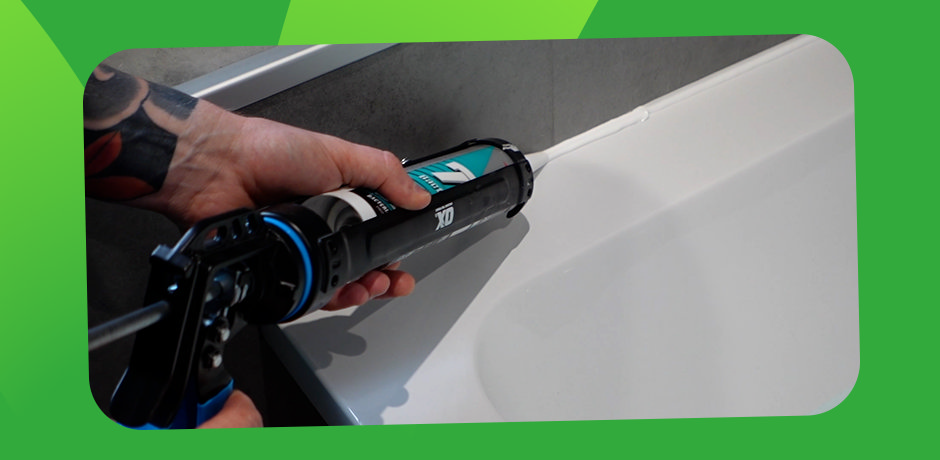
Once the bath has some weight in it, you can apply the silicone. Starting at the corner, hold the gun at an angle and start to gently squeeze the silicone gun. Then, in one motion you will be able to run a smooth bead of silicone along the edge of the bath and around the corner.
At this point, the silicone might not look very neat, but that is okay! You want to make sure that you are getting the right amount of silicone in the joint before you tidy things up. Repeat this step for the remaining edges of the bath.
Step 5 - Profiling

Now you can start to tidy up the silicone you have just applied.First, spray the profiling tool with lots of soapy water. Then, starting at the corner of the bath, run the profiling tool along the edge of the bath to tidy up the silicone. Make sure to wipe the excess silicone off the profiling tool as you go along.
Repeat this process on the remaining edges of the bath and make sure to give each edge one more smooth over with the profiling tool.
Step 6 - Empty the Bath
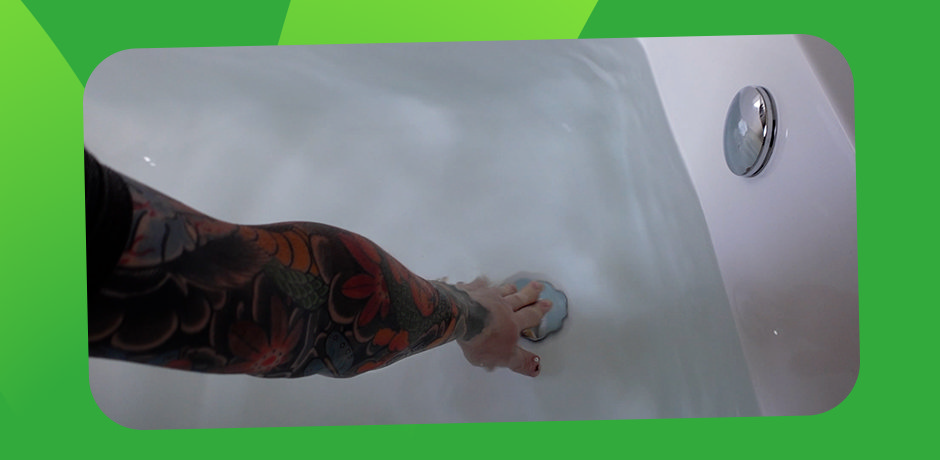
Once the silicone has dried you can empty the bath, and then you’re all set! You bath is now sealed and finished and you can use your bath without having to worry about any nasty leaks that could cause damage.

Megan
Megan is an expert bathroom blogger, she enjoys writing helpful DIY articles and bathroom inspo blogs. As well as specialist bathroom advice, Megan also shares expert how-to blogs with step by step guides.
