Grab Up To 60% Off In Our February Sale!
Free delivery on orders over £499*
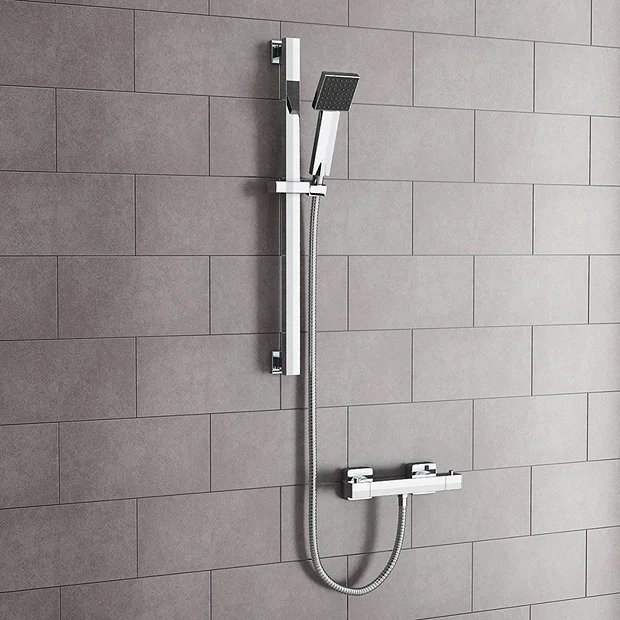
How to Replace a Shower Rail Slider
How to Replace a Shower Rail Slider
Replacing a shower rail slider can seem like a difficult task. But it is a lot easier than you think! Follow our step by step guide and successfully upgrade your shower rail slider.
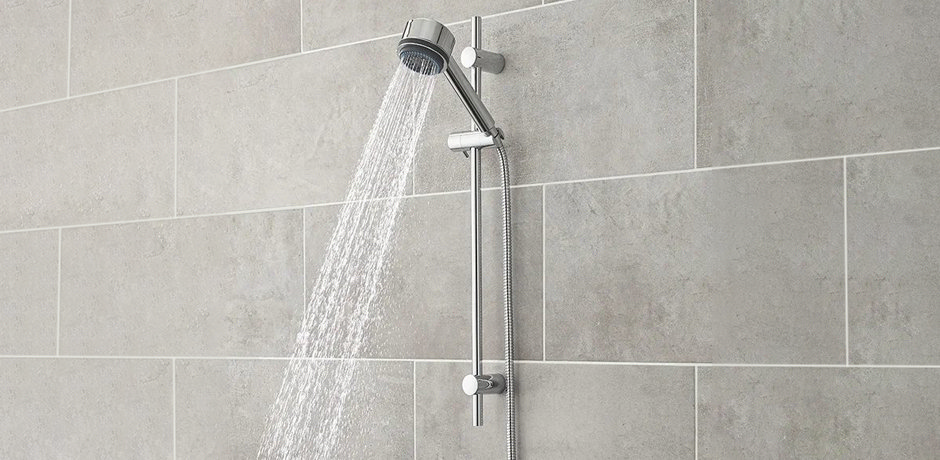
If your current Shower Slider Rail is no longer working as well as it should, or no longer matches the aesthetic in your bathroom. It is time to upgrade to a new one.
Have you noticed that your shower rail is no longer supporting your shower head correctly and keeps falling to the bottom, or is too stiff to move at all? There are a few things that you should check before buying a new one.
On most shower rail sliders, the shower head holder will have a small screw inside. This screw is what allows the holder to move up and down the rail and maintain its position. If this has come loose or is too tight, the shower rail slider will not work as it is supposed to. So to check this, all you need to do is simply remove your shower head. Then, where the shower head would be placed, you will notice a small screw hole. Adjusting this screw will adjust movement of the shower head holder, making it more difficult or easier to move.
If your shower rail slider is beyond repair or you are just due an upgrade, follow the steps below to successfully install your new one.
Before buying a new rail, we recommend that you make sure the screws on your new rail are the same distance as your old one. This way, you will not need to drill any new holes that could damage the tiles and leave you with an eye-sore hole in the wall.
1. Remove Old Rail
Once you have taken the shower head out of the shower head holder, you can start removing the old rail. This might feel a little daunting, especially if your rail is mounted onto tiles, but you do not need to worry about damaging them, just take care to ensure you don't accidentally scratch them.
Removing the rail is quite simple, but we’ve broken this down into steps to make the process easier.
- If your shower slider rail has exposed screws which mount it to the wall, then all you need to do is unscrew them. But, a majority of shower rails will have concealed screws. To access them, all you need to do is remove the cap that is concealing the screws. These will typically be placed at each end of the rail where it would meet the wall.
- After locating your screws and removing the caps, you can unscrew the rail. Make sure you keep hold of the rail to ensure that it does not fall off the wall and cause an injury or damage.
- It is important to ensure that the rawlplugs have remained intact so that your new rail will be secure and sturdy on the wall. Otherwise, you will need to add some new rawlplugs
2. Install New Rail
With your old rail out of the way, you can install your new one! After following the instructions and setting up your new rail, all you need to do is line your new rail up with the holes from your previous slider rail, and screw it into place. Once securely in place, you can add your shower head and you’re good to go!
If you do not own a shower slider rail, you may be wondering what is so great about them. Well, they offer a fully adjustable height and angle, which is especially great for families as each family member can adjust the height to their own personal preference.

Megan
Megan is an expert bathroom blogger, she enjoys writing helpful DIY articles and bathroom inspo blogs. As well as specialist bathroom advice, Megan also shares expert how-to blogs with step by step guides.
