Grab Up To 70% Off In Our January Sale!
Free delivery on orders over £499*
How to Convert Standard Towel Rails to Electric & Dual Fuel Towel Rails
How to Convert Standard Towel Rails to Electric & Dual Fuel Towel Rails
Guarantee toasty towels all year round with an eco-friendly and cost-effective upgrade to your bathroom's heating.
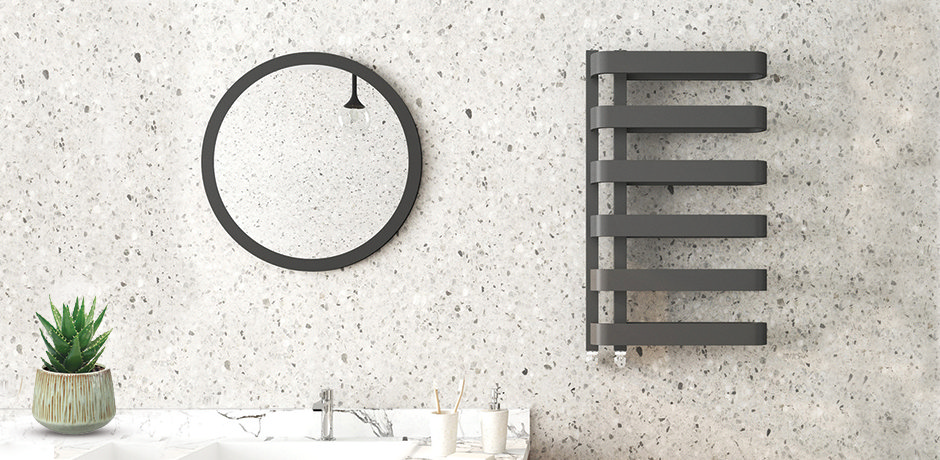
In recent years, the heated towel rail has become a staple of modern bathrooms. A more refined alternative to the radiator, these slimline heaters offer a stylish way to present your towels while keeping your entire bathroom warm. However, these must-have fixtures are not without their drawbacks.
An overwhelming majority of heated towel rails are installed directly onto your central heating system. This means that they only work when your heating is switched on. This is great during winter but useless during those hot summer months.
Working off your central heating also means that they rely on fossil fuels. This means that, though cheap to run, your standard heated towel rail is far from eco-friendly.
Fortunately, there are two relatively simple methods you can use to upgrade your towel rail to dual fuel or electric only. Both methods can solve these issues without breaking the bank.
What are Electric Only and Dual Fuel Towel Rails?
Electric-only towel rails are powered by an electric heating element. These elements are screwed into an inlet at the bottom of the rail and then wired directly to the mains of your home. They can then be switched on or off at the wall. Some pricier heating elements even allow you to adjust the temperature.
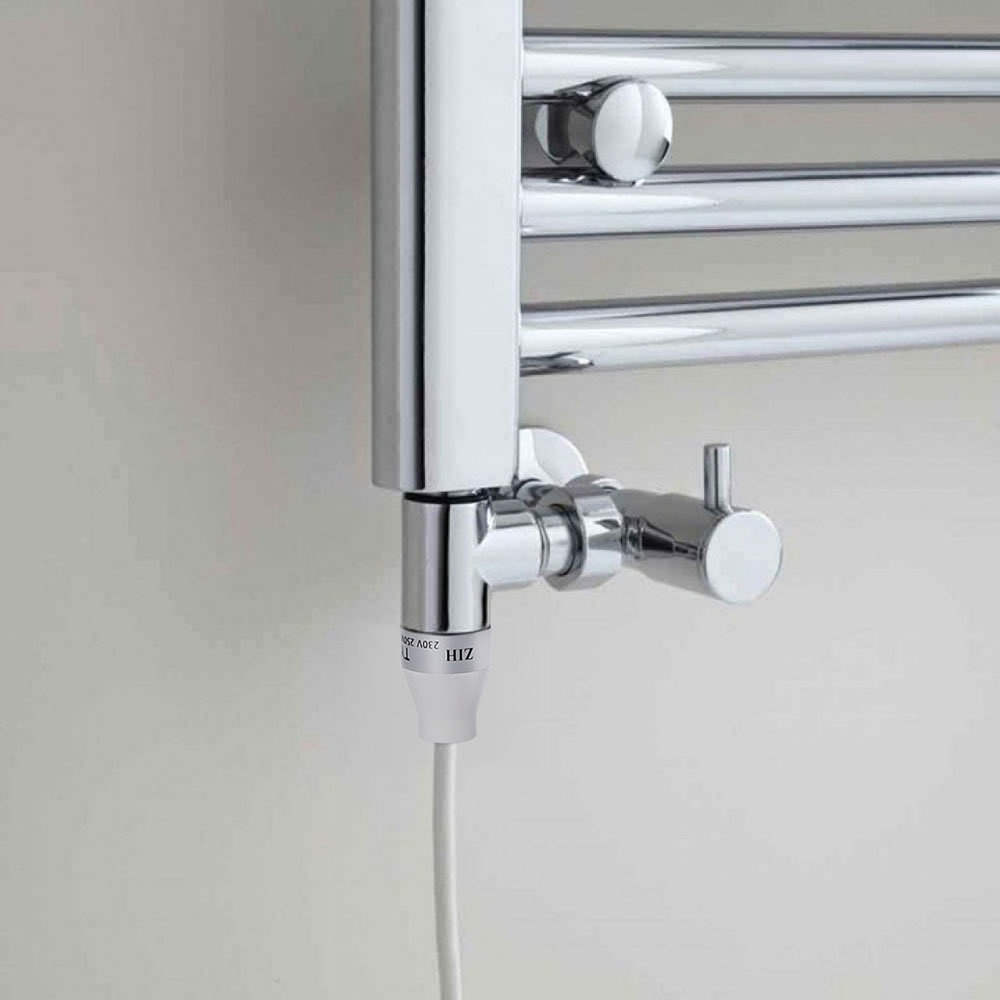
Dual fuel towel rails are powered by an electric heating element as well as your home’s central heating system. This is achieved through the use of a ‘T-piece’; an adaptor that allows you to screw in a heating element and plumb the rail to your central heating system simultaneously.
The Benefits of Upgrading Your Towel Rail
Before embarking on an admittedly fiddly DIY upgrade, we’re sure you’ll want to know the benefits of upgrading. Both electric only and dual fuel rails boast perks over standard, centrally heated ones. However, both have their own specific skillsets.
Electric-only towel rails are useful as they can be switched on independently from your home’s central heating system. This makes them ideal for those warm summer months. Switching on the heating during a 30-degree heatwave would be excessive, but you can turn on electric rails as-and-when you need to, keeping towels dry when heating isn’t otherwise needed. Eco-conscious bathroom gurus also love these, as they do not rely on unrenewable fossil fuels. Gas-powered alternatives, however, are slightly cheaper to run.
Dual fuel towel rails offer the best of both worlds. When the heating is on, these function exactly the same way a standard radiator would, so you don’t need to remember to switch them on manually. Then, when that famous Great British Summer comes along, you can switch the rail on at the mains. This makes dual fuel rails highly efficient and useful all year round.
Already decided which option best suits your needs? Then allow us to explain how to go about upgrading your current towel rail.
Please note: the following step-by-step guides are to be observed once you have safely drained and removed your heated towel rail.
How to Convert a Towel Rail to Dual Fuel
You'll need:
• PTFE Tape.
• A compatible towel rail.
• A suitable electric heating element.
• A ‘T’-piece.
• Suitable radiator valves.
• A radiator key (optional).
How to:
1. Wrap three layers of PTFE tape clockwise around the male threads on your heating element. Do the same to your T-piece, as well as additional male-threaded pieces if you have them. This clever trick will work to ensure that your towel rail’s joints are sealed tightly while also keeping screwed joints lubricated for easy removal in the future.
2. Screw your T-piece into whichever inlet point at the bottom of your towel rail is next to the central heating pipe and valve. Then, screw your heating element tightly into the T-piece.
3. Next up, let’s get that towel rail securely mounted to the wall. This process varies for different designs, so refer to your specific rail’s instructions to ensure you mount your rail correctly. You’re likely to need the following tools; a drill, a screwdriver, an adjustable spanner, a metre ruler, and a spirit level.
4. Then fit your radiator valves and, with the help of a plumber, connect your rail to your central heating system. To ensure your upgraded towel rail works efficiently, we highly recommend that you ‘bleed’ your radiator prior to wiring it in. This can be done by opening your rail’s bleed valve (you’ll need a radiator key) to release any trapped air.
5. Now the only thing left to do is wire your heating element to your home’s mains electricity supply. You may need help for this next bit, as, unless you’re a confident electrician, we strongly advise leaving this bit to a professional!
How to Convert a Towel Rail to Electric Only
You'll need:
• PTFE Tape.
• A compatible towel rail.
• A suitable electric heating element.
• Connection valves.
How to:
1. If your chosen heating element was supplied with a T-piece, remove it. Then, wrap some layers of PTFE around your heating element’s male thread to ensure a tight seal.
2. Screw the heating element into your towel rail via the bottom inlet closest to where you plan to wire-in your rail. Ensure that the element is tightly sealed.
3. Stand your towel rail upright and, using an adjustable spanner, remove one of the blanking plugs. Manually fill the towel rail with water, leaving a 1-inch gap for air. Though optional, we highly recommend adding a ‘radiator protector’ solution (such as this one from CalMag) before resealing the rail. This quick additional step can provide your rail with long term protection against limescale and corrosion.
4. Reseal your radiator by tightly screwing in any blanking plugs you removed. Once you’re convinced the rail is completely sealed, affix it to your wall according to the manufacturer’s instructions.
5. All good? Now it’s time for that final step again: wiring the rail to the mains. Once more, we strongly advise you to leave this to a qualified electrician.
Your Electric and Dual Fuel Towel Rail FAQs
We thought we'd answer a few of the most common towel rail conversion queries to help put your minds at ease:
How do I pick the right heating element to fit my towel radiator?
When selecting an element to upgrade your rail, it is essential that you choose wisely. Pick one too small, and your rail will struggle to heat up adequately. Choose one too powerful, and it could burn out! Always check the manual of your specific towel rail to confirm the required wattage to heat it, then select an element of the same wattage.
Are electric towel rails safe to use in bathrooms?
For obvious reasons, the use of electronic devices in the bathroom has always been frowned upon. Almost all towel rails come with high IP ratings, to ensure that they are perfectly safe for use around baths, showers, and sinks. You do, however, need to be wary of your bathroom’s ‘Electrical Zones’ as installing in certain areas could void your home insurance policy. Read our article to find out more about bathroom electrical zones.
If you’ve made it this far, you’re likely to be a proud owner of an improved heated towel rail! Whether you chose to convert to electric to keep your bathroom warm through the summer or opted for dual fuel to keep you covered all year round, this simple tweak can go a long way towards making your bathroom experience that bit more luxurious.

George
George is one of our interior experts. He loves to write about the latest bathroom trends and he's a dab hand with bathroom DIY too.
