EXTRA 10% OFF TAPS WITH CODE: TAPS10
Free delivery on orders over £499*
How to Change a Shower Valve Cartridge
How to Change a Shower Valve Cartridge
Don’t let changing your shower valve cartridge sit at the bottom of your to-do list. Your shower should make you cool and collected, not cold and neglected! So, here is how to change a shower valve cartridge in 7 simple steps.

At some point, every shower needs its valve cartridge replaced, and, thankfully, realizing when it needs changing is simple! Your cartridge may need replacing if you notice:
- Continuous water dripping after the shower has been turned off.
- An uneven water flow, where the water pressure continuously changes.
- An inconsistent water temperature.
- Difficulty turning the handle, mostly due to stiffness caused by rust.
But before you embark on your DIY expedition, what exactly is a shower valve and why does it need a cartridge?
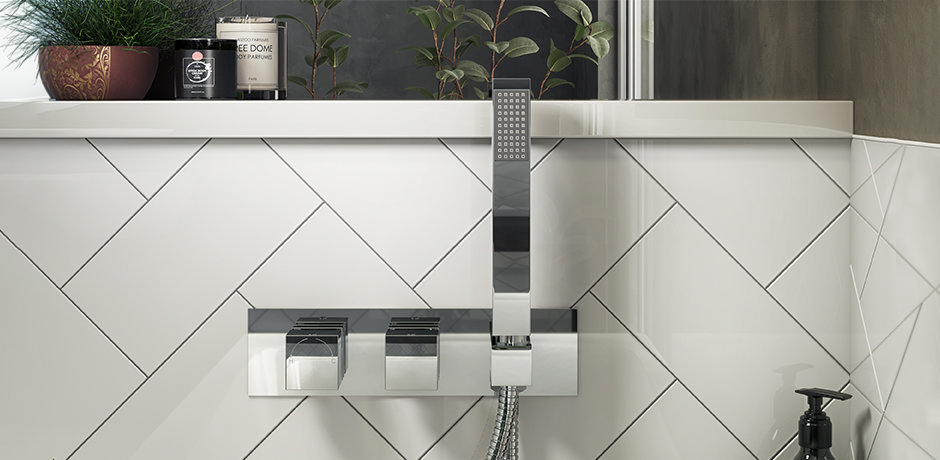
A shower valve is a little mechanism, usually located within the temperature handles, responsible for regulating water temperature, pressure, and flow. Therefore, ensuring that you replace your old shower valve is crucial to not only a calming and enjoyable bathing experience but also a safe one! If not replaced when faulty, an old shower valve can potentially scold or burn you. So, continue reading if you need to take control of your bathroom and gain More Power in Your Shower!
So, here are the 7 steps to change your shower valve cartridge!
How to Change Your Shower Valve Cartridge
Along with a video, we have written a step-by-step tutorial on how to change your shower valve cartridge. Whilst different shower designs and brands can have different methods, all replacements should follow a similar technique.
Step 1 - Mark Your Shower Handle
Firstly, before you attempt to remove the shower temperature handles, you will need to mark it with a pen (usually something felt-tip). Make sure that the handle is facing upwards, in its neutral position, and draw a line across the handle so that, at the end, you can put the handle back on in the right direction.
Step 2 - Remove Your Shower Handle
Next, remove your shower handle. This depends on the type of shower handle, however, it can usually be done using tools you already have at home. To be certain, simply search for the make and model of your shower online and there should be information on removal instructions provided. Be careful that you don’t accidentally lose any small parts of the valve during this step!
Step 3 - Remove Protective Part of Valve Cartridge
Afterward, it’s time to remove what is holding the cartridge in place. Whether this is a clip, a plate, or a plastic band, this is what’s stabilizing the cartridge within the valve, and needs to be removed gently to insert the replacement cartridge.
Step 4 - Remove Cartridge
Next, remove the cartridge; this can be done just with your hands depending on how your valve is designed. However, in some cases, it is necessary to use a shower cartridge-pulling tool or pliers. Make sure you remember the position of your old cartridge, to work out how to place your new cartridge inside the valve. If done incorrectly, your hot and cold water could flow from the wrong handle turns.
Step 5 - Fit New Cartridge
Carefully place the brand-new cartridge in the same direction and position as the old cartridge. If the cartridge needs to be screwed in, make sure any holes are lined up.
Step 6 - Place Protective Parts of Cartridge Back
Next, fit all of the protective mechanisms that were holding the cartridge in place in the reverse order that you removed them. This makes sure that everything in your shower valve remains the same, apart from the cartridge itself.
Step 7 - Secure Shower Handle Back On
Put the handle of the shower back on and secure it according to the line that you drew earlier with a marker, making sure that both marks line up. Finally, turn the water back on and test for 3 things:
- There are no leaks.
- You can change the temperature without any problems.
- The pressure is to your liking.
If you are happy with your shower performance, congratulations, you have successfully replaced a shower valve cartridge! We’ve worked out that, through your DIY, you will have saved up to £100 on installation costs (of course, depending on the type of shower you have)!
However, if you are uncomfortable with the process of fitting a new valve cartridge, even after reading this tutorial, don’t hesitate to call in a professional. Remember, you can still Boss Your Bathroom by hiring a professional to do all of the dirty, tricky parts of your renovation!
If your shower isn't working the way you want it to, it could mean that there is a bigger issue. If you fancy upgrading your shower, take a look at our large selection of quality showers.
Need to replace your radiator valve too? Look through our guide 'how to change a radiator valve' for all the information you need.

Hannah
Hannah is one of our bathroom bloggers here at Victorian Plumbing. She'll be posting updates on the latest bathroom trends and decorating tips. Look out for her expert 'how to' step-by-step DIY guides too!


