Grab Up To 70% Off In Our January Sale!
Plus an extra 10% off Tiles with code TILE10. Code ends in:
How to Clean Greasy Kitchen Wall Tiles
How to Clean Greasy Kitchen Wall Tiles
Facing an uphill battle with leftover grease and grime on your kitchen wall or splashback tiles? Our method will have them shining and grease-free once again!
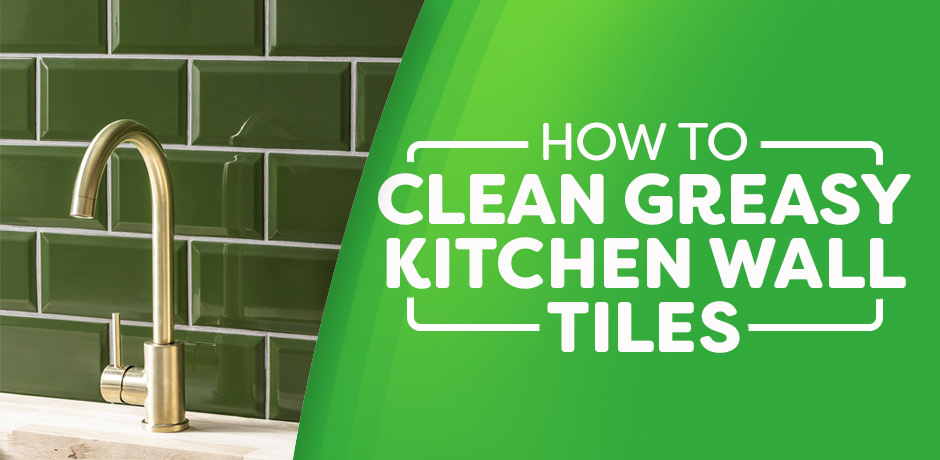
It’s natural that some mess will happen in the kitchen, whether it’s spitting grease from frying bacon or flying suds from the washing up. You may have laid some easy to clean splashback tiles to make cleaning up these spills a little simpler, but what can you do when stubborn grease stains just won’t shift?
Our method for cleaning greasy kitchen wall tiles has been specifically designed to catch both everyday grime and persistent grease. Give it a try if your tiles are in need of a refresh to get them sparkling bright again.
What Do You Need?
-
Bicarbonate of soda
-
Water
-
Household surface cleaner
-
Cleaning cloth/sponge
-
Microfibre cloth/kitchen roll for drying
Preparing the Wall Tiles
Before you get started, make sure you move anything close to the tiles (such as pans on the hob, or anything on the counters in front of the tiles) away. You want to be able to get to your tiles as directly as possible.
Store anything that’s been left out in its usual place, such as a cupboard, and move anything else to another location like the table, just while you’re cleaning.
How to Clean Greasy Kitchen Wall Tiles - Method
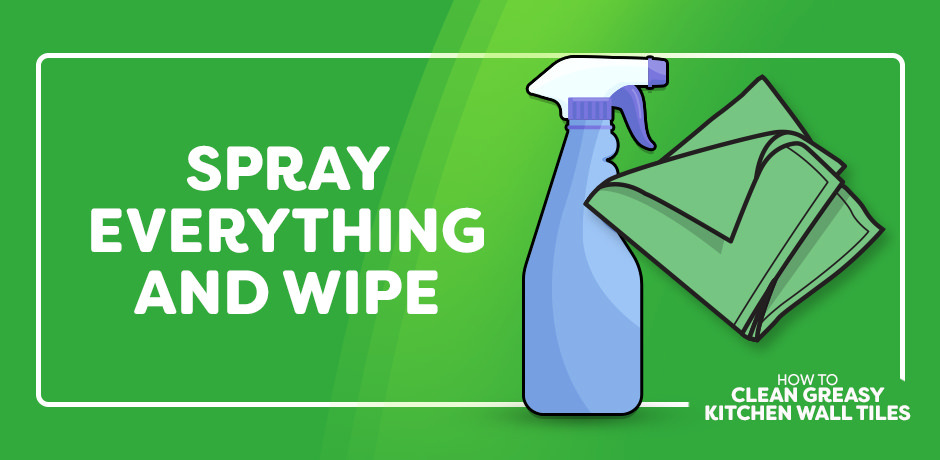
1. Spray Everything and Wipe
To start with, get your standard household surface cleaner and spray the entire section of wall you’re working on. Don’t worry about specific grease stains or tough spots at the moment. Once everything’s been sprayed, wipe it down with your cleaning cloth or sponge.
Now, you should be able to see exactly where your difficult areas will be. You should also have some sparkling clean areas; pat yourself on the back for an early win!
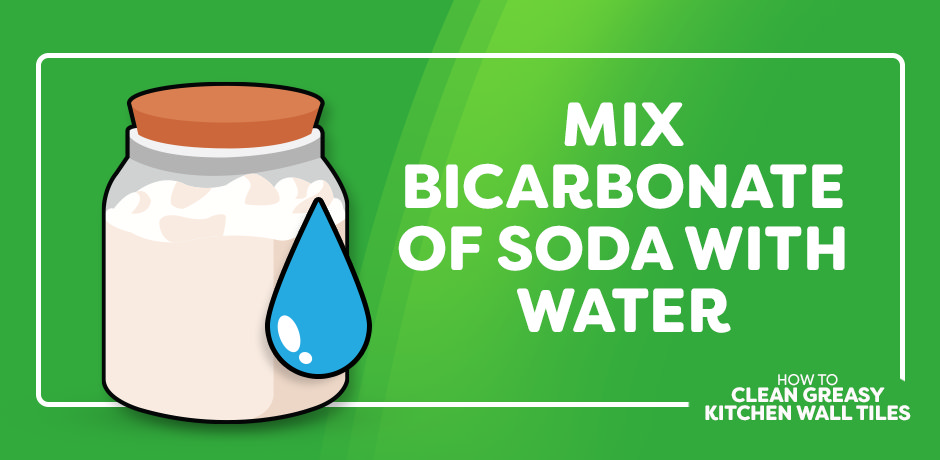
2. Mix Bicarbonate of Soda With Water
Next, it’s time to get ready for those tough grease spots. Take your bicarbonate of soda and mix it up with some water (about two or three tablespoons of water per teaspoon of bicarbonate of soda), which should leave you with a paste. This is your grease-busting superhero!
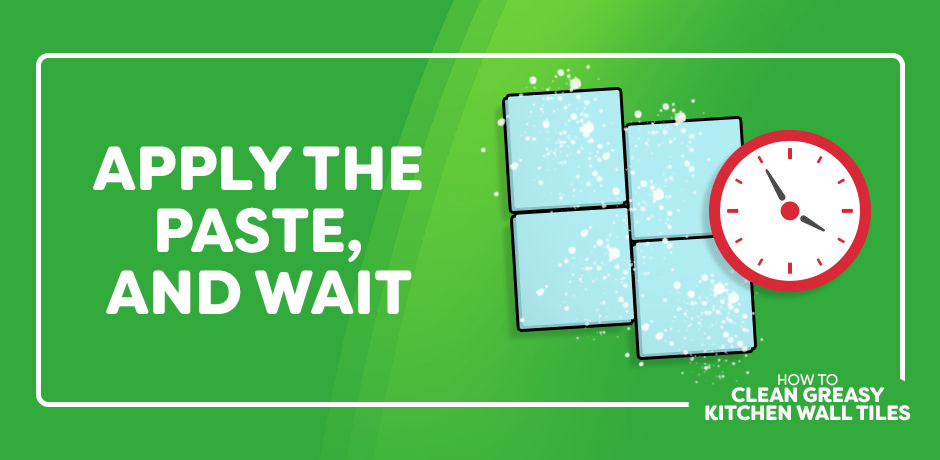
3. Apply the Paste, and Wait
Bicarbonate of soda is an alkali, which is why it works so well on grease. Apply it to the greasy parts of your tiles and wait a few minutes. It’ll react with the grease and start to dissolve it, making it so much easier to shift.
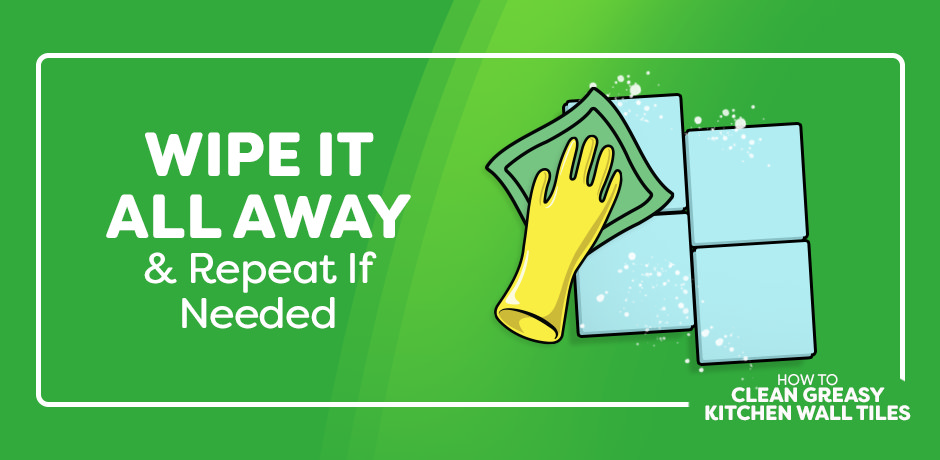
4. Wipe It All Away, and Repeat if Needed
Using your cleaning cloth or sponge, wipe all of the paste away (and, hopefully, the grease with it!). If you notice any spots you missed with your first round of paste, or any areas that have particularly stubborn grease stains, you can go back to step 3 for a more thorough clean.
5. Dry the Wall
Using your micro fibre cloth or some kitchen roll, dry your kitchen wall or splashback. This will leave your kitchen tiles looking their best: shiny and clean!
FAQ About Cleaning Greasy Kitchen Wall Tiles
What are the best products for de-greasing?
As well as mixing bicarbonate of soda and water together to make the paste that we used in our tile cleaning method, there are some other options. Washing up liquid, which you likely already have in your kitchen, can do a good job of busting grease.
There are also some dedicated de-greaser cleaning products; just make sure you check if they’re suitable for your specific tile material (for example, ceramic or porcelain).
How often should kitchen tiles be cleaned?
It’s best to include your tiles in a weekly or bi-weekly clean of the kitchen. If you notice any grease or other grime on your tiles while or after cooking, then it might be worth giving it a wipe to immediately avoid any staining.
What if there’s still grease on my kitchen wall tiles?
If the bicarbonate of soda paste hasn’t quite done the trick, you might need to level up to specific de-greasing products. With harsher chemicals, always make sure they’re suited for your tiles, and try them on a small, out-of-the-way spot first to check for any discolouring or damage.
What About the Rest of the Kitchen?
Now that your tiles are clean and grease-free, what comes next? Well, you could clean your kitchen hood filter or take this opportunity to organise your kitchen cabinets. Keep the cleaning momentum going!

Oskar
Oskar is one of our bathroom bloggers here at Victorian Plumbing and he loves inspirational bathroom designs! When not writing popular 'How To' step-by-step DIY guides, he is posting buying guides that give great advice on how to go about purchasing your items.
