Grab Up To 60% Off In Our February Sale!
Plus an extra 10% off our Arezzo range with code AREZZO10. Code ends in:
How to Paint Behind a Radiator?
How to Paint Behind a Radiator?
Painting behind your radiator can seem like a pretty tricky job. However, we’ve come up with the perfect solution to ensure you'll get the job done in no time.
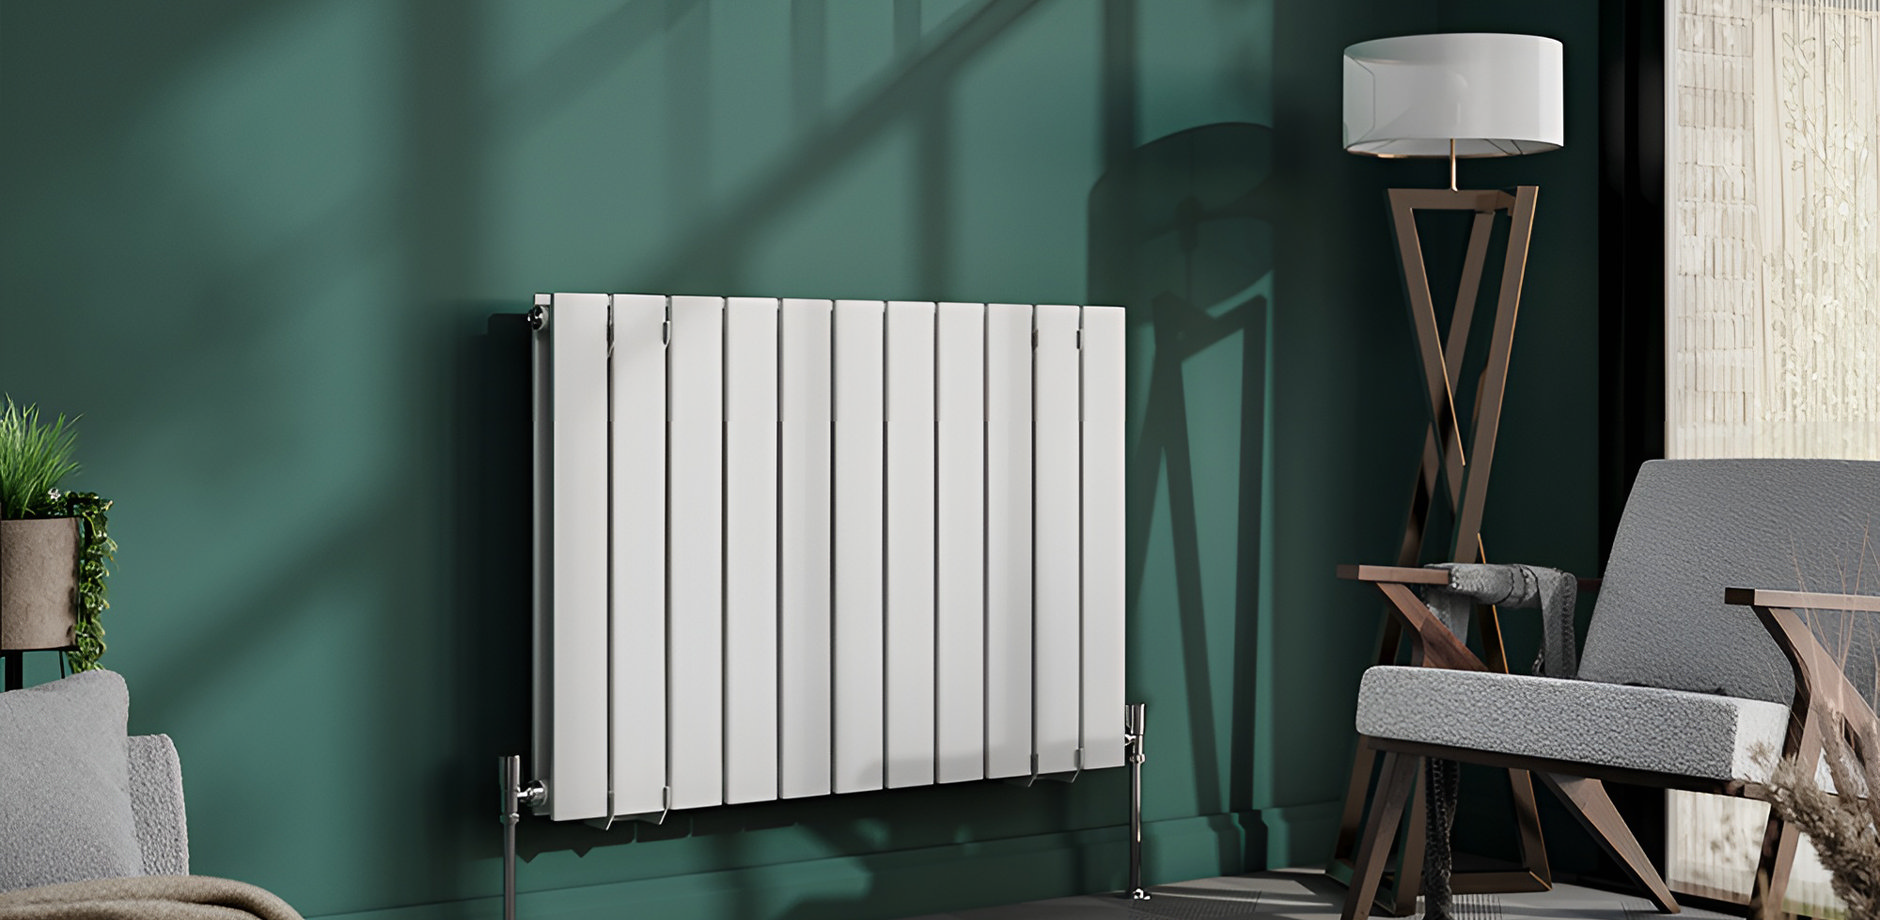
Painting the wall around the radiator is easy and painting the radiator itself seems pretty straightforward - but painting behind the radiator? Not so much. However, it needn't be a painstaking job to complete. By following the steps below, you can do a high quality job without too much hassle at all.
Paint Behind the Radiator With an Easy-To-Make Tool
Using a normal paint brush or roller makes it pretty much impossible to get behind the radiator to create a professional finish. Even with a thinner roller you’ll find it difficult to reach right down to the lower parts of the wall. This means you'll have to get a little creative and make your own tool, although the good news is it doesn’t require much work.
Follow these steps to make a simple homemade decorating tool, allowing you to paint those hard-to-reach areas behind any radiator in your home. You only need 3 items:
1. Take a narrow piece of wood—a piece of floor edging, beading or bamboo is ideal—anything that is strong, slim and offers a degree of flexibility. It’s not something you have to spend much money on, if any.
2. The other important item for this tool is a sponge. A bathroom sponge is fine and just about the right size, so you can cut it up into large enough pieces.
3. A normal household stapler and scissors are the only other items you'll need. The idea is to make a painting tool with the sponge that slides down behind the radiator so you can create a smooth finish on the wall. To construct the tool, do the following:
4. If it’s a large sponge, cut it down into 4–5cm square rectangular pieces, so it is small enough to fit into the gap without having to squeeze it in. Bear in mind that the smaller the piece, the longer it will take to paint the wall, but also make sure it isn't oversized or it won't fit into the gap.
5. Use the stapler to attach the sponge onto the end of the wood. You will probably need around 3-4 staples to secure it in place. Ensure the staples are flat against the wood, as when you apply the sponge to the wall it could scrape against the surface which wouldn’t produce the best of finishes. The staples can be easily tapped into place to make them flat if needed.
6. After that you can simply dip the tool into the paint, drain it off a little and start to use it on the wall. It makes the job much easier to complete and will enable you to apply an even and professional finish in the space right behind the radiator.
Before you start to paint behind the wall, it's a good idea to cover the radiator before you get to work. At some point you are likely to touch the top or side of the radiator, so covering it up will ensure you don’t have any frustrating accidents.
The same also applies to the pipe area, as the wall behind them can be even trickier to reach. Use parcel tape or similar to wrap around the piping before you start to paint the wall.
More DIY Advice
At Victorian Plumbing, you'll find loads more handy tips and advice on home DIY. For example, if you're decorating your bathroom, which paint do you need and how do you paint your bathroom? Check out all our bathroom help articles and kitchen advice for more expert guides.
Shop Radiators
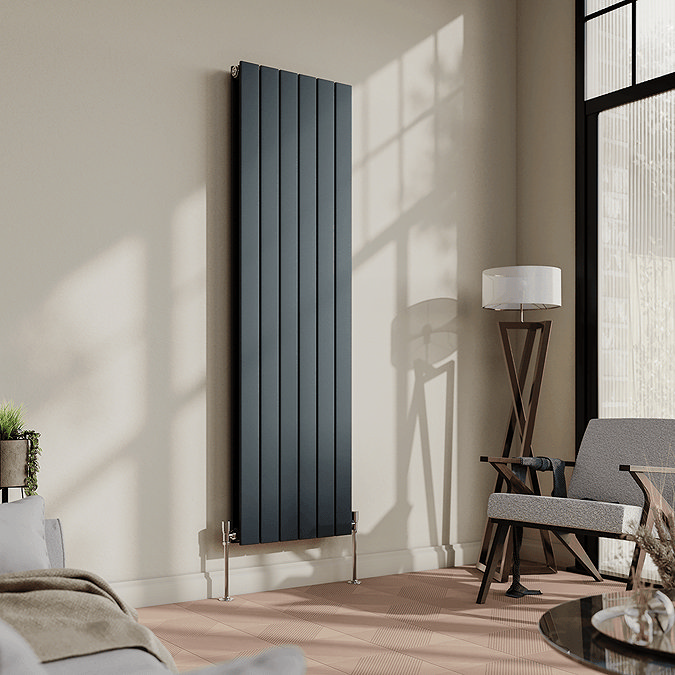
If you're in the mood to redecorate, you'll find plenty of stylish heating options at Victorian Plumbing. Discover our full range of designer radiators, from chic, contemporary models to the very best in Edwardian-inspired designs.

Megan
Megan is an expert bathroom blogger, she enjoys writing helpful DIY articles and bathroom inspo blogs. As well as specialist bathroom advice, Megan also shares expert how-to blogs with step by step guides.
