Grab Up To 60% Off In Our February Sale!
Valentine's Deal + Extra 10% Off Taps With TAPS10. Ends:
How to Install a Bathroom Mirror Cabinet
How to Install a Bathroom Mirror Cabinet
Learn how to correctly hang a bathroom mirror cabinet by reading through our useful, step by step guide.

Adding a mirrored cabinet to your bathroom is a great way to elevate your space. With a bathroom mirror cabinet, you get the best of both worlds by combining both practical and functional storage with one of the key aspects of a bathroom, a mirror.
What You Will Need
Before you begin there are a few things that you’ll need to ensure that your mirrored cabinet is installed correctly and safely.
- Spirit level
- Pencil
- Electric Drill
- Drill Bits
- Hammer
- Rawlplugs
How to Hang a Mirror Cabinet
For the best appearance, we recommend installing your cabinet above your basin. Choosing a mirrored cabinet that is the same width as your basin or vanity unit is a great way to keep things parallel.
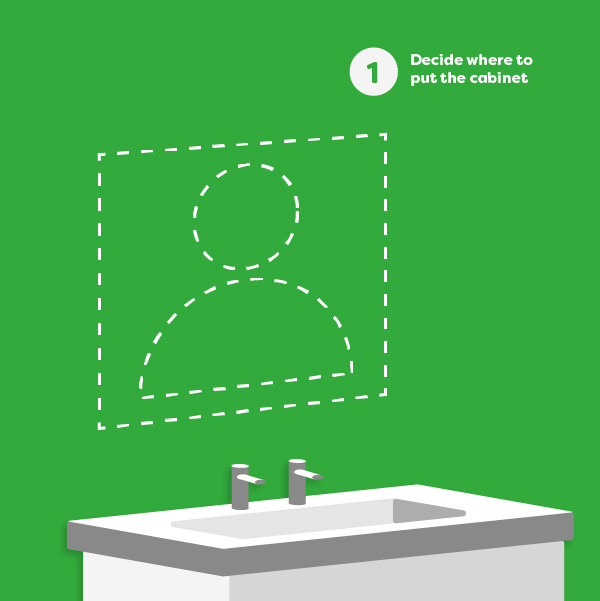
1. Decide Where To Hang Your Cabinet
First things first, you need to decide where to place your mirror. This will be dependent on your personal preference, but ensure that your mirror will be hung at the optimum height so that you can see your reflection effectively. To measure this, use your pencil to mark where you would like the top of the mirror to sit on the wall.
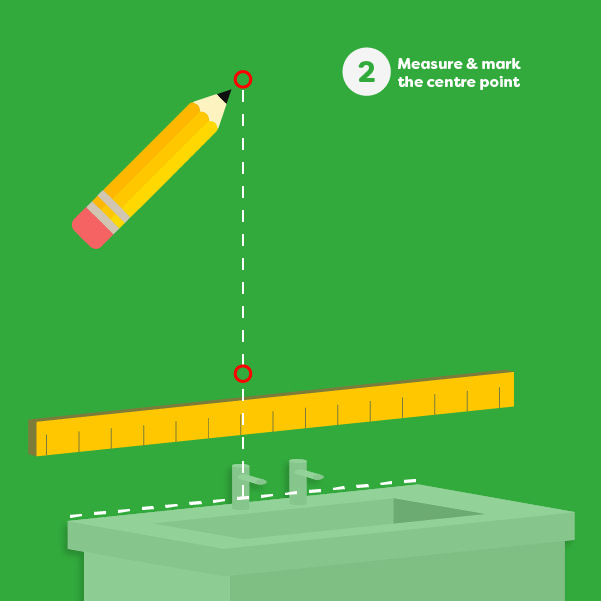
2. Find The Centre Point
If you are hanging your mirrored cabinet above your basin, the next step is to find the centre of your basin. Using your tape measure, you will need to measure the width of your basin or vanity unit and use your pencil to mark the wall at the centre point. Then, using your spirit level, make another centre mark higher up the wall. This will help you keep things symmetrical when mapping out where you will need to install the fixings.
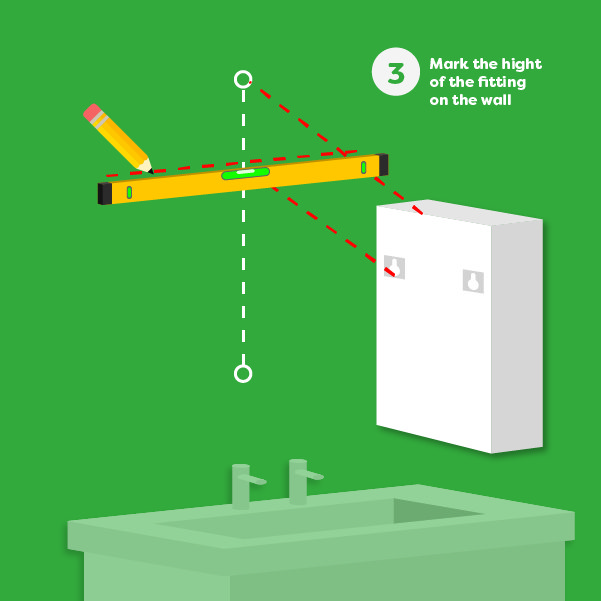
3. Mark The Height of The Fittings
Now you can start to mark where you will need to drill into the wall. First, measure the back of your cabinet from the very top of the cabinet where the fixings are to mount your cabinet mirror to the wall. You will use this measurement to mark the same distance below your previous marking which states where the top of your cabinet will sit on the wall.
After making this new marking, you’ll want to take your spirit level and draw a straight, horizontal line across the wall. Ensure that this is at least the width of your cabinet. This is the line where you will need to drill into the wall. Then, you want to use your spirit level to draw a vertical line from the centre point downward. You should end up with a cross on your wall.
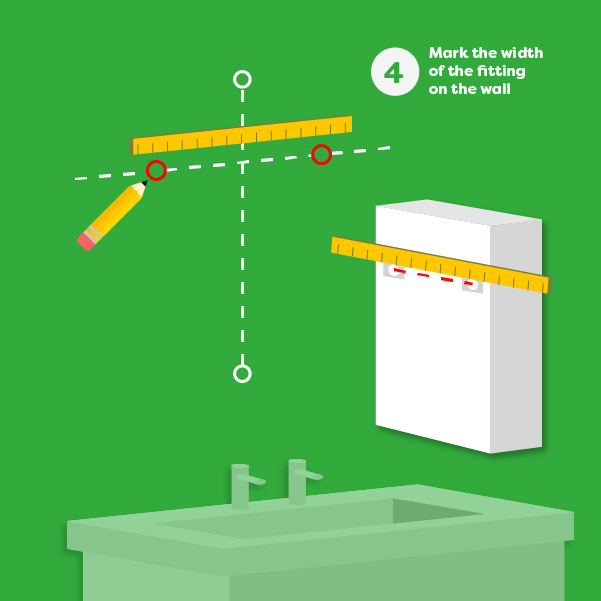
4. Measure The Width of The Fittings
For your next measurement, you will need to measure the width between the wall mount fixings on the back of the cabinet and make note of it. You will also want to divide this by two to find the halfway point and make a note of it. Now you can take your tape measure and mark the width of fixings on the wall along the horizontal line that you drew previously, ensuring that the halfway point of this measurement is aligned with the vertical line on the wall.
Now you’ve done all your measuring and mapped out your drill holes, you can move to the next step.
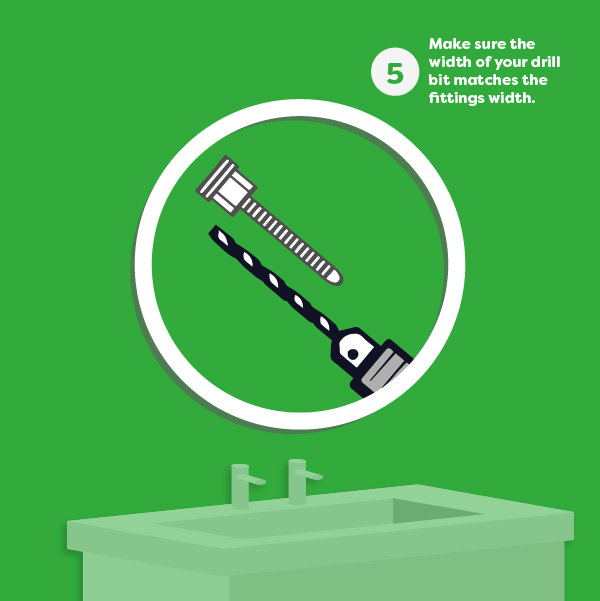
5. Check Drill Bits
Before drilling into your wall, make sure that you are using the correct drill fitting for the size of the anchor hooks or screws that will hold the cabinet on the wall. If you use one that is too large, your hooks will not be secure. This will increase the risk of it falling off the wall, causing injury or damage.
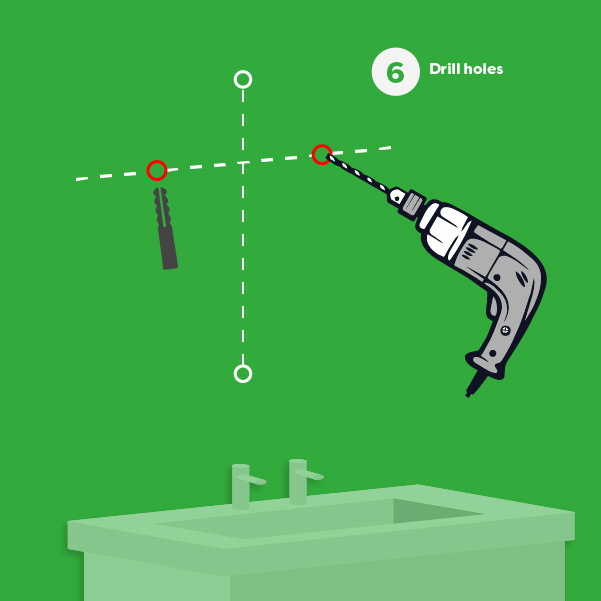
6. Drill Holes Into Wall
Using your electric drill, make two holes where you made your previous markings which state the width of the fixings. If you are drilling into tiles, it is important that you take your time when drilling the holes to avoid any cracks. After drilling the two holes, if you have not hit any wall studs, you'll need to add rawlplugs. Add these by pushing them into the holes and use your hammer to gently tap them all the way in
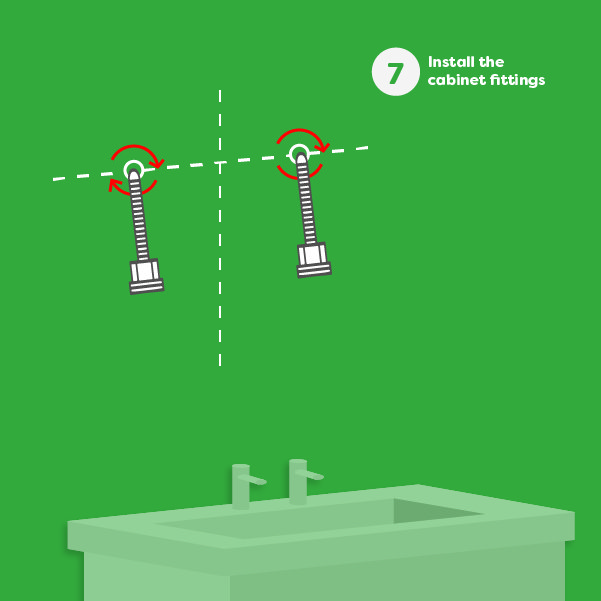
7. Install Fittings
Now that you’ve drilled the holes into the wall, you can fit them into place. It’s important to note that each mirror may come with different fittings, you may have anchor hooks or screws. All you need to do is screw them into place. Make sure that your screws or hooks are sturdy in the wall as the weight of the cabinet will increase as you stock up with your favourite products.
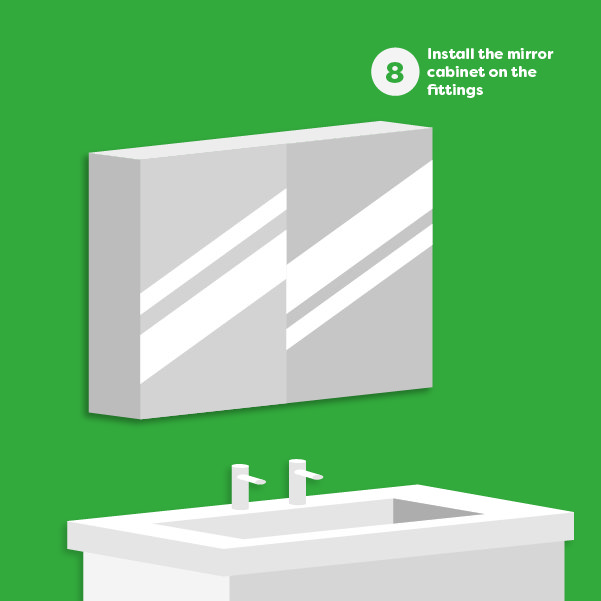
8. Hang Your Cabinet Mirror
All you need to do now is hang your cabinet mirror on the wall, and you’re good to go! Don’t forget to make sure that your cabinet is securely mounted on the wall.
Now you can fill your new, practical mirror full of your go-to bathroom products that are now easy to access and kept out of sight.

Megan
Megan is an expert bathroom blogger, she enjoys writing helpful DIY articles and bathroom inspo blogs. As well as specialist bathroom advice, Megan also shares expert how-to blogs with step by step guides.
