Grab Up To 60% Off In Our February Sale!
Plus an extra 10% off our Arezzo range with code AREZZO10. Code ends in:
Tips on How to Wallpaper Around Awkward Shapes
Tips on How to Wallpaper Around Awkward Shapes
It is important that you achieve a seamless pattern when putting up wallpaper. That is why it is crucial that you know how to wallpaper around awkward shapes and corners.
When adding wallpaper to a room, you want to make sure that it looks perfect. Wonky edges and gaps in between wallpaper can affect the entire look for your room and can leave your space looking messy and unfinished. This can often happen when you wallpaper over obstacles such as corners, light switches and radiators. Read below Victorian Plumbing's top tips on how to wallpaper around awkward shapes and get you over this decorating hurdle
How to Wallpaper Around Light Switches and Plug Sockets
When you start putting up wallpaper in a room, some of the most common obstacles to be faced with are light switches and plug sockets. While they may look a little daunting at first, getting a seamless finish around them is much easier than you think.
1. Switch off Electricity
This is the most important step when wallpapering around light switches and plug sockets. If you do not disconnect the electricity to the room you can end up with quite a nasty shock when you attempt to remove the plug socket or switch. You MUST make sure that this is the first thing that you do.
2. Remove Socket or Switch From the Wall
With the electricity disconnected, you can now safely remove the switch or socket from the wall. Some plug sockets and light switches will have visible screws on the front plate. If this is the case, all you need to do is take the correct screwdriver and remove all 4 of the screws. Then you can carefully pull the socket/switch away from the wall. You do not need to remove any of the wires, as long as you have enough space to access the wall behind the socket/switch you will be able to achieve the seamless look.
Some modern switches and sockets will not have any screws visible, instead they will have a front plate that can be easily removed by sliding or lifting away. All you need to do is remove this front plate and you are good to go.
3. Hang Wallpaper
With the plug socket and light switch out of the way, you can now start to add the wallpaper to your wall as you normally would. However, make sure that you are only adding wallpaper paste to the top section of the paper.
Next, you can carefully align the paper where it is going to sit on the wall. Using a pencil, mark the paper where it will meet the plug socket or light switch. Make sure that you do not make a mark that is too big, you don’t want any pencil marks to be visible once you have finished.
Now, you can take some wallpaper scissors to cut an X shape into the paper. Again, make sure that this is smaller than the socket or switch itself, otherwise this will be noticeable once you have finished. Now you can carry on to paste the wallpaper/wall and hang the paper as normal. When you reach the socket or switch, carefully slide it through the X insertion that you made earlier, ensuring that you do not rip the paper. Now that your wallpaper is successfully on the wall, all that you need to do is reattach the plug socket or light switch onto the wall, which will hide the insertion to create that seamless look.
How to Hang Wallpaper Behind Radiators
If you are looking to hang wallpaper behind a radiator, the easiest and most effective way to do this is to remove the radiator from the wall, and we recommend that you remove the radiator if possible. However, as this requires some basic plumbing skills, some people may not feel comfortable doing this. But luckily, there is a way around this problem.
1. Paste The Wallpaper
To hang paper behind a radiator, you can begin by hanging the paper as you normally would. Smooth the paper onto the wall until you are nearing the radiator. It is important that you do not adhere the paper to the lower section of the wall so that you can easily paper behind the radiator.
2. Tuck The Wallpaper
Next , you will hold the wallpaper from the bottom and fold up toward the wall and keep it tucked to the wall. We recommend using a radiator roller for this next step, they are inexpensive and available at most DIY stores.
Then, using your radiator roller in one hand and keeping hold of the wallpaper in the other, you can start to roll the paper onto the wall, slowing letting the paper fall lower as you do this. Continue rolling the paper behind the radiator, until you can no longer hold onto it. Once the paper has reached wall space under the radiator you can smooth it out as you normally would.
How to Wallpaper Around Door Frames
Adding wallpaper to a wall with a door is much easier than you think. All you need to do is follow these steps.
1. Start in The Right Place
When wallpapering a wall with a door, a great way to make the process easier is to start along the edge of the door frame. This way, you will not need to spend as much time making awkward cuts in your wallpaper.
2. Measure and Trim
When it comes to wallpapering above a door frame, the first thing that you want to do is match up the paper to the previous piece that you placed along the edge of the frame. As these areas are different for a door frame and a window frame, we will go through the process for each,
How to Wallpaper Above a Door Frame
For the wall space above the food frame, cut the paper so that it is overlapping the door frame itself. Then add wallpaper paste and start to hang the paper on the wall so that it is matching up with the previous piece. Using a wallpaper roller or a soft dry cloth, smooth the paper onto the wall, pushing out any air bubbles.
Make sure that you tuck the paper into the edge of the door frame where it meets the wall so that it is as tight as it can be. Then, using a stanley knife or similar tool, carefully trim the excess paper away from the edge of the door frame. And there you have it, seamless wallpaper above your door frame. Should any paste be left of the frame itself, make sure that you wipe this away before it dries, as this can be very difficult to remove.
How to Wallpaper Around a Window Frame
It can be difficult to wallpaper around a window frame due to the recess that surrounds a window. If you follow the steps below you will be left with an uninterrupted and seamless pattern on the wall space surrounding your window.
1. Overhang the Wallpaper
When wallpapering around a window frame, the placement of your first piece of wallpaper is very important. To achieve that seamless look, your first piece of wallpaper on the wall must be overlapping the recess of the window. A great tip is to make sure that the overhang is slightly longer than the depth of the window recess - this can be cut away at the end. Now that you know the placement of your first wallpaper strip, you can go ahead and paste the paper to the wall as you normally would.
2. Trim the Paper
For this next step, you will have to work quite quickly so that the overhanging piece of paper does not try before being adhered to the wall. Holding the overhanging piece of paper in one hand, carefully pull the paper so that it has some strength to it and is not flying all over the place. Then, using some wallpaper scissors, cut the paper along the top recess of the window until you hit the corner of the window frame. Repeat this step along the top of the window sill. Now you will be able to tightly wrap the paper around this edge and onto the recess of the window frame.
Continue to paper around the top and bottom of the window frame until you reach the other side of the window frame, then you can repeat the steps above to achieve a fully seamless wallpaper pattern around your window.
How to Wallpaper Around Built-in Furniture
Wallpapering around built in furniture such as built in cabinets and built in desks can look a little daunting at first. Just because you cannot remove said furniture, does not mean that you can’t add some stunning wallpaper.
1. Choose Your Starting Point
If you are wallpapering a space with built-in furniture, the best place to start is the most open areas, which would require the least amount of cutting and folding. From there, the process will be much easier.
2. Work Around Objects
As you make your way across the wall, it is important that you work around each piece of furniture that is in your way. However, every edge and corner will be different which is why it is so important to carefully work around every edge that you stumble across.
Built-in Cupboards and Cabinets
Wallpapering around built-in cabinets or kitchen cupboards can be a tricky task, especially when trying to achieve a seamless look in the space beneath or above them. The best way to work around these areas is to cut the paper around any edges as you smooth it onto the wall, making sure that you cut the paper leaving excess overhang. Doing this then going in with a stanley knife to cut tight around the edges will make your wallpaper look much neater.
Built-in Desks
Built-in desks can be more complicated due to the open space underneath them, which can look unfinished if left without wallpaper. But it is also important that you match up the pattern as best as you can. If the pattern is completely off, your decorating job could be left looking messy.
How to Wallpaper Around Inside Corners
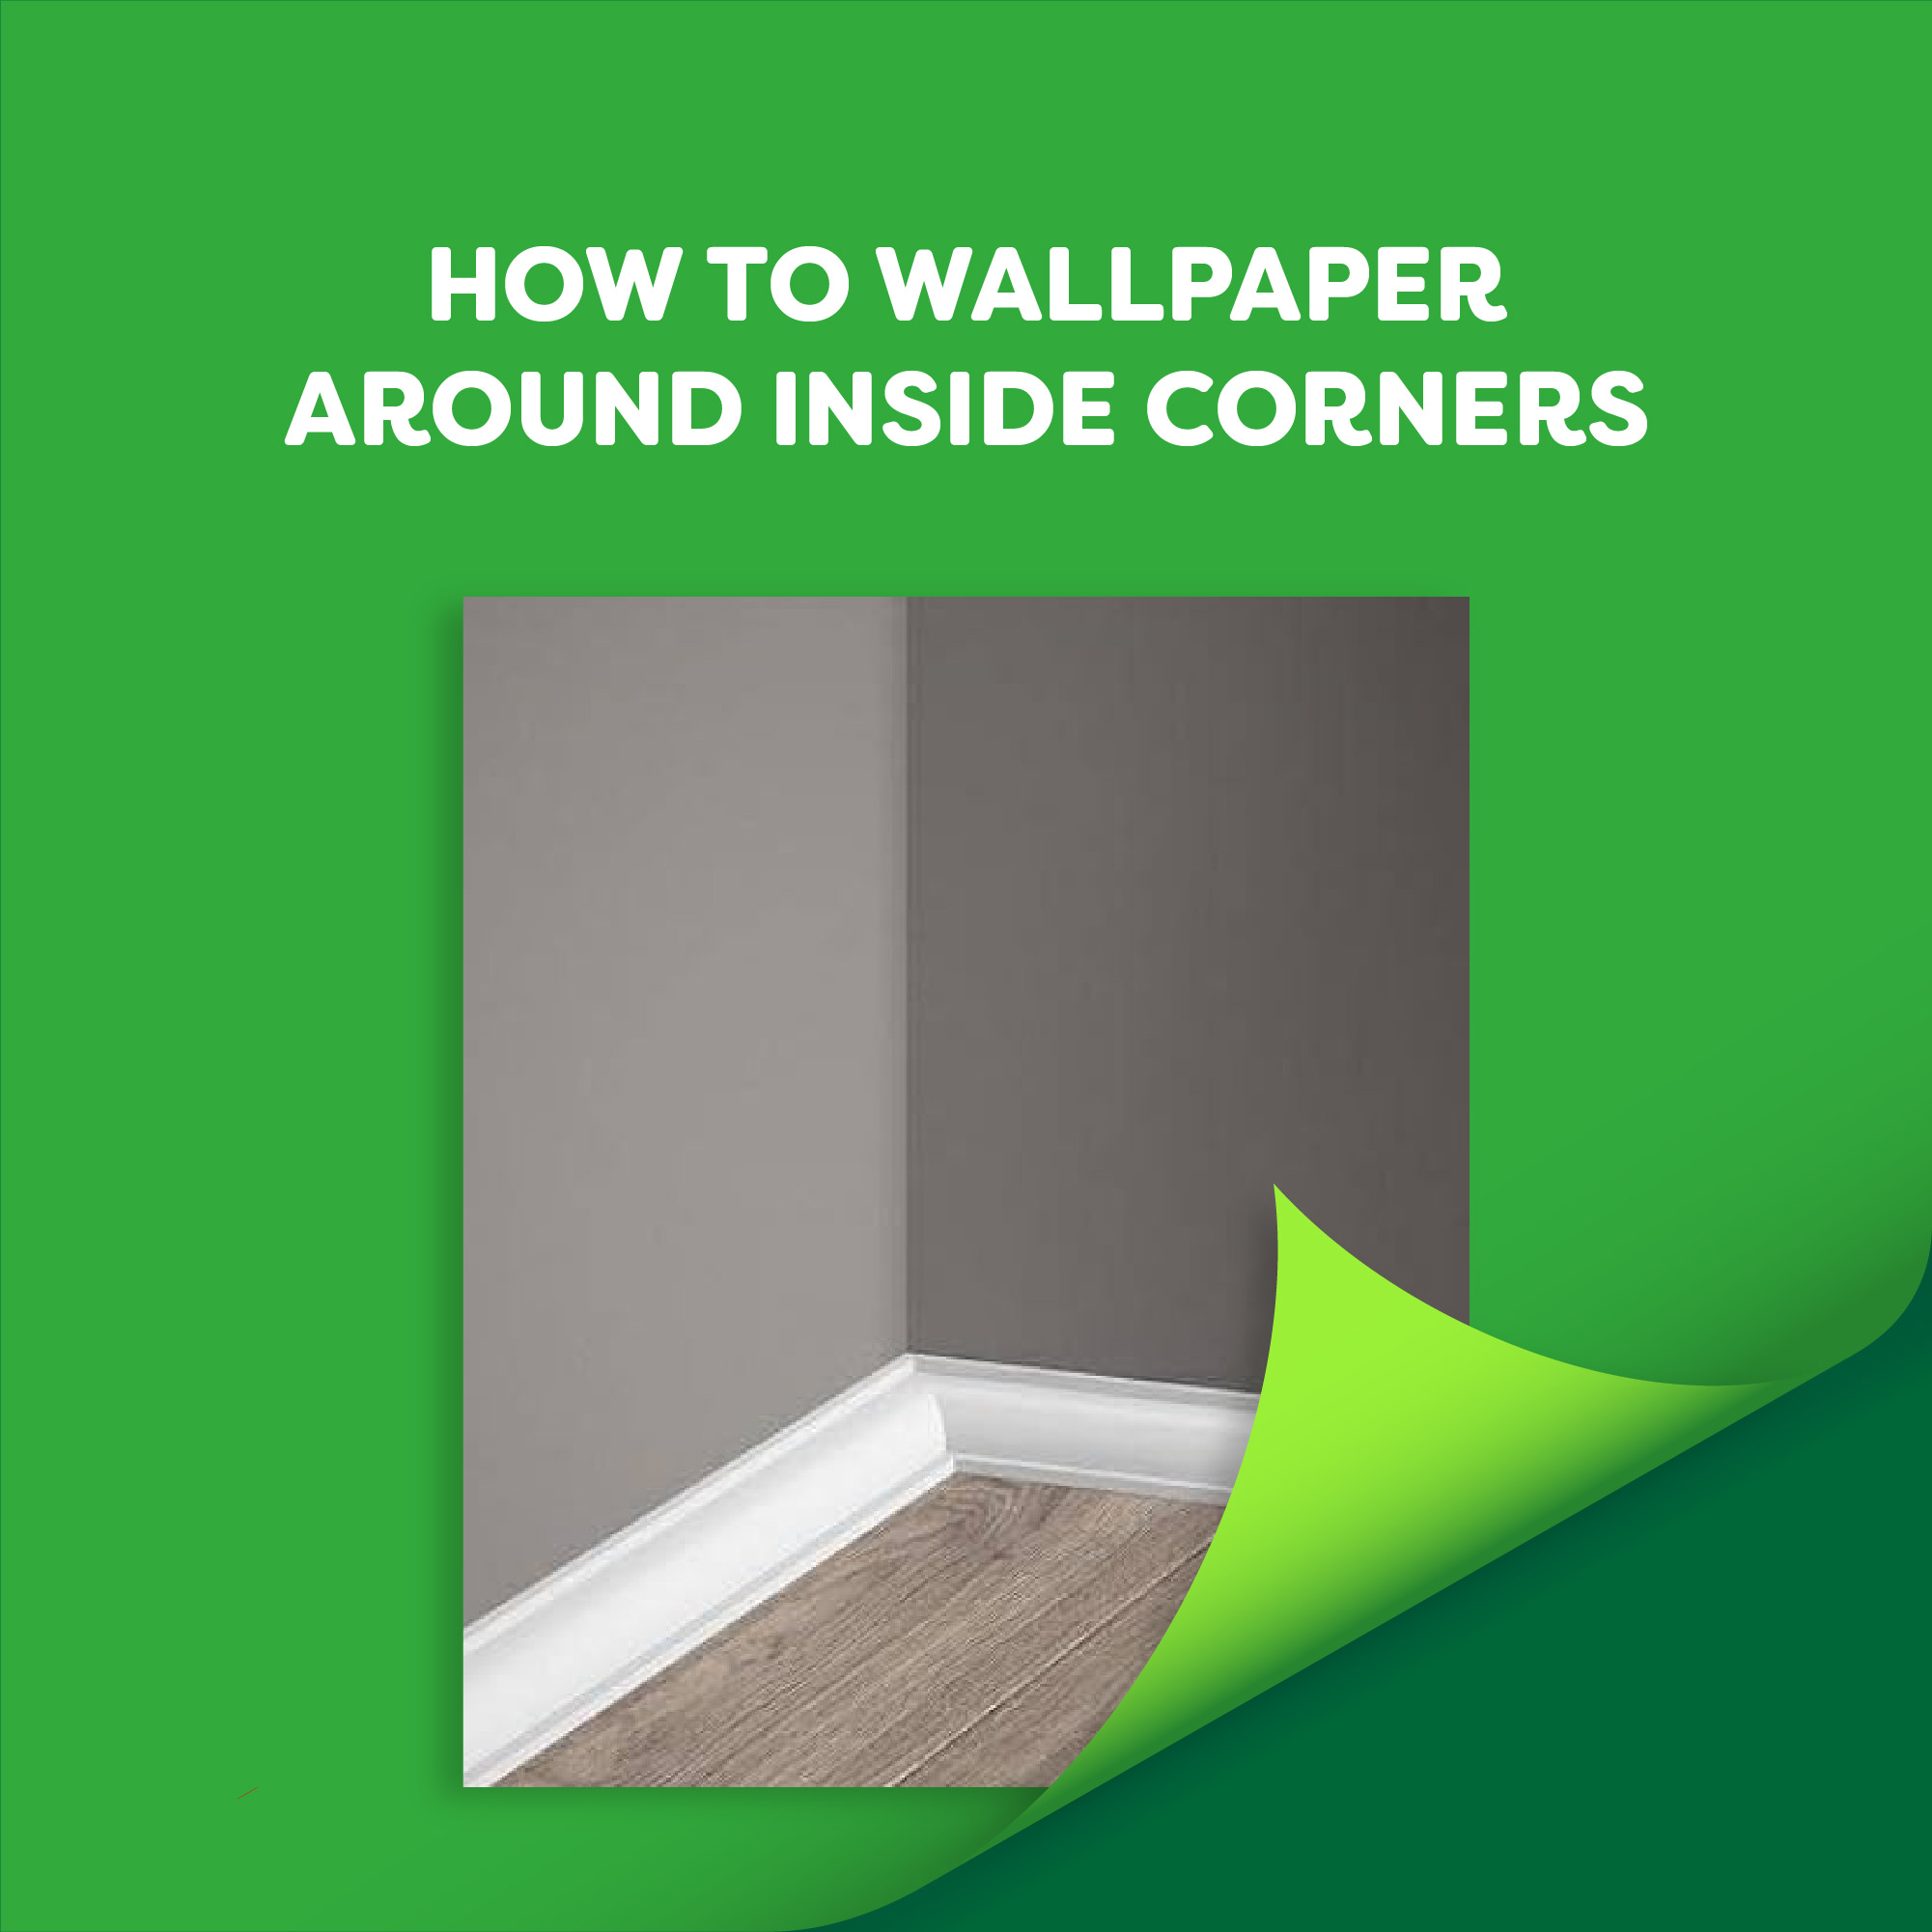
When wallpapering, the thought of approaching an inside corner can feel a little daunting. However, papering around these corners is not as difficult as it seems. Taking your time and following the steps below will allow you to create a seamless pattern around any inside corners in your home.
1. Measure and Cut
Measure and cut your wallpaper as you normally would leaving about 10cm overhang. Then, you can start to hang the paper on the wall, ensuring that the pattern on the last strip matches up. Smooth the paper onto the wall using a dry sponge or cloth.
2. Smooth Wallpaper Into Corner
As you smooth the paper onto the wall, you will start to approach the inside corner. Here, take a small brush or cover your finger with a dry cloth and very carefully smooth the wallpaper into the corner. A useful tip is to keep hold of the paper with your other hand as you smooth the paper into place. Do this until the paper is tucked nicely into the corner and is starting to sit on the other wall.
3. Smooth Paper Onto Wall
Now that the paper is sitting nicely in the corner, you can start to smooth the wallpaper onto the next wall as you normally would. And there you have it! You can carry on adding your wallpaper to the rest of the wall as normal.
How to Wallpaper Around Outside Corners
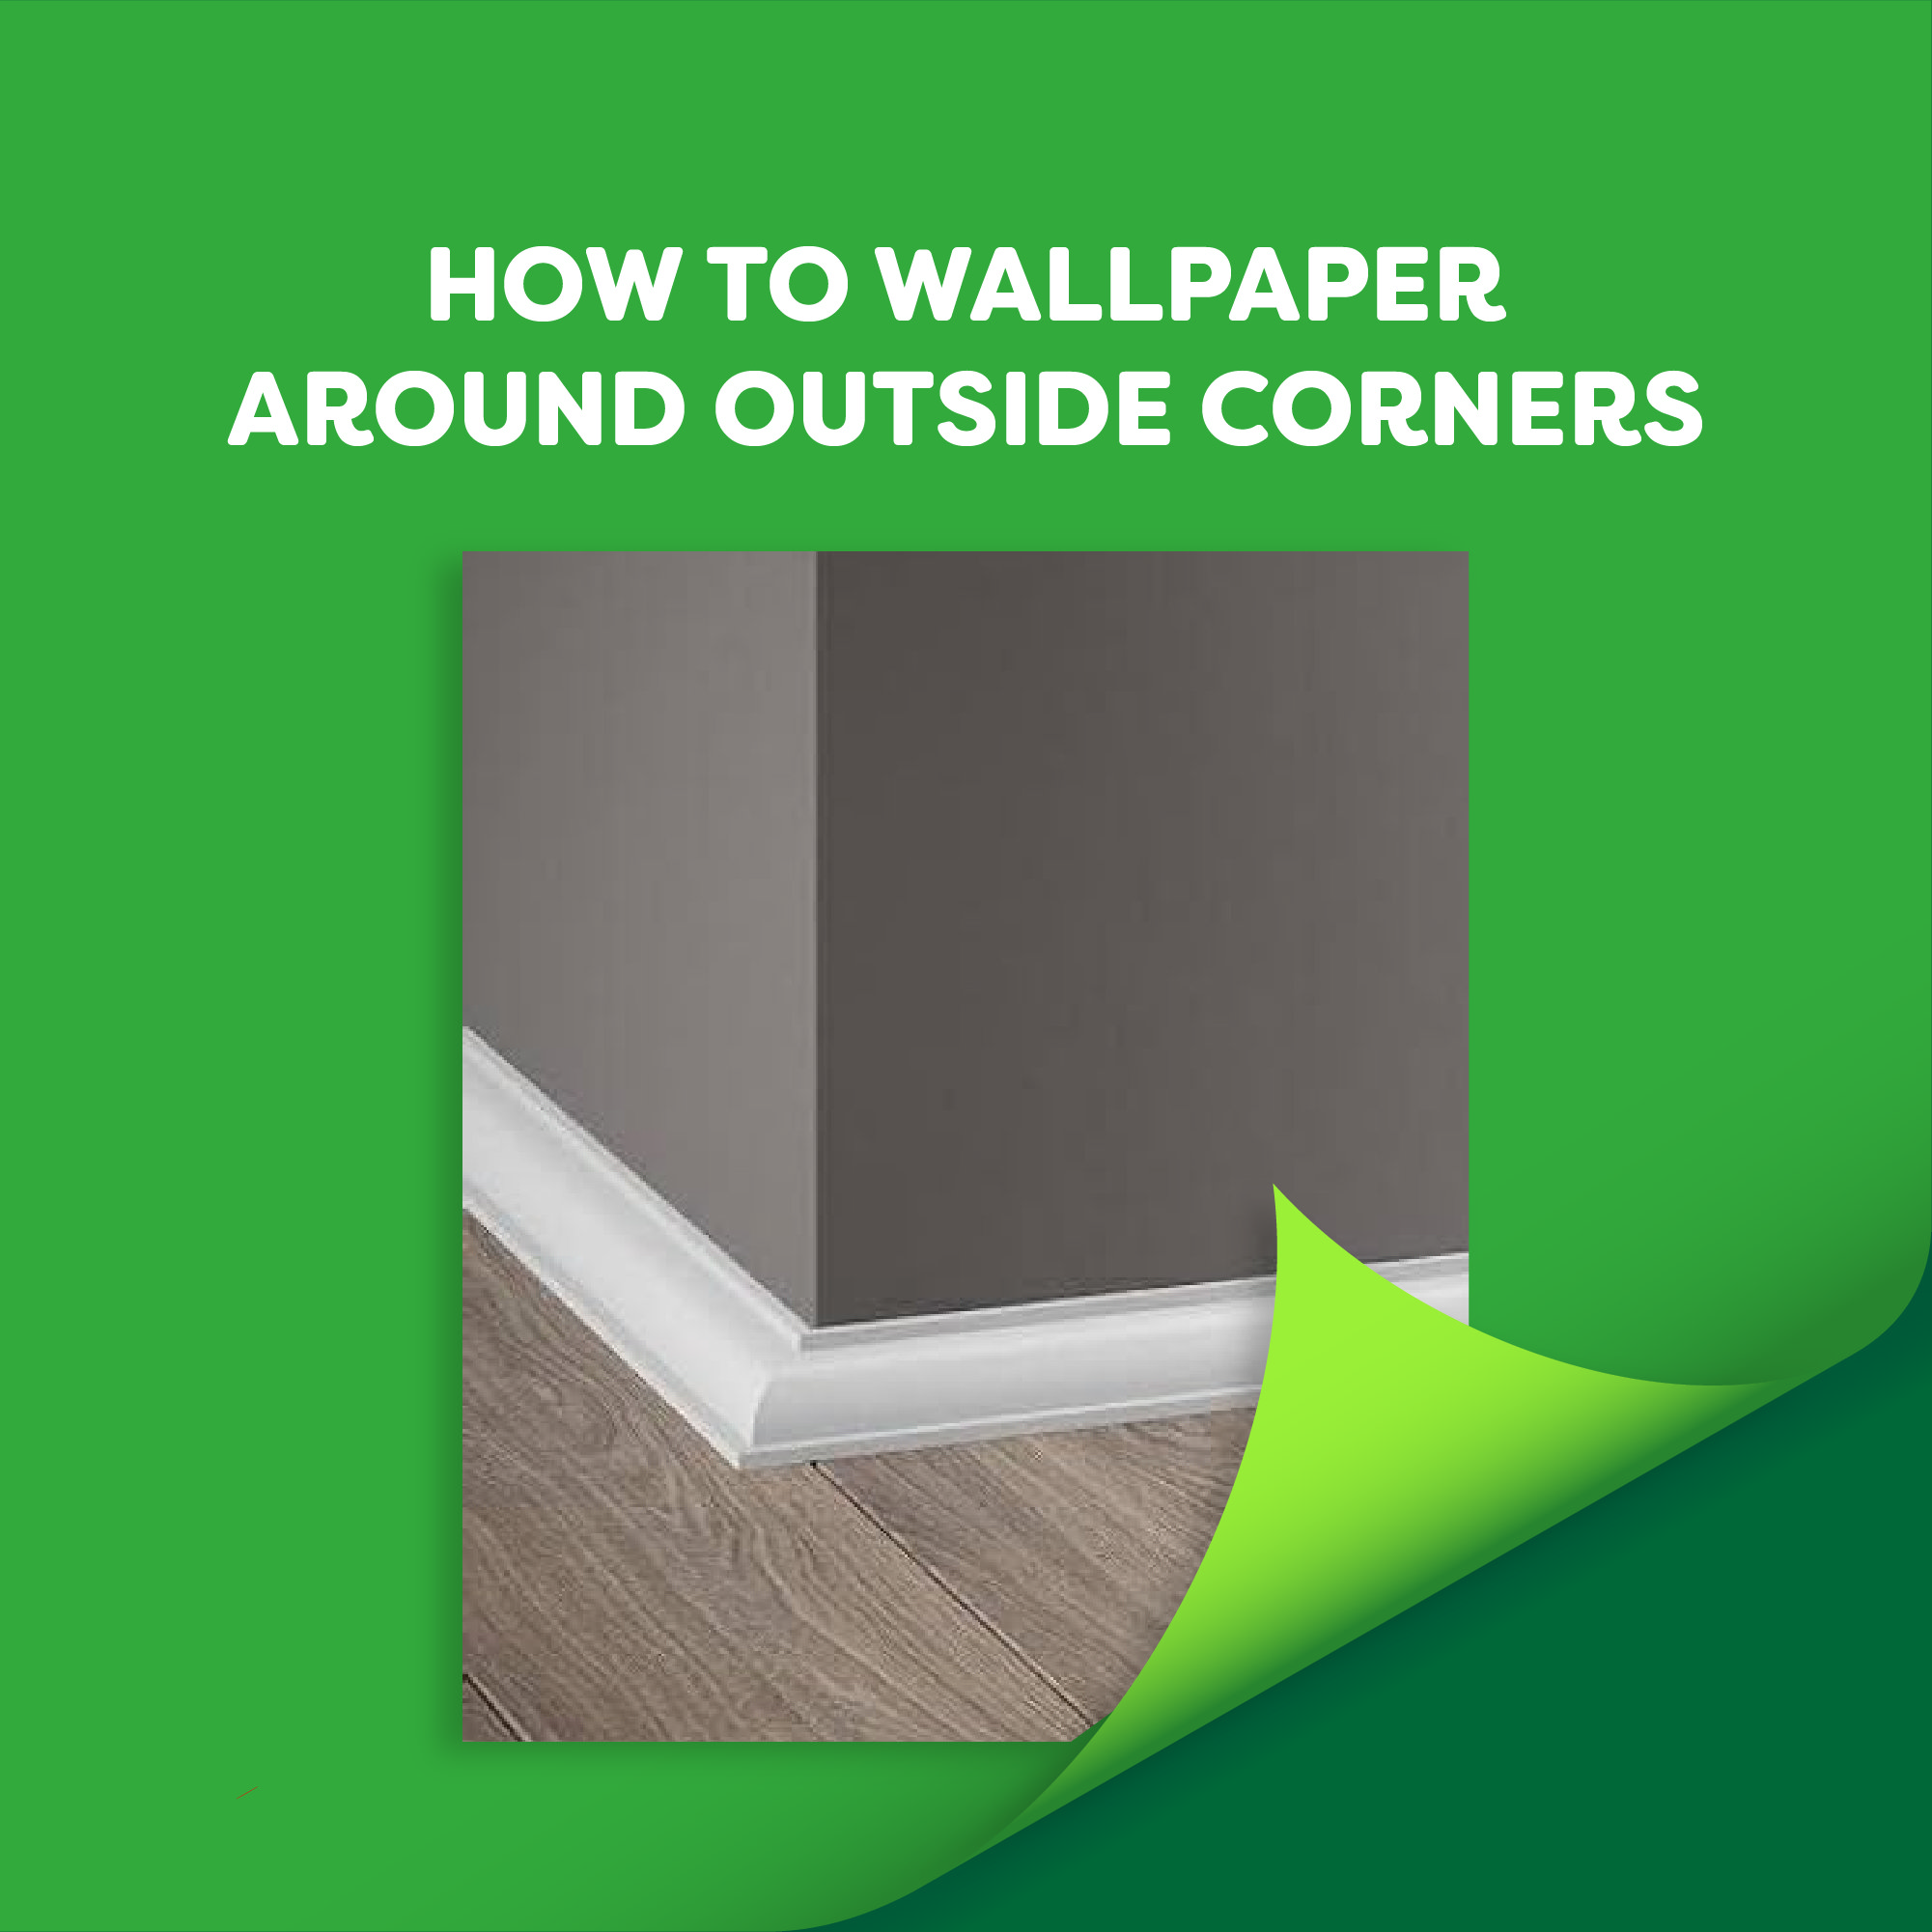
Wallpapering an outside corner is similar to wallpapering an inside corner, however is it slightly easier.
1. Measure and Cut
Again, the first thing you want to do is measure and cut the wallpaper as you normally would, leaving an overhang that is roughly 10 cm. Then, start hanging your paper by matching up the pattern on the previous strip.
2. Wrap The Corner
Hang the paper on the wall by smoothing it down with a dry sponge or cloth. With your free hand, keep hold of the loose edge of the wallpaper, keeping it tight but not so that the paper starts to lift from the wall. Once you reach the corner, take the paper with both hands and wrap it tightly around the corner, again ensuring that the paper does not start to move or lift away. Once stuck, you can again go in with your dry cloth or sponge and smooth the paper onto the wall.
3. Finish Papering the Wall
With the corner successfully papered, you can continue to wall paper the rest of your room as you normally would, following these steps if you come across another corner.
Wallpapering Tips and Tricks
Now that we’ve helped you with some of the tricky and awkward bits, here are some more useful tips and tricks that will make the wallpapering process a breeze.
- Invest in a wallpaper roller - this will really help to push out any air bubbles.
- Make sure that you order more than enough wallpaper for your room -this will ensure that your paper is from the same batch and there will be no variation in colours.
- Paint before you paper - some paint may stain your paper and ruin the look of it.

Megan
Megan is an expert bathroom blogger, she enjoys writing helpful DIY articles and bathroom inspo blogs. As well as specialist bathroom advice, Megan also shares expert how-to blogs with step by step guides.
