Grab Up To 60% Off In Our February Sale!
Plus an extra 10% off our tiles with code TILE10. Code ends in:
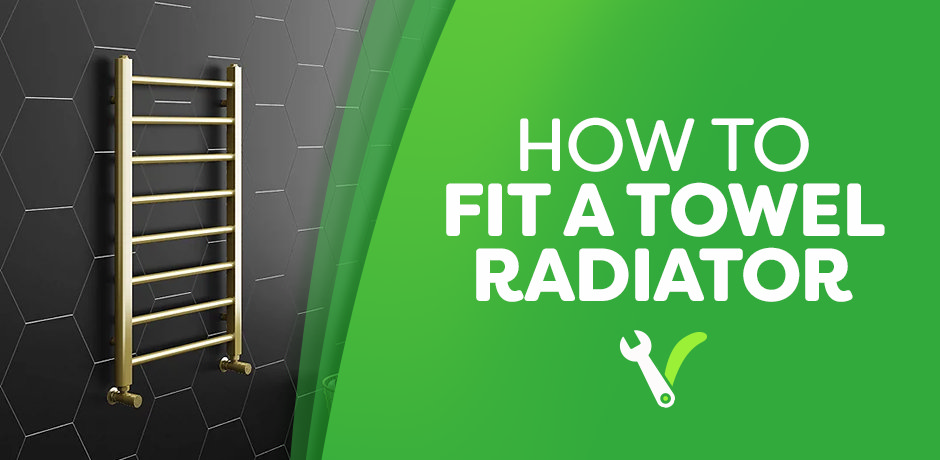
How to Fit a Towel Radiator
How to Fit a Towel Radiator
A towel radiator will improve the look and comfort of your bathroom, and installing one yourself will save on both time and money. That’s why we’ve shared our useful guide so that you can successfully install a towel rail yourself.
Is this a DIY job?
We recommend only attempting to fit a towel radiator yourself if you have previous DIY experience and are confident with their skills. Fitting a towel rail incorrectly could result in a lot of damage and rack up a nasty bill in repairs.
If you are not confident enough to install a towel radiator yourself, make sure that you hire a professional and reputable plumber who will be able to ensure that your towel rail is fitted correctly.
Before You Begin
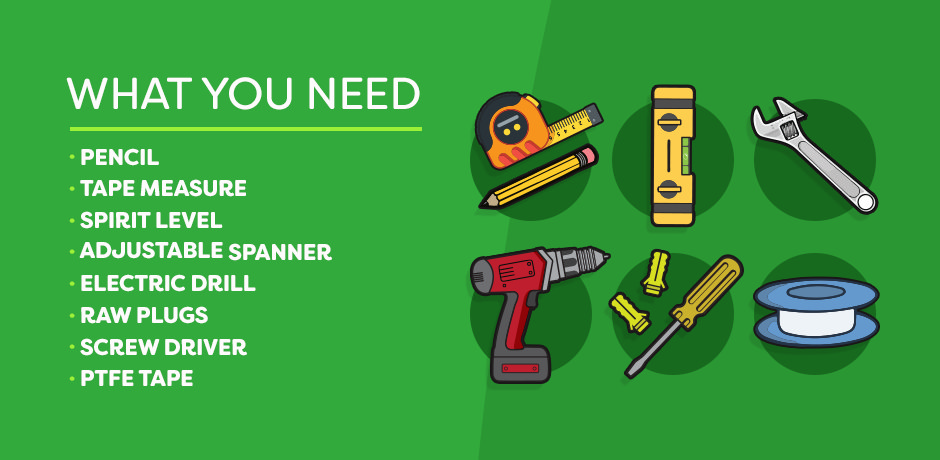
What You Need
-
Pencil
-
Tape Measure
-
Spirit Level
-
Adjustable Spanner
-
Electric Drill
-
Rawl Plugs
-
Screw Driver
-
PTFE Tape
Preparation
Before you begin, it is a good idea to check that your radiator will fit onto your current heating system. If the towel radiator is too wide then you might need to hire a professional plumber to adjust these for you. You can avoid this by purchasing a new radiator that is the same width as your current one. If you are installing a new radiator entirely, then your plumbing system should've been installed correctly for your chosen heated towel rail.
One of the most important steps before you begin is ensuring that the heating is switched off and you have isolated your old radiator. Do this by turning off the valves on the radiator by following the appropriate method for the valves on your radiator.
Tip - make sure to count the number of turns and make a note of it.
Another thing you will need to do before you start to remove the old radiator is to switch off the water in your home. This will avoid any nasty messes or expensive damages. However, we still recommend laying down some old towels in case small amounts of water starts to drip.
Step 1 - Fit Vents, Caps and Plugs

The first thing you want to do is make sure that you fit the air vents, caps and blanking plugs to your radiator. Is much easier to do this now rather than later when these areas might be hard to reach. You can attach these using your adjustable spanner, just make sure that you do not over tighten them as this could cause issues later on.
Step 2 - Measure and Mark
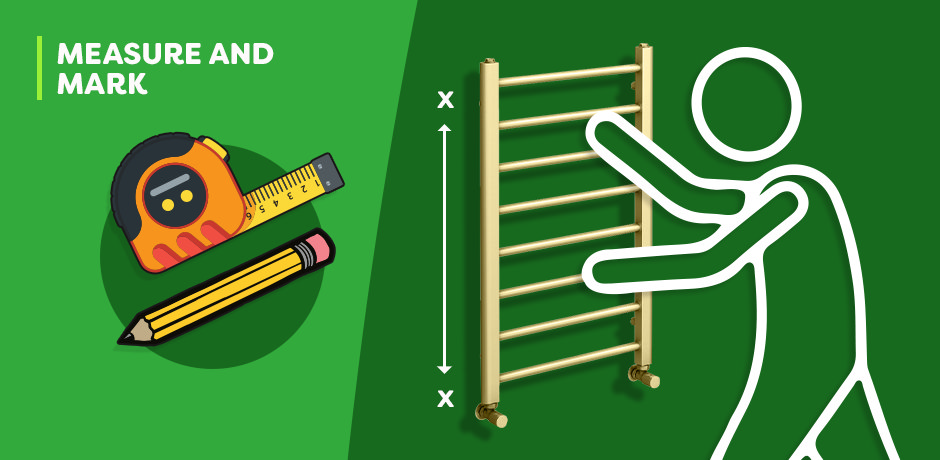
Next, lift the towel rail and hold it against the wall at the position you are happy with. Then, using a pencil mark the height of the towel radiator at all 4 connection points.
Alternatively, if your towel radiator came with a wall bracket, you can measure and mark using this. However, we recommend that you lift the radiator in position to get a more accurate idea of the placement of the radiator.
Then, you will want to measure everything up accurately. Do this by measuring the distance between the bolt holes on the radiator. Then, from the height mark on the wall, you can mark the correct distance for the bolt holes using the measurement you just took. From here you can repeat this step to measure and mark the rest of the bolt holes.
Step 3 - Check and Level

After marking the bolt holes on the wall, use your spirit level to make sure that all the holes are level from the top two holes, then from the top to bottom holes.
If your markings are out of plumb, repeat step 2 and 3 until your radiator is sitting level on the wall.
Step 4 - Drill the Wall
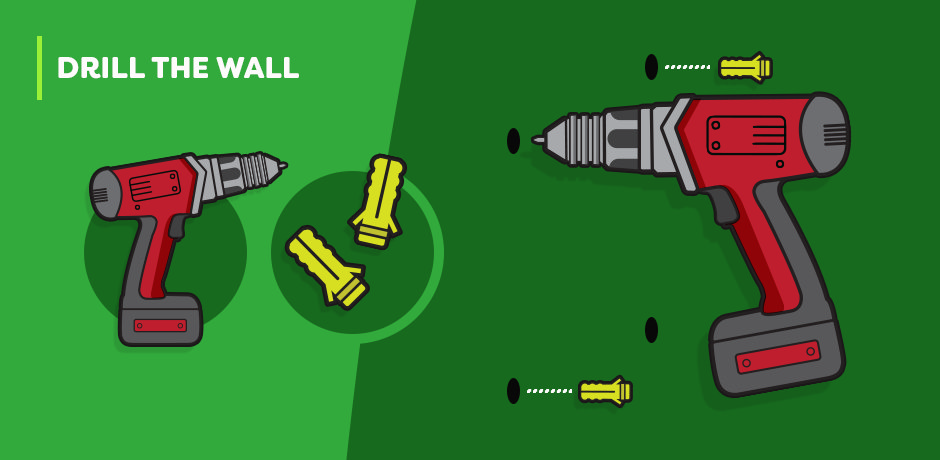
Once you have marked out your bolt holes and made sure that they are level, you can drill into the wall where you made the correct markings. Before you start drilling into the wall blindly, you should use a pipe/cable detector to make sure you don't hit any critical wires or pipes. This will make the process much safer for you.
Don’t forget - Make sure that you are using the correct drill bit for your wall surface, different surfaces such as tile, masonry or plasterboard each require different drill bits.
After drilling your holes, you can add the correct size wall plugs to make sure that your radiator is extra secure on the wall.
Step 5 - Mount the Towel Radiator
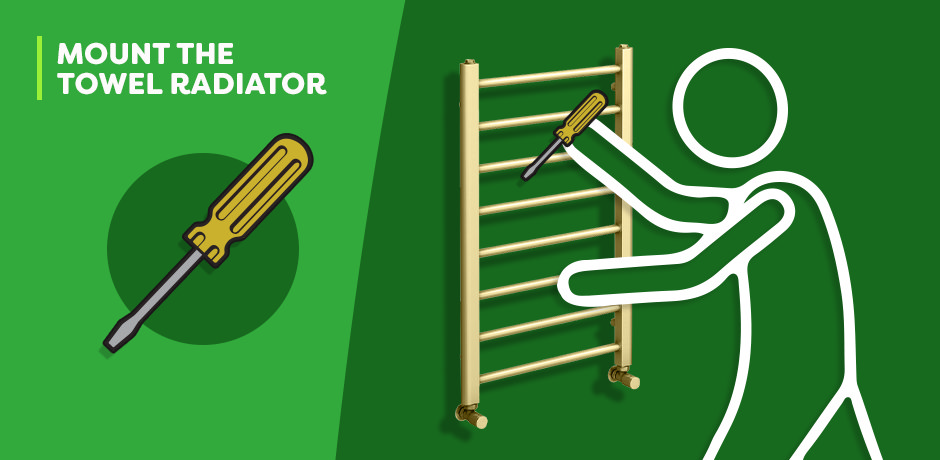
Now you can start to mount your towel radiator. Do this by holding the radiator in the correct position and use the provided screws to secure it in place.
If your radiator came with mounting brackets simply secure them in the correct places using the provided screws. Once the brackets are secure on the wall, you can lift your radiator into place and follow the correct instructions for securing it to the brackets.
Step 6 - Connect to Radiator Valves
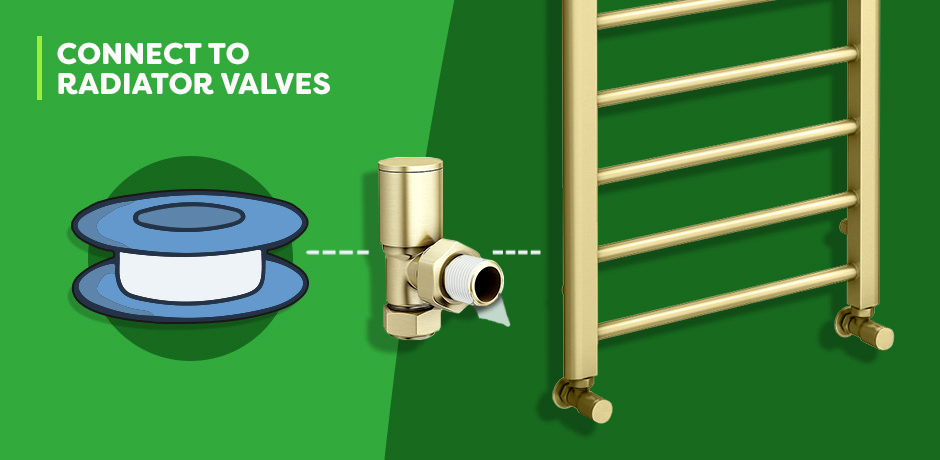
Before connecting your radiator to the valves, don’t forget to wrap the radiator tails with PTFE tape. This is part of the valve that screws inside the radiator and doing this will ensure a watertight seal. If you are using existing valves, make sure to remove any old PTFE tape and replace.
Then you can connect the valves to your radiator by turning them clockwise, remembering the amount of turns or setting it was on previously. At this point, there is a chance that you will see a leak, if you do, you can fix it by following the steps here.
Step 7 - Bleed the Radiator
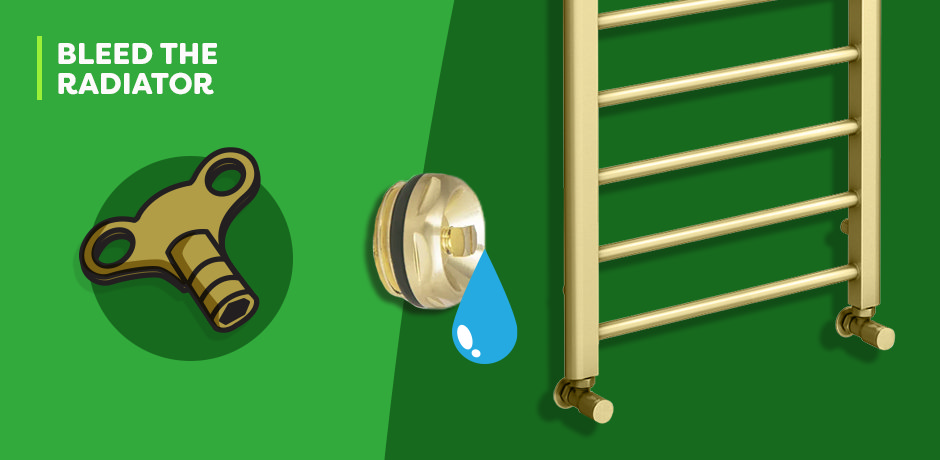
Once your radiator is connected and you have opened the valves, the next important step is to bleed the towel radiator and release any air that might be inside.
Step 8 - Test the Radiator
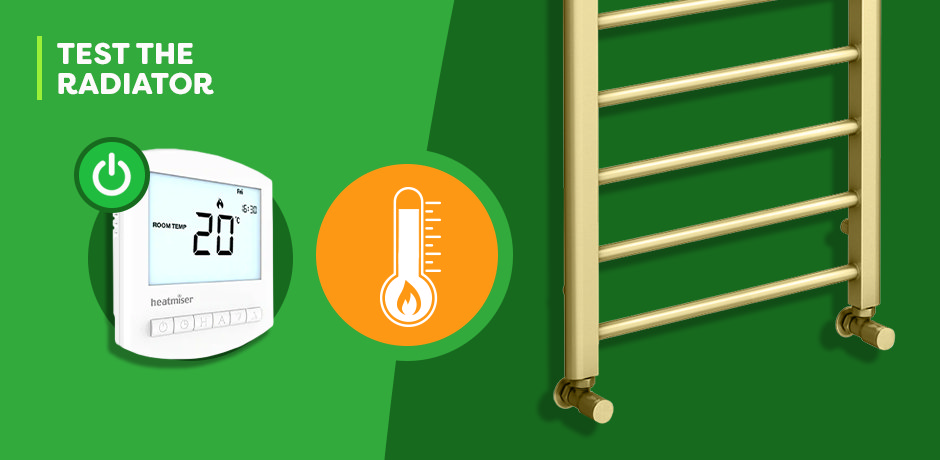
Finally, you can test your new heated towel rail! Do this by switching on your heating and making sure that your towel radiator heats up correctly.
It can also be a good idea to balance out the radiators throughout your home to ensure that your heating system is working as efficiently as it should. If you are unsure how to balance your radiator, you can follow our step-by-step blog "How to Balance Your Radiators".

Megan
Megan is an expert bathroom blogger, she enjoys writing helpful DIY articles and bathroom inspo blogs. As well as specialist bathroom advice, Megan also shares expert how-to blogs with step by step guides.
