Grab Up To 60% Off In Our February Sale!
Free delivery on orders over £499*
What Type of Paint is Best for Radiators?
What Type of Paint is Best for Radiators?
Do you need a special kind of paint for radiators or will any kind do? There may be more to it than you think, and in this guide, we break it all down for you.

There is often some confusion about what paint is best for radiators. While it seems like a straightforward question to answer, you should give it some thought before whipping out the paint brush and getting to work. In this article, we let you know what type of paint is best for radiators and how to apply it to get the best results.
What kind of paint do you use on a radiator?
So, which type of paint should you use on your radiator? Well, it all comes down to a question of budget and availability. Many people simply use standard paint (the type of thing you may have lurking in your shed or garage), although, as it doesn’t have the same heat-resistant properties as specialist paint, it may not last as long. If you use a standard paint, it will save on money in the short term as you can simply use the same paint for the entire room. However, if you are painting the radiator white it is advisable to invest in a specialist paint, as the warming and cooling of the radiator could create a yellow shade.
Satinwood paint is a good option to use for modern radiators as it offers a mostly water-based covering. There are also spray-paint alternatives that don’t require a primer coat, while also offering heat resistance and fast drying capabilities.
Some people also add a heat resistant clear coat once they have applied the initial layer. The idea behind this is to stop potential chipping of the paint underneath and to add even more longevity to the overall finish.
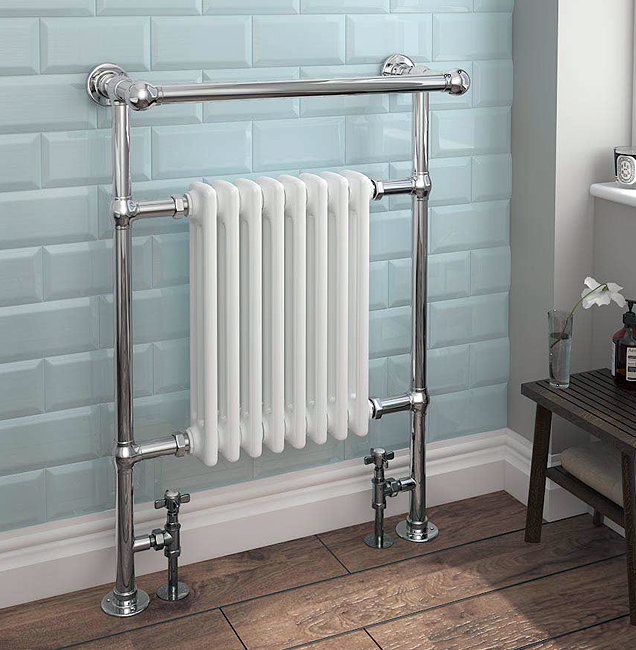
How do I prepare a radiator for painting?
Cool down the radiator
Before you can apply any paint to the radiator you should ensure it is completely cold. Even a small amount of heat can affect the ability of the paint to set and dry, as it can create drip marks on the surface, which certainly isn’t the kind of finish you’re after. It can also result in paint being chipped off more easily, so you should only ever paint once the radiator is completely cold.
Clean the radiator
You’ll want to wipe away dust and grime from the surface of the radiator before any paint is applied. If you miss out this vital step, it could mix in with the paint and create an uneven surface after it has dried.
To clean your radiator, use a damp cloth and soapy water to wipe it down. Once finished use a dry cloth to wipe away any excess water from the surface.
Prepare the surrounding area
It’s also a good idea to prepare the surrounding area to protect it from any paint splashes. Place some large dust sheets on the floor that are big enough to cover the areas in front of and around the radiator.
Move nearby furniture out of the way and cover up any pipes and skirting boards that are not being painted. Paint can splash quite easily, so it’s important to leave plenty of space for you to work in.
If your decorating extends to the surrounding interiors, you may want to see our guide to painting behind your radiator.
Sand down the radiator
By lightly sanding down the radiator you make a rougher surface, which is ideal for painting as it will ensure the paint remains adhesive. This is a key part of the radiator preparation process and shouldn’t be overlooked. Fine grit sandpaper should be enough for you to move gently across the surface, and also remove any rust that is present too. Sanding removes particles from the surface, so wear a face mask whilst doing this. There will be some dust left on the radiator once finished so give it another wash down (don’t use too much water) with the damp cloth and soapy water mixture you used earlier. Before you start painting ensure the radiator is completely dry.
Painting the radiator
Once you have stirred the paint, apply a thin coat to the radiator. Make sure you are painting in the same direction as the grooves in your radiator. For most conventional horizontal radiators, this will mean working from top to bottom. Use a good quality brush that offers a good amount of coverage and doesn’t require you to apply many strokes. You can also choose to apply spray paint, although this is best done outside on a mild day after taking the radiator off the wall.
Apply as many coats as needed, depending on the colour you are using, letting each coat dry before applying the next one. A single coat is usually enough when refreshing an existing radiator, although if you are going from light to dark, or vice-versa, you may need more. You may want to lightly sand the radiator down in-between each coat, cleaning away the dust before adding the next coat.
Let the radiator rest
It’s best to leave the paint to rest for at least 24 hours once you have finished. If you switch it on soon afterwards, the paint may end up feeling tacky, affecting the overall finish. If you need to use the radiator, it may be best to leave the painting task until a warmer part of the year when you don’t need it switched on.
One final thing
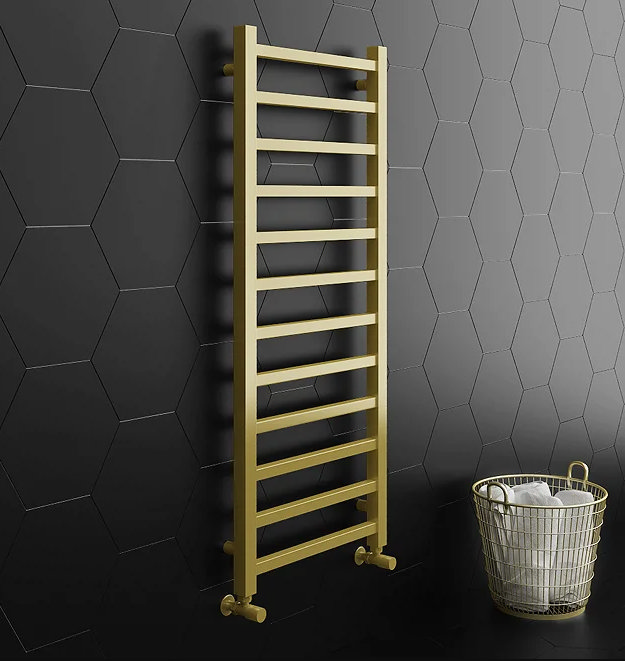
If you are painting a brand new radiator, this may void any guarantees which come with it. Luckily, when it comes to modern radiators, there are many different colours and finishes to choose from, so it shouldn’t be hard to find one that matches your colour scheme. Browse our full range of radiators.

Hannah
Hannah is one of our bathroom bloggers here at Victorian Plumbing. She'll be posting updates on the latest bathroom trends and decorating tips. Look out for her expert 'how to' step-by-step DIY guides too!
